• Latest

DIY: Cut Out Dress

July 9, 2013

Keep Your Bananas Fresh And Prevent Over Ripening With These Convenient Tips!

February 24, 2021
Image: Luxe Link

Bag Lovers, You Will Not Regret Investing In These Beauties!

February 23, 2021

Thrift Stores: Cheap or Sustainable?

February 23, 2021
Happiness Boutique

How To Carry Jewelry To Make A Style Statement

February 22, 2021
Prevention.com

4 Purifying Indoor Plants To Keep At Home

February 22, 2021
Image: Miss Kyra

Make Your Own Overnight Turmeric Mask For A Healthy, Glowing And Radiant Skin!

February 22, 2021
Pinterest

Make A Budgeted Version Of Rihanna’s Body Illuminator At Home

February 19, 2021

Review: What Did We Really Think Of The KFC Meatless Burger? Here’s Our Personal Opinion

February 18, 2021
Healthline

You Can Definitely Relate To These 4 Things If You’re A New Mom

February 17, 2021

The Naked Truth About Strip: Ministry Of Waxing

February 12, 2021

Celebrate Prosperity, Cheers Together with Carlsberg for a Fiery, Gold OXpicious Year Ahead

February 2, 2021

KitKat Cele – Breaks The New Year With The Launch of KitKat Gold

January 31, 2021
Lipstiq.com
  • Home
  • Fashion
  • Beauty
  • Celebrity
  • Culture
  • Wellness
  • Clique
SUBSCRIBE
No Result
View All Result
Lipstiq.com
  • Home
  • Fashion
  • Beauty
  • Celebrity
  • Culture
  • Wellness
  • Clique
No Result
View All Result
Lipstiq.com
No Result
View All Result
Home Lifestyle DIY

DIY: Cut Out Dress

by Aida Innes Ghazlan
July 9, 2013
42
VIEWS
Share on FacebookShare on Twitter

azz58083_black_xl

A flattering look which is bang en trend, cut out T-shirt dresses with knots in the middle have become a hot look and fast. A style which can easily be dressed up or down, these dresses are going to be perfect for summer and whats even better… we’re going to show you how to make them yourselves!

What you will need:

  • A plain tank dress or T-shirt dress
  • Sharp scissors
  • Ruler
  • A pencil or some tailors chalk

DSC05880

1) First you will want to take your dress/ top or choice and measure it against your body to see where you want to cut it. It is important to do this before deciding because otherwise you may cut lower down than you want or so high up that the slits expose your bra and that is not a good look!

DSC05882

2) Once you have measured your garment against yourself, mark where you want to make the top incision. I made the bottom incision about 11cm directly below.

DSC05884

3) Use a ruler and make sure you mark the same on the other side accurately.

DSC05886

4) Find the mid point of the dress so that you know where you want the knot to be.

DSC058885) From the mid point, measure about an inch either side so that you do not cut too far into the dress.

DSC05889

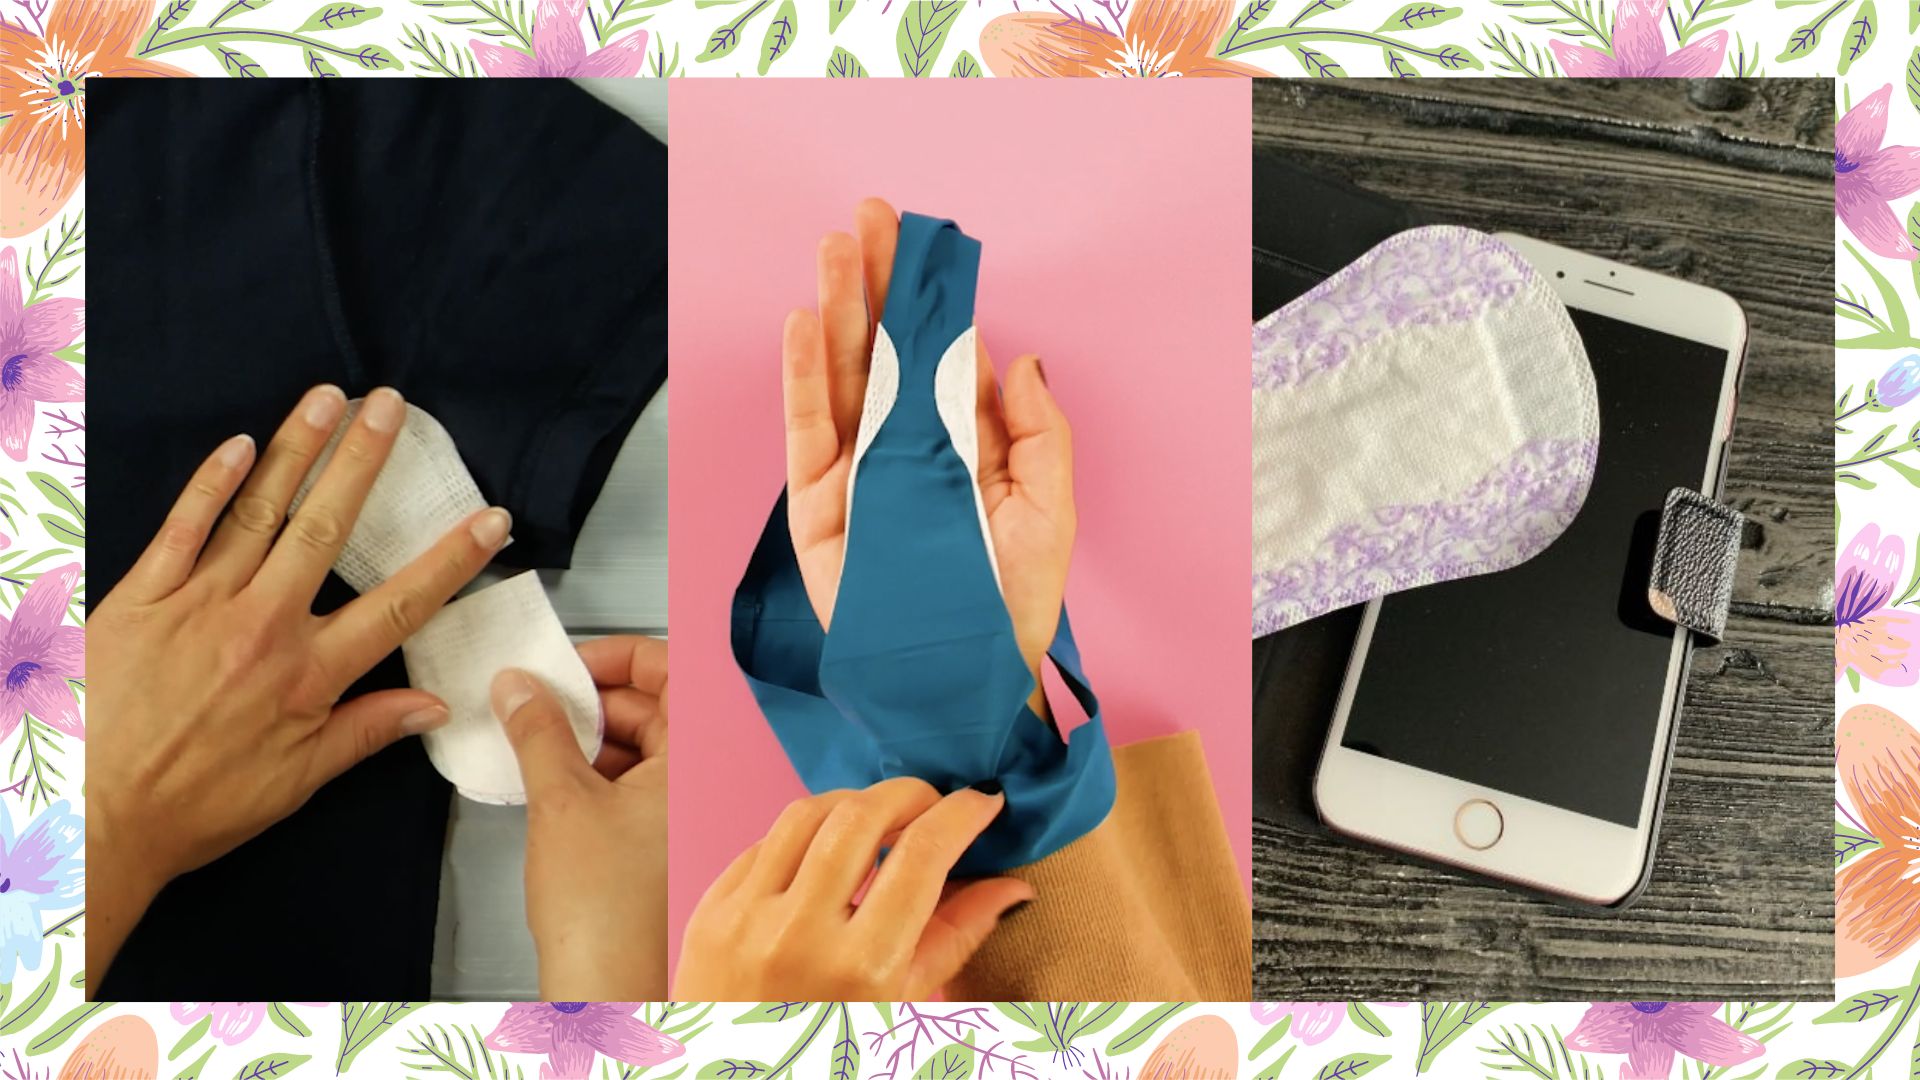
6) You can begin to cut into the dress now.

DSC05891

7) You will be left with two rhombus shaped pieces of fabric. Do not throw these away. You will cut them into strips and use them for your decorative knot.

DSC05894

8) Tie the scrap pieces of fabric around the mid part of the cut-outs tightly.

DSC058939) Cut off any excess pieces of material.

DSC05892
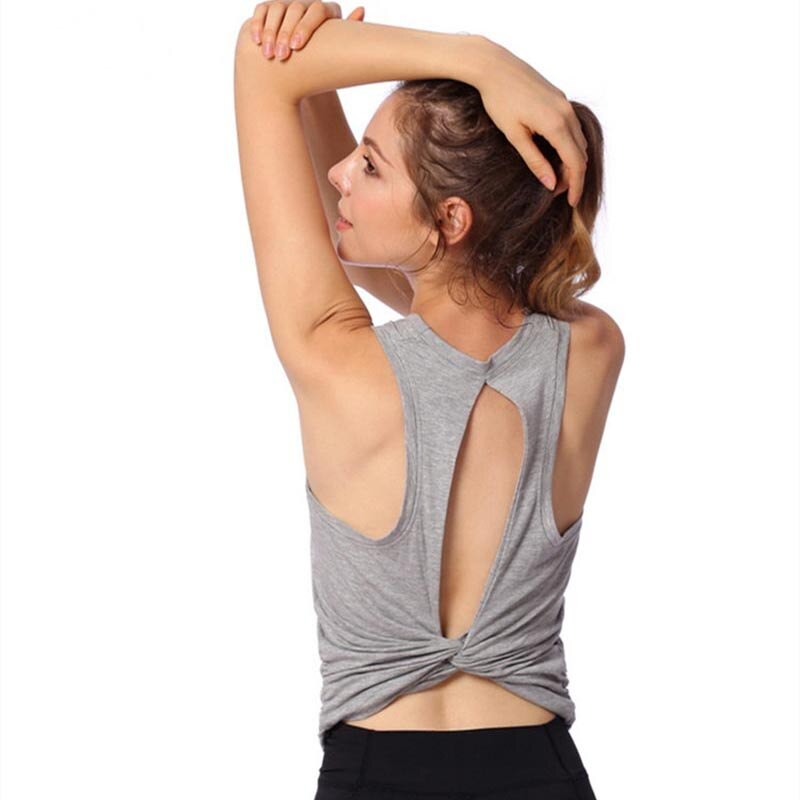
10) The knot should be left looking like this. Repeat this on the back of the dress too.

DSC05895

11) You have now completed your dress!

Tags: CheapCultureCuteDIY Guidesdo it yourselfen trendStylishTips and Trickstrendy
Share1Tweet1Send

RELATED POSTS

DIY

Easy No-Sew Ways To Refashion And Make Your Old T-Shirts Cool Again!

August 13, 2020
News

Dazzle Like A Star With These Show-Stopping Designer Garments This Raya

April 23, 2018
Boutique Stalk

Minimal Fashion Powerhouse COS Is Opening Soon At The Gardens Mall

March 19, 2018
  • About Us
  • Careers
  • Contact Us
  • Media Kit
  • Privacy Policy

LIPSTIQ participates in various affiliate marketing programs, which means we may get paid commissions on editorially chosen products purchased through our links to retailer sites.
© 2020 Vijandren Ramadass. All Rights Reserved.

No Result
View All Result
  • Home
  • Fashion
  • Beauty
  • Celebrity
  • Culture
  • Wellness
  • Clique