
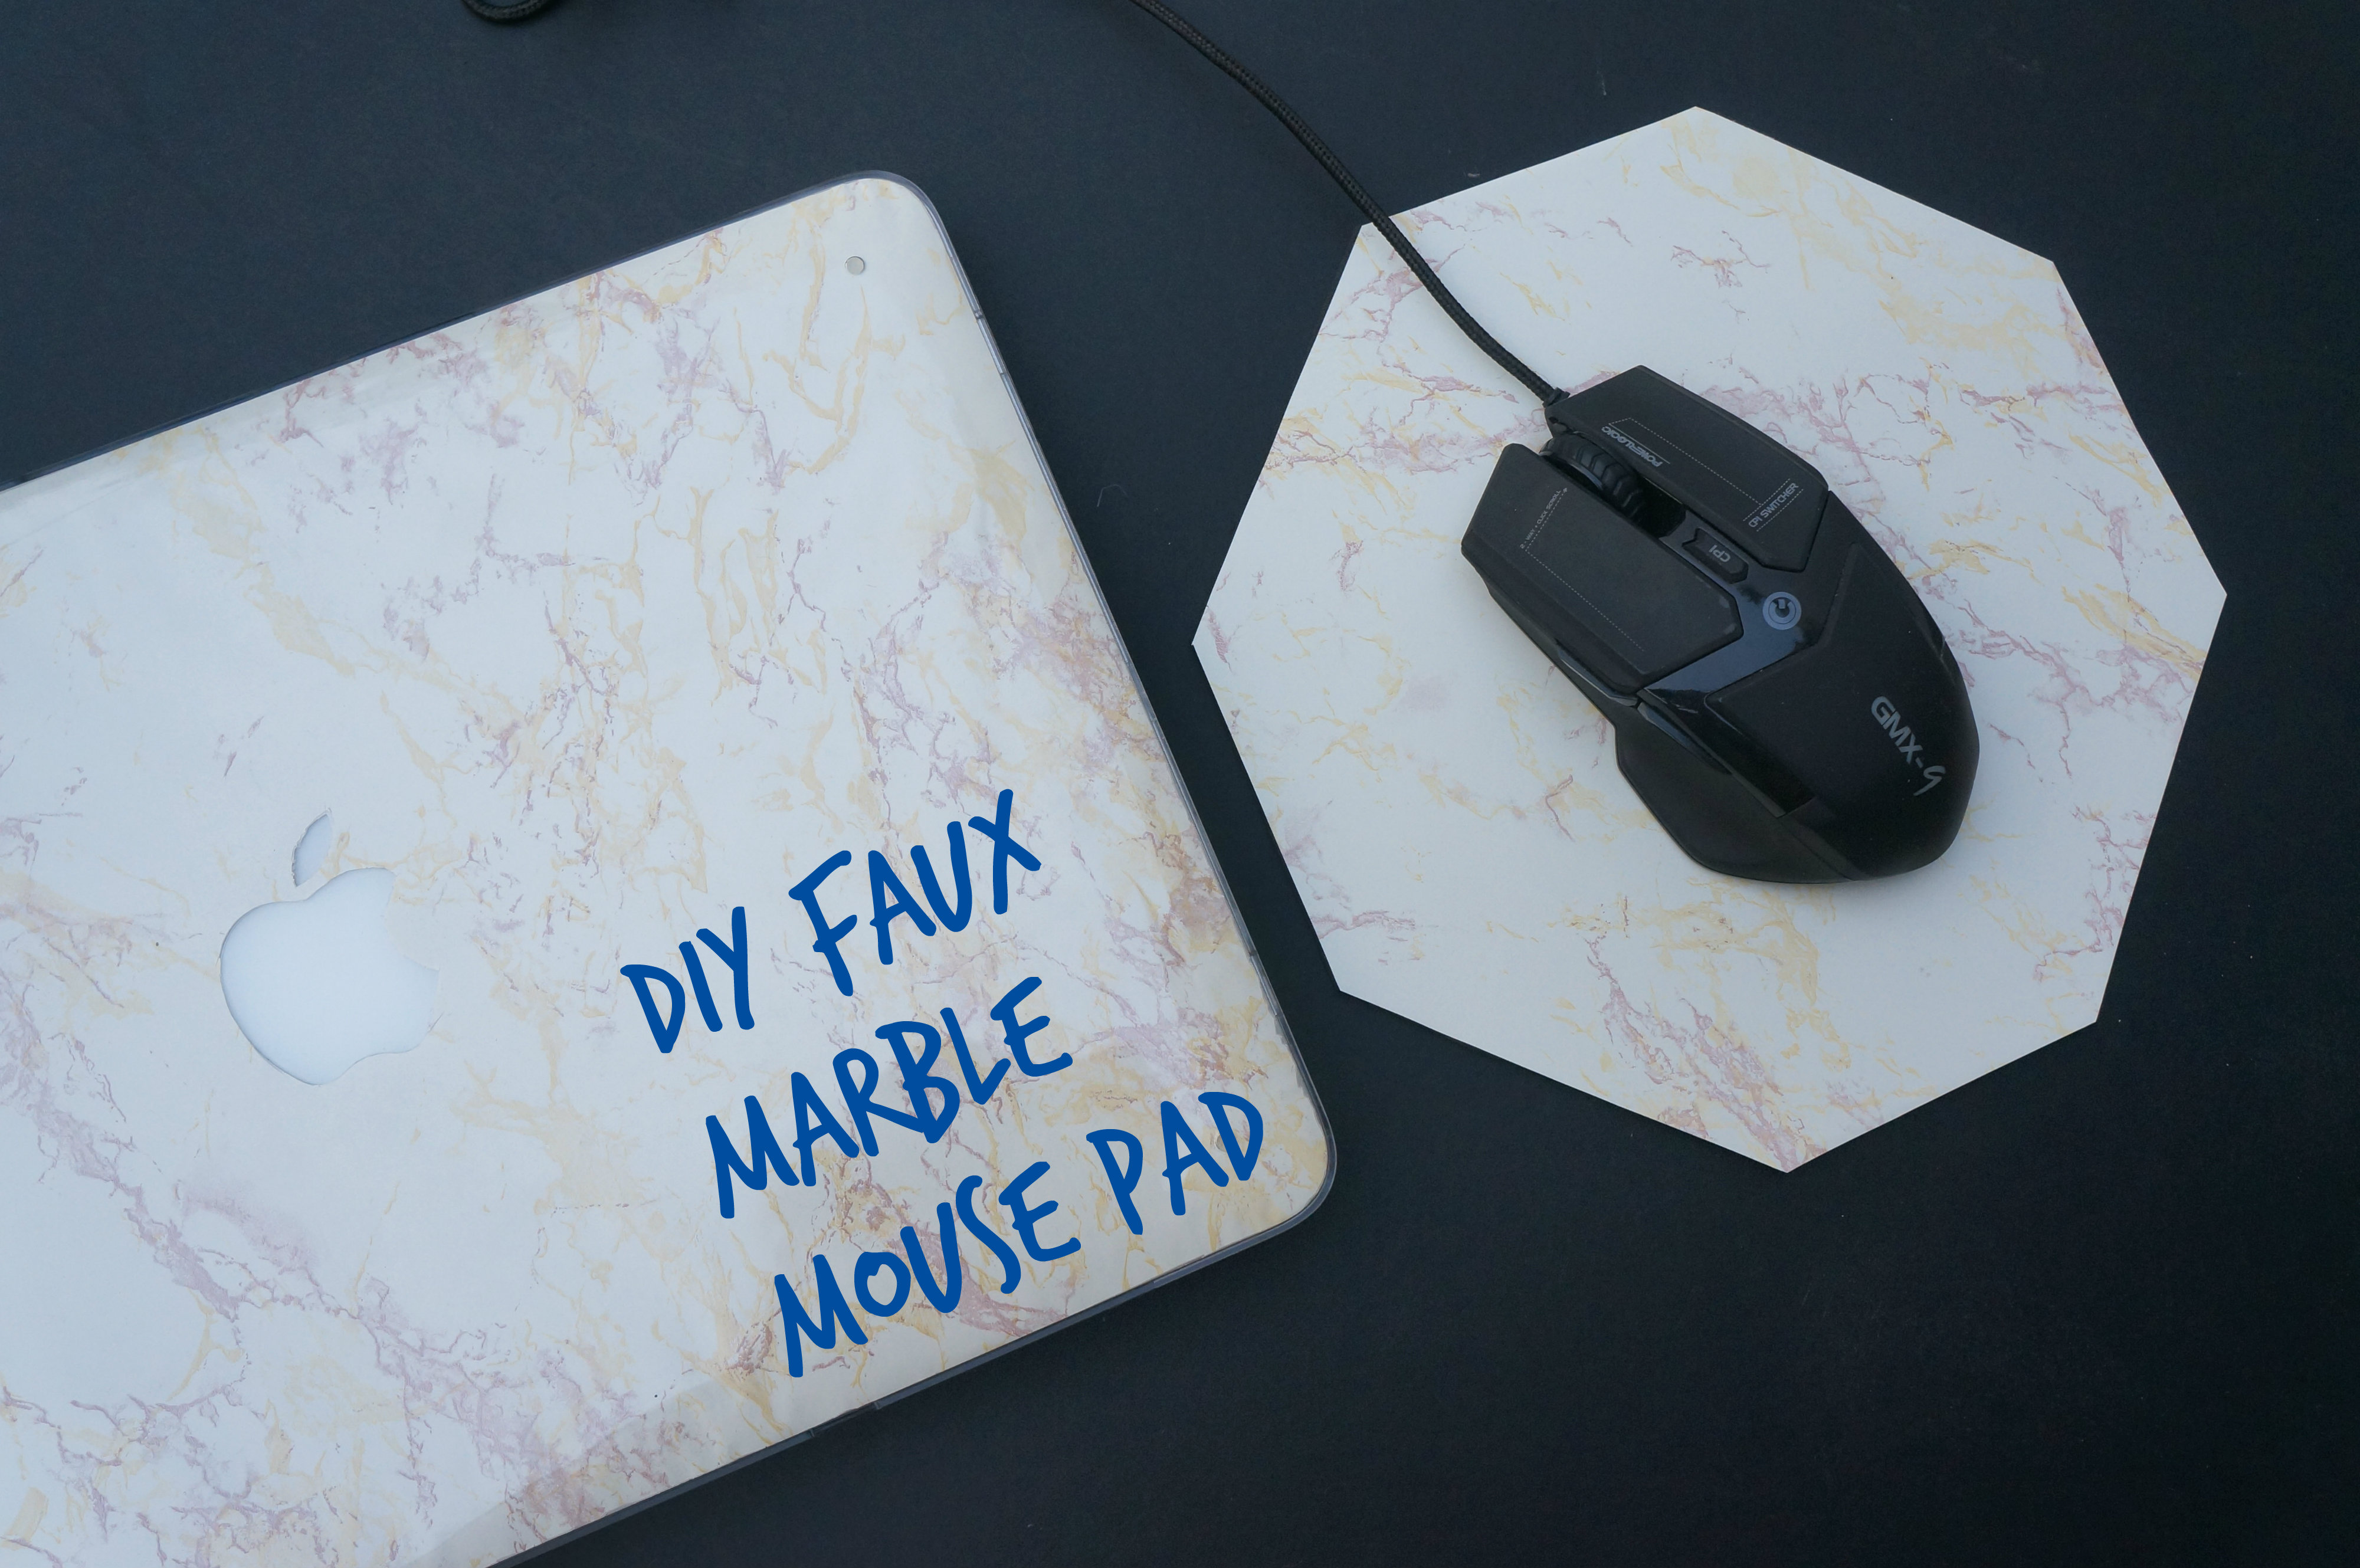
We’ve been seeing the marble decor trend all over the Internet these days, and we thought we’d show you how to DIY your own faux marble mouse pad using some contact paper with a marble print. It’s super simple and doesn’t require any advanced crafty skills. Once you get the hang of it, the possibilities are really endless. We’ve even made a matching faux marble casing for our MacBook Pro! 😀
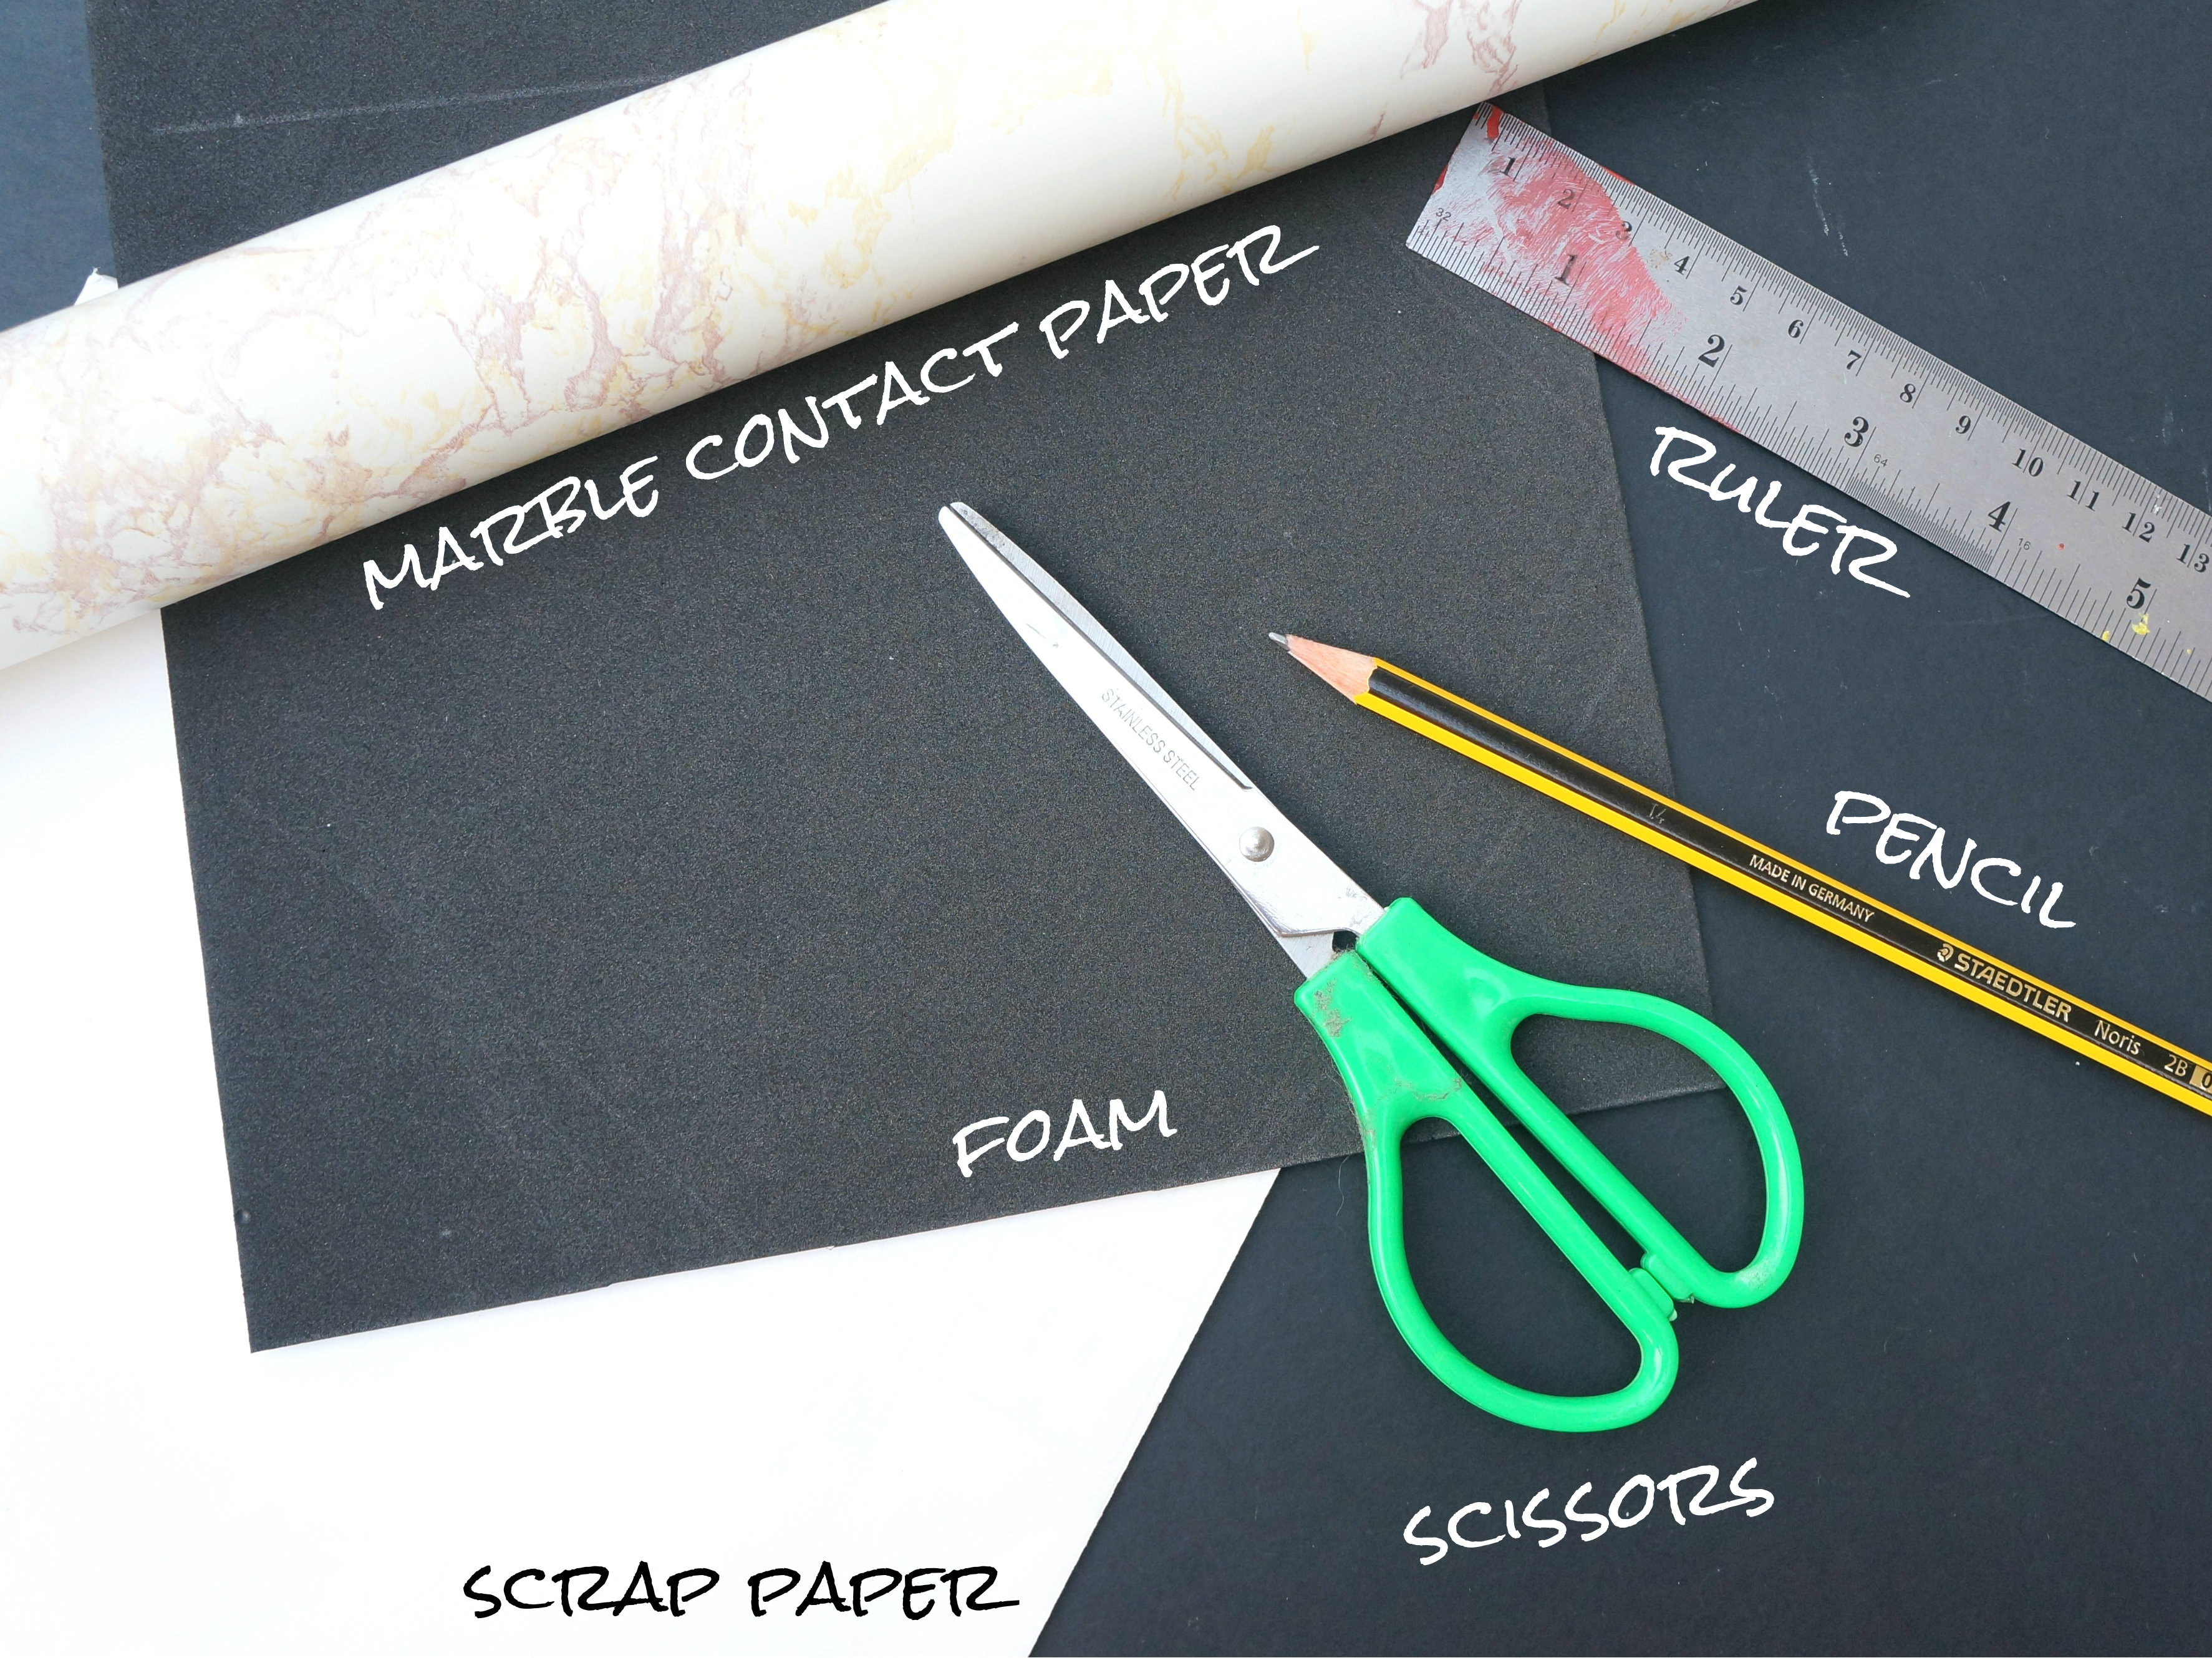
You’ll need: Some scrap paper, an A4 sized foam board, scissors, long ruler, a pencil or pen and marble contact paper.
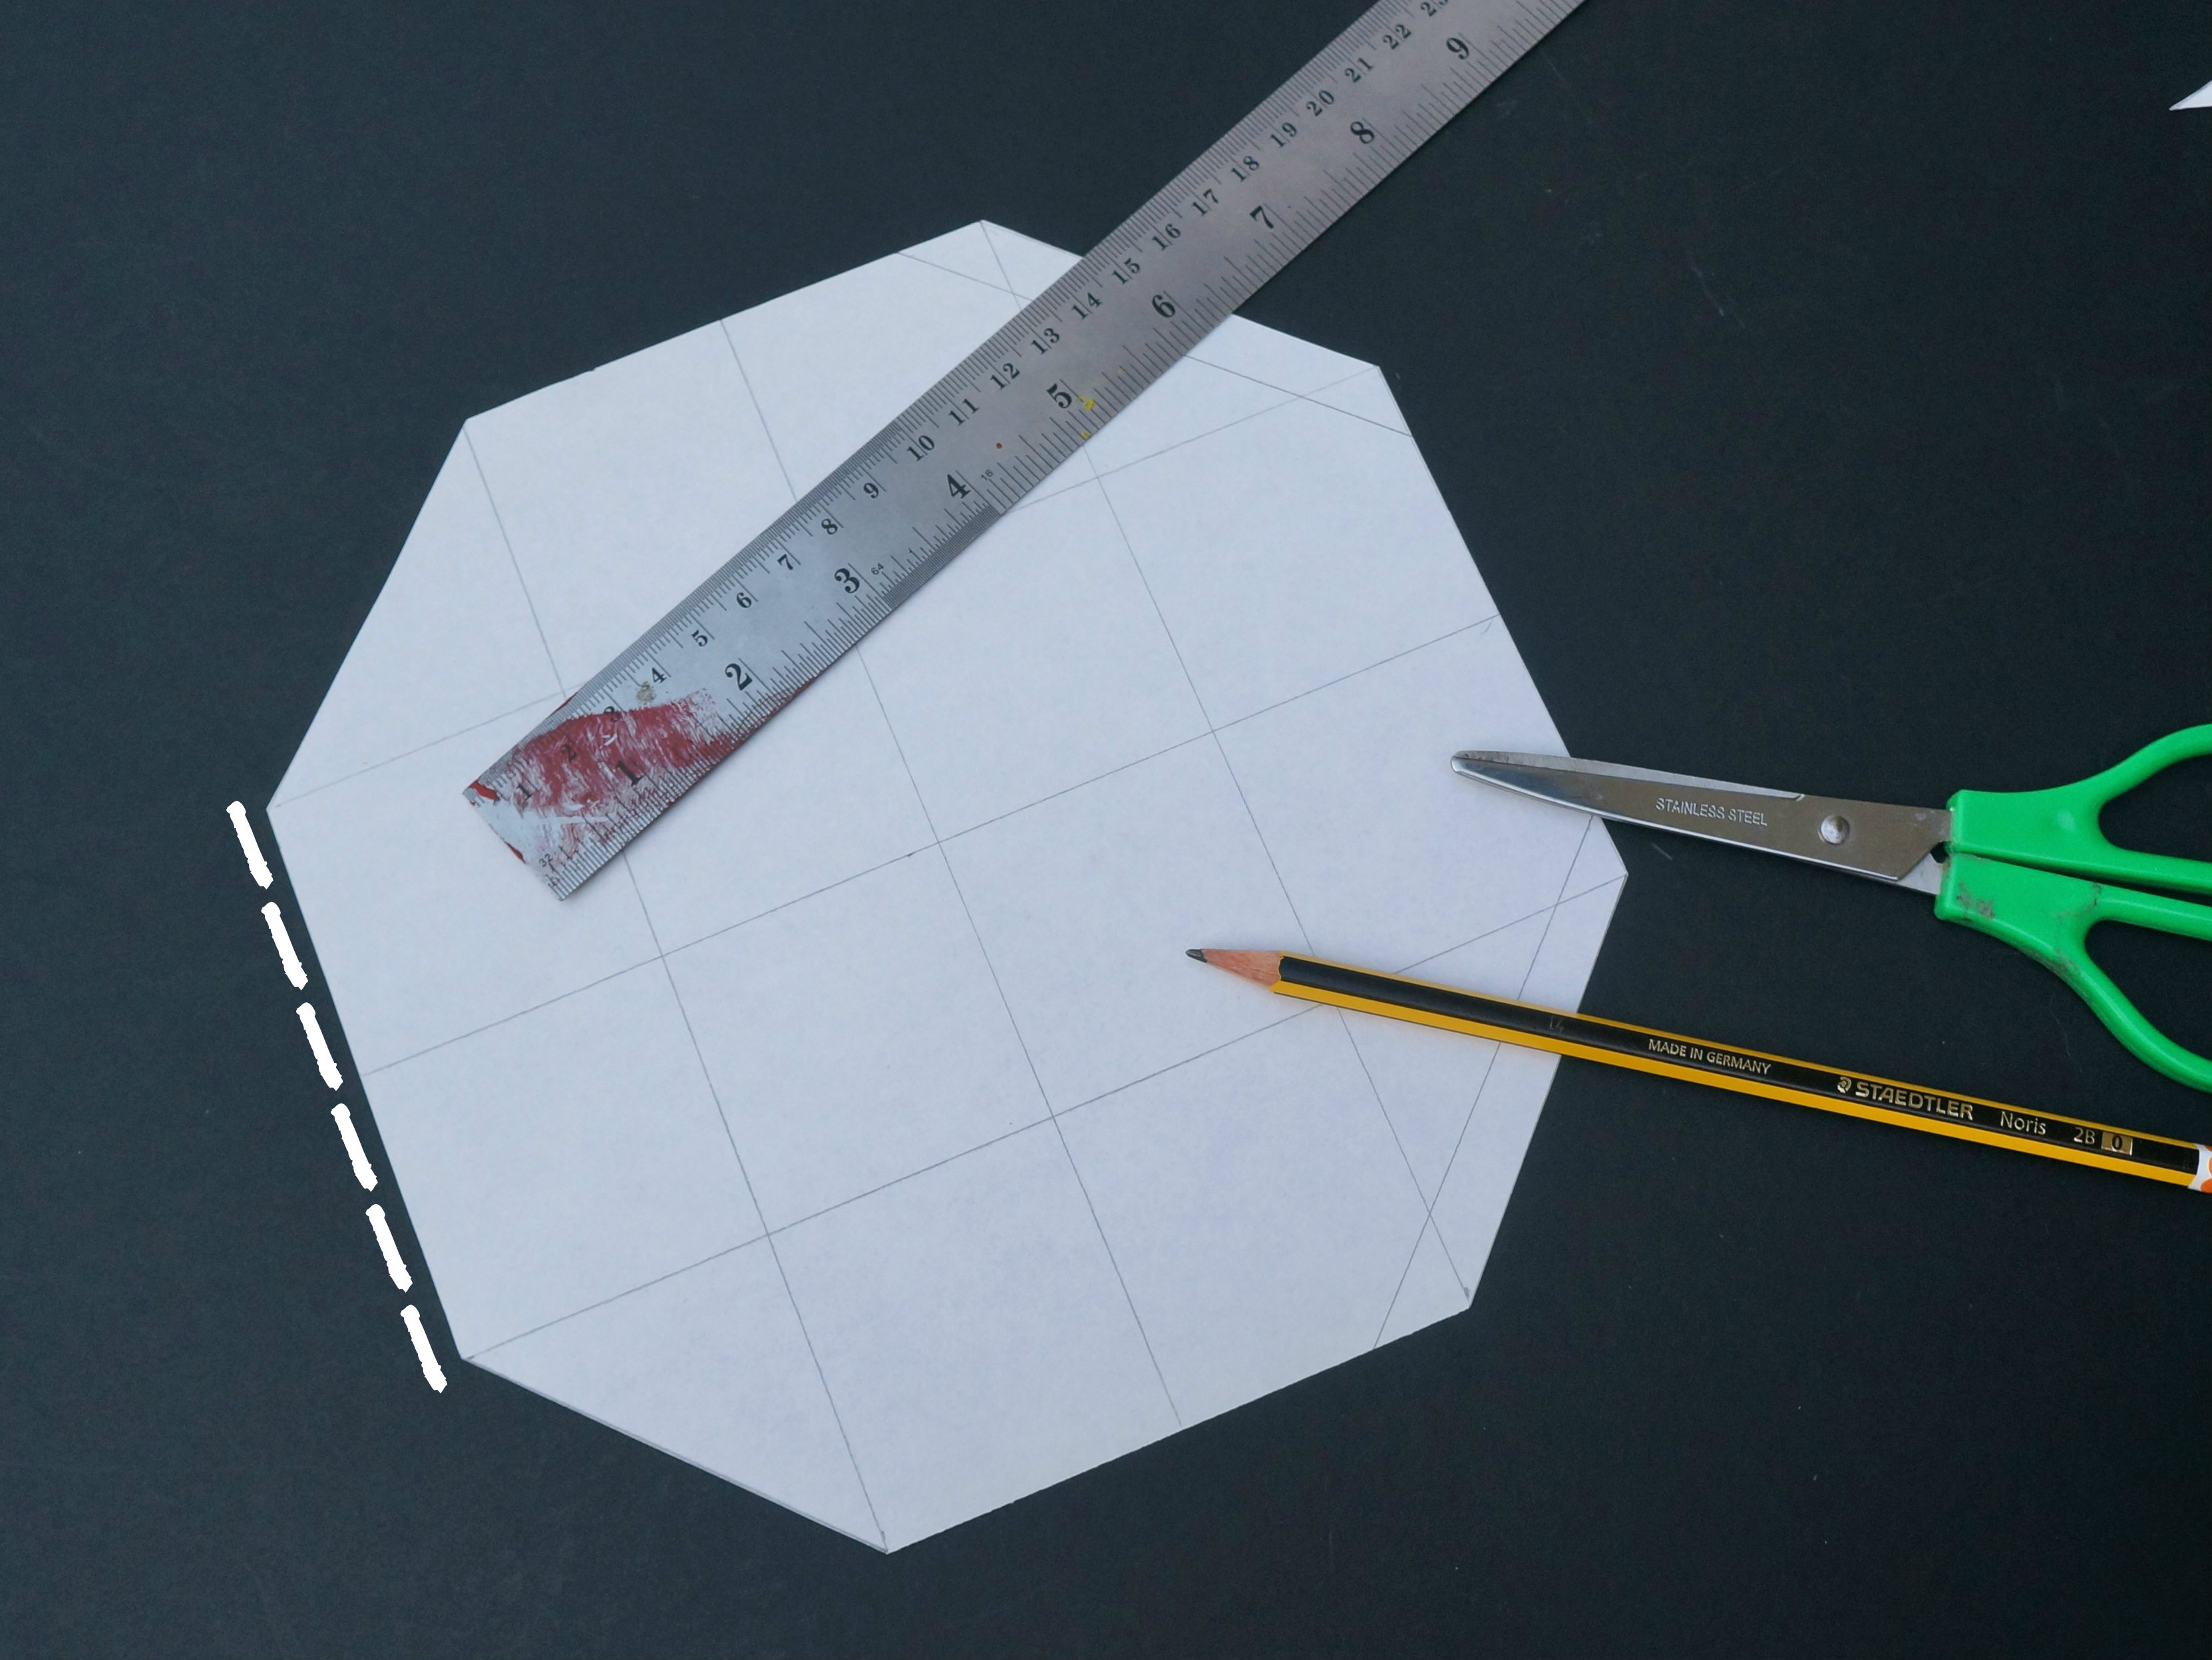
1. Use a regular mouse pad as a guide to roughly gauge how big your mouse pad should be. You really don’t want it to be too small because it would be impractical to manoeuvre your mouse on. Then, with the scrap paper, roughly draw on any shape you’d like your mouse pad to be. Instead of a square or a circle, we went with an octagon. Take your time to measure the lengths of the edges carefully. If you make a mistake, start again with a new piece of scrap paper. Cut it out and you’ll have a stencil.
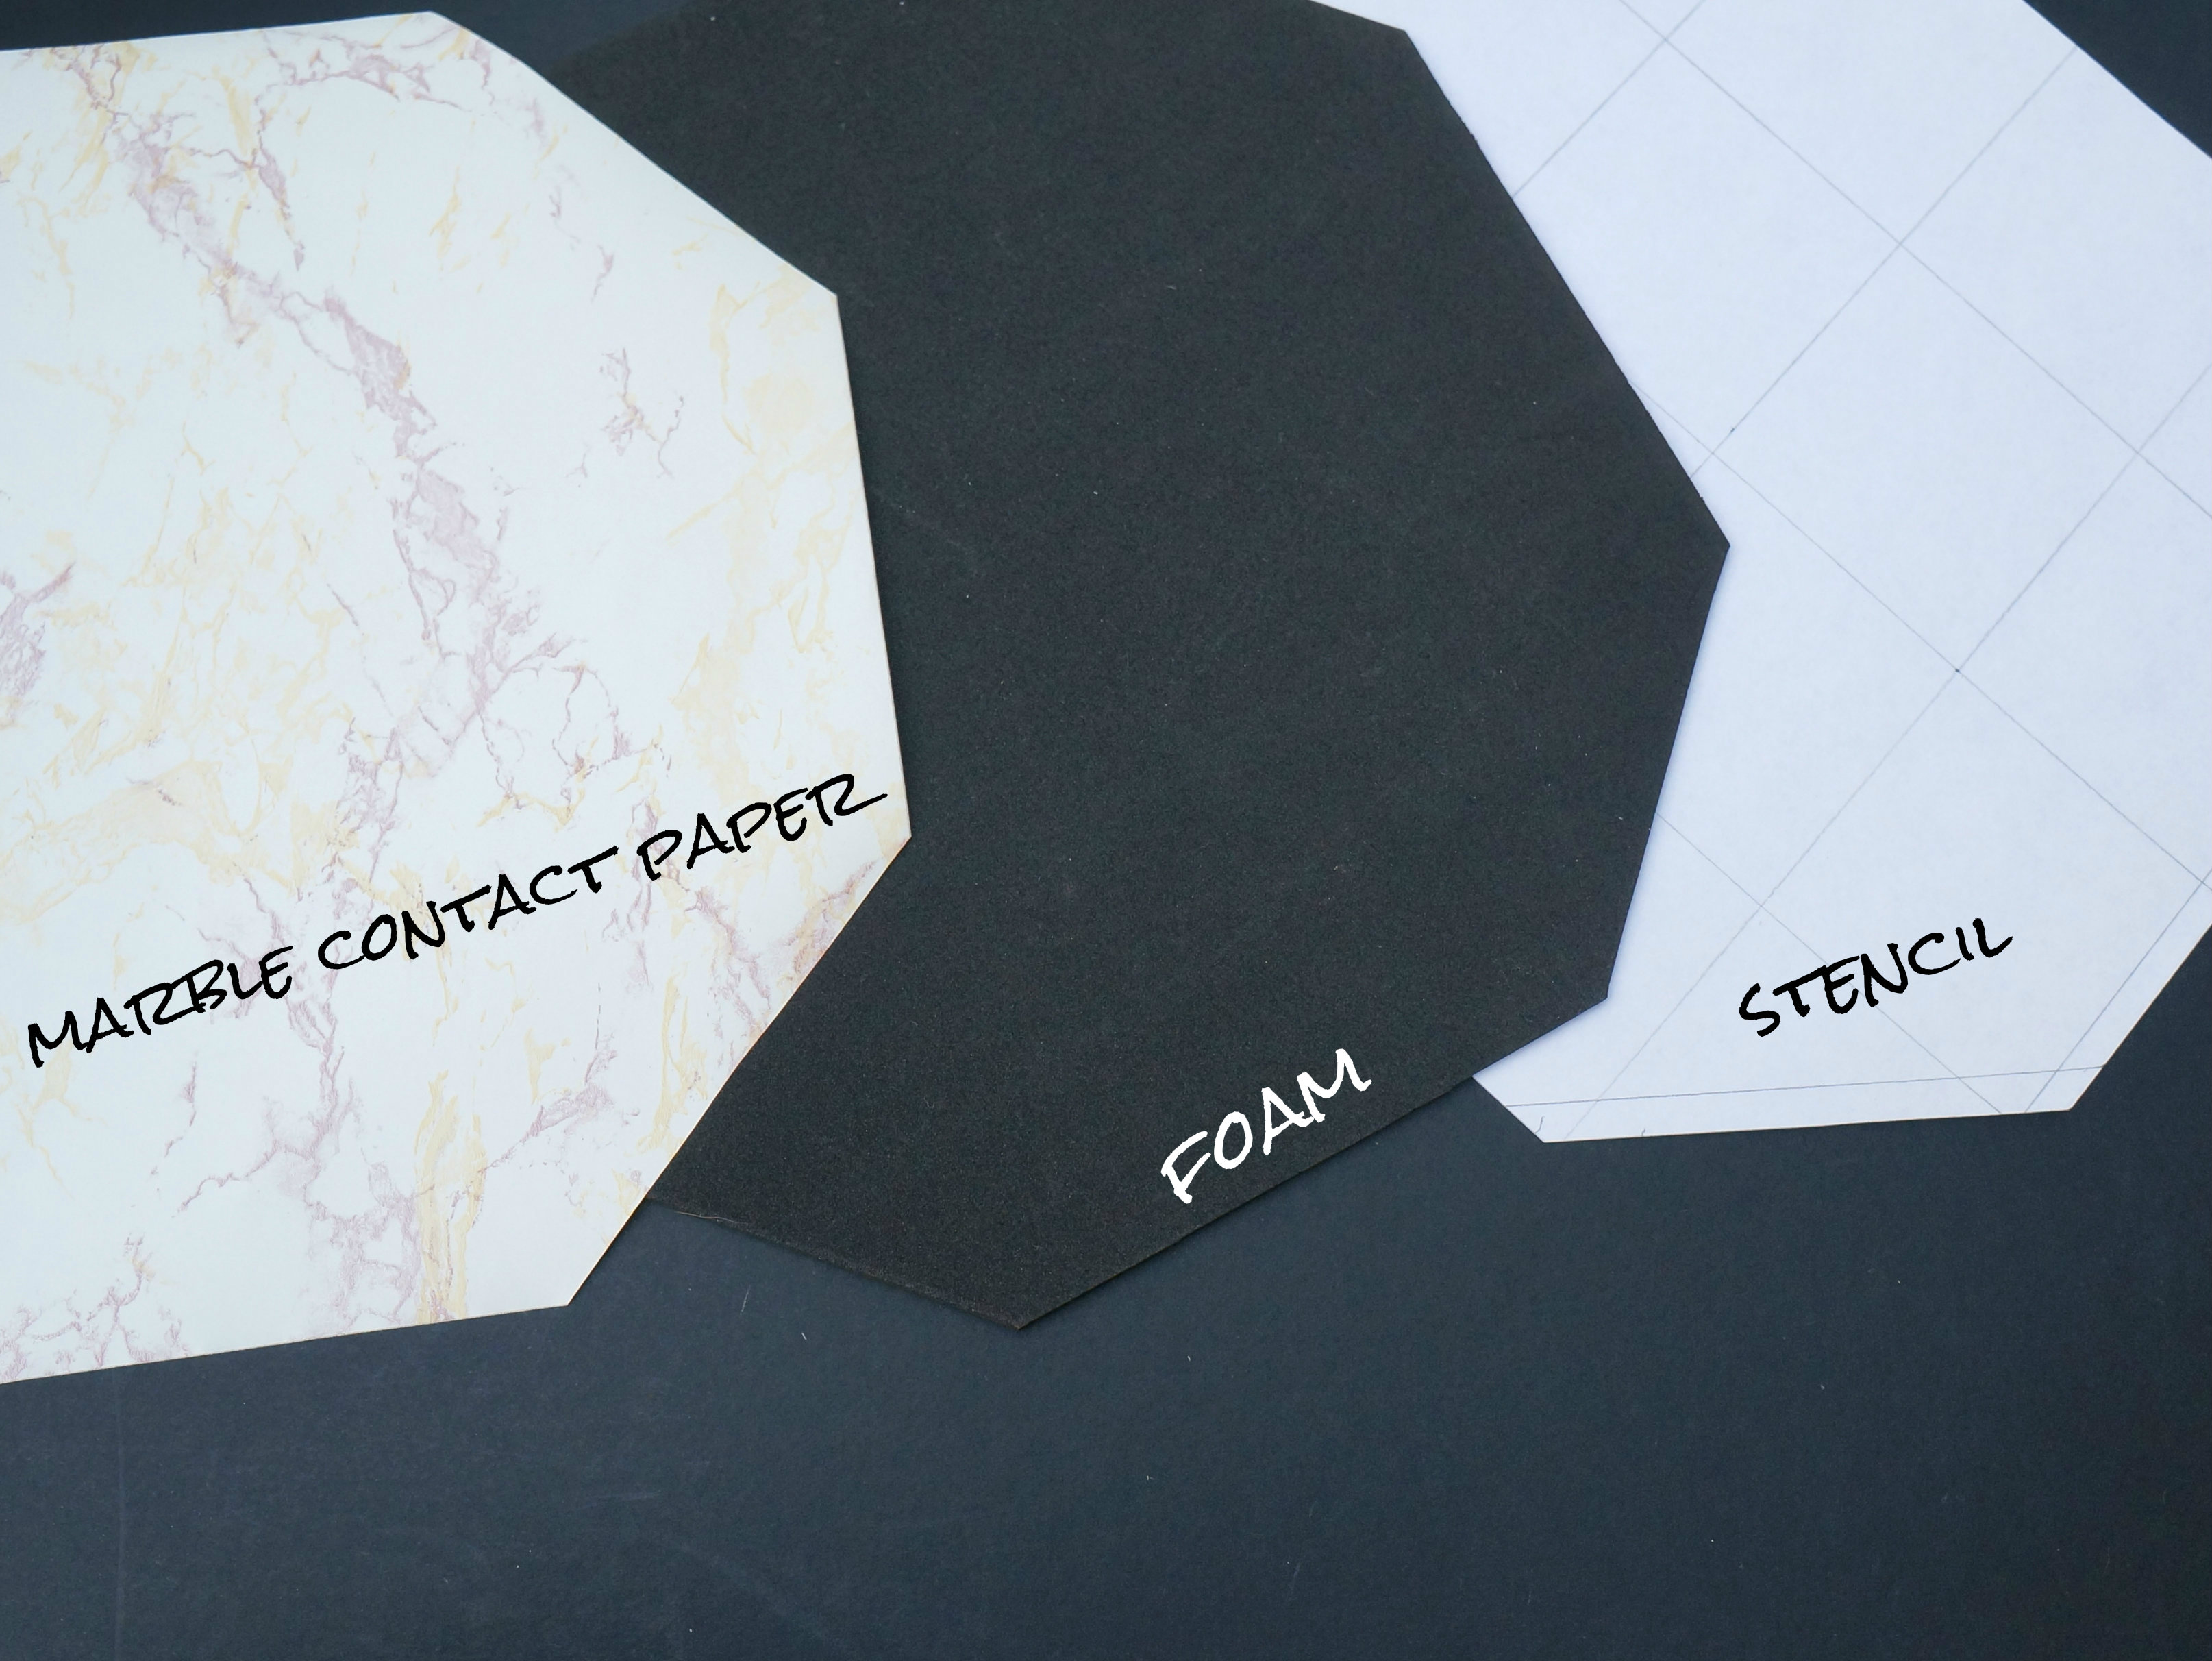
2. Once you’re set with the stencil, place it against the back of the contact paper and foam, then cut out the exact shape. Line them up together to see if any of the materials need some trimming on any of the edges.

3. Beginning from one edge of the shape you’ve chosen, peel one small edge off the adhesive side of the contact paper and gently stick it down on the foam board. As you continue peeling off the adhesive and sticking it down on the foam board, make sure to smooth away any air bubbles with a ruler or your bare hands. You should have a nice and even surface.
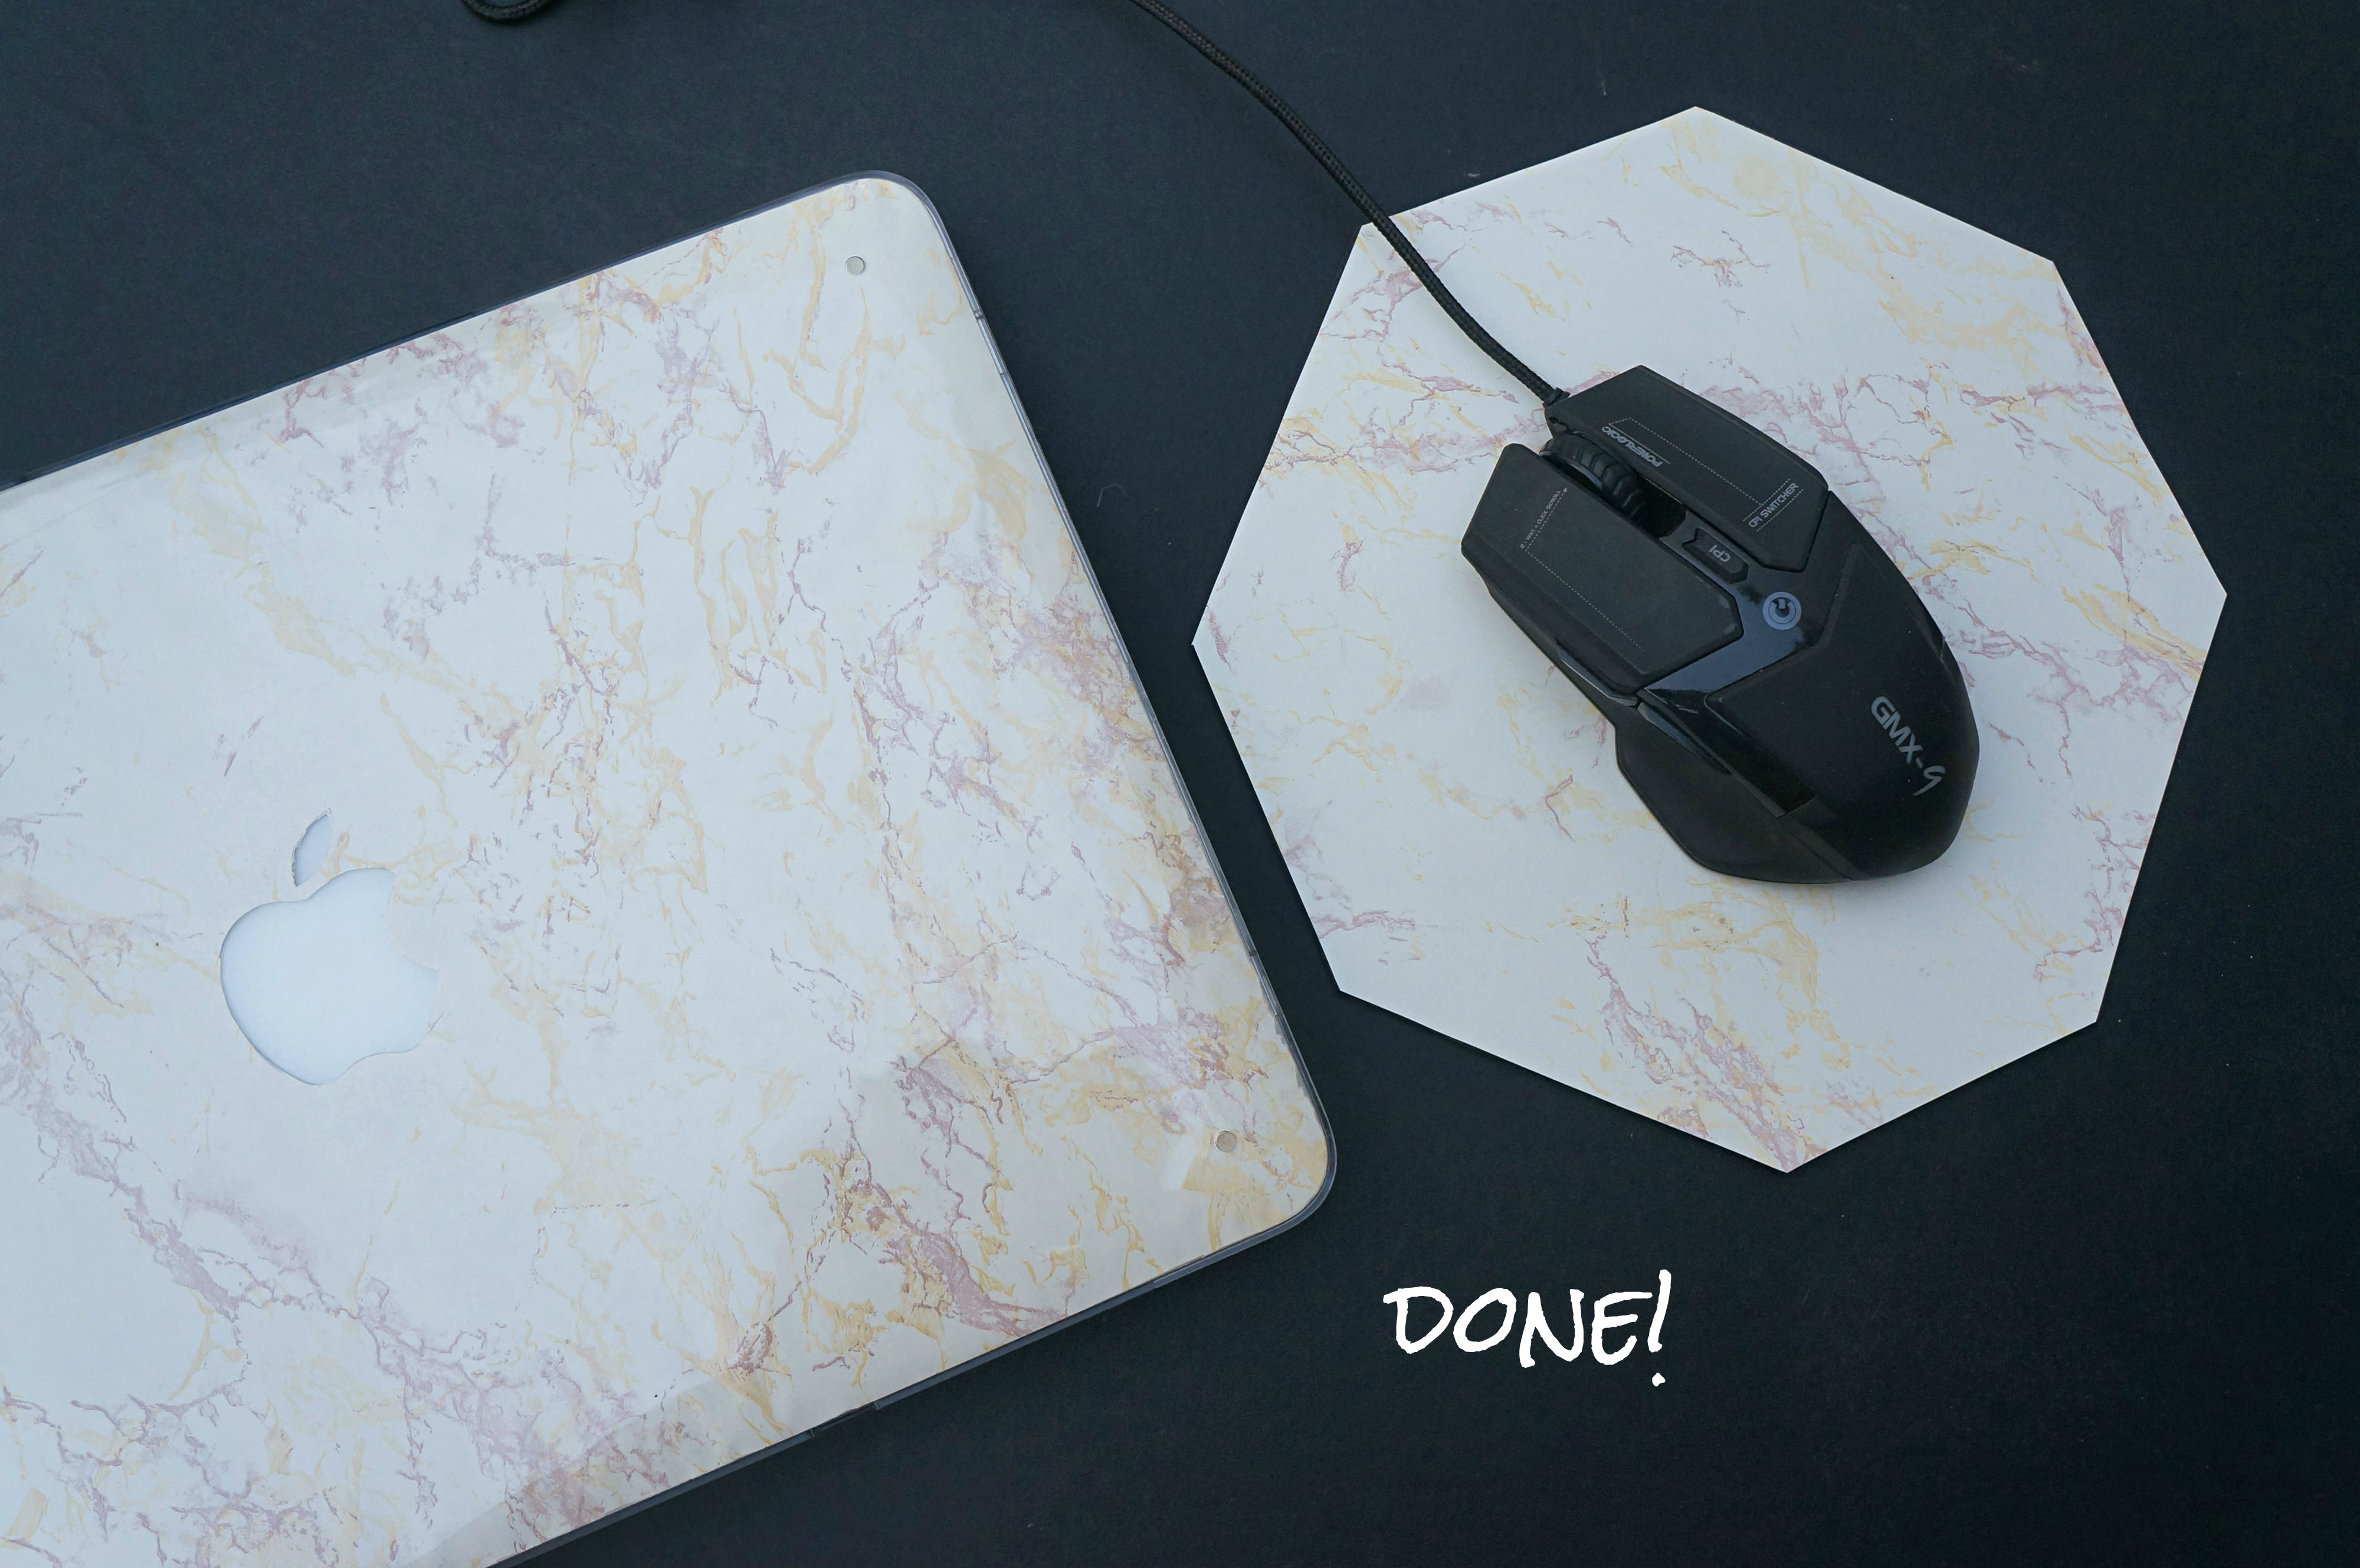
4. If the edges need some trimming, do so with the scissors. You’re now done!
Easy and effortless, don’t you think? What a perfect way to add a touch of class to your desk! You could also do the same with pencil holders, a trinket tray, or even your desk itself. 😉