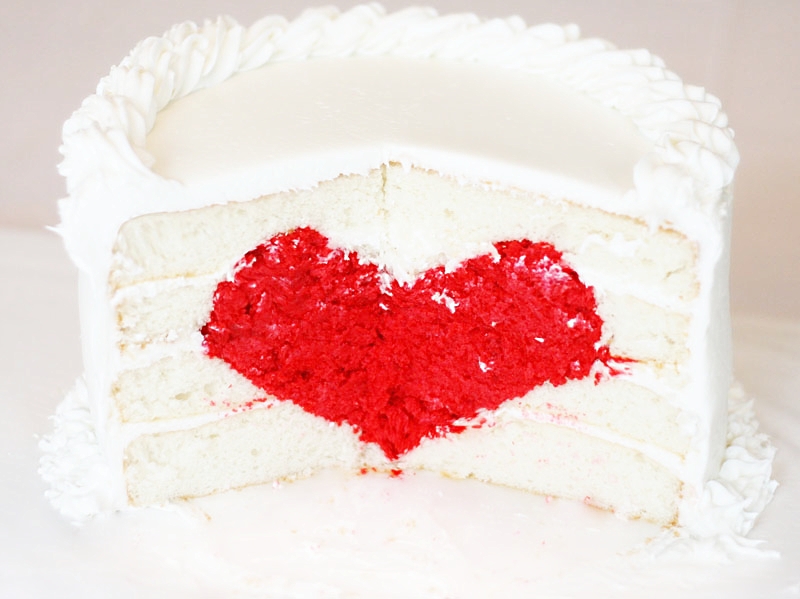
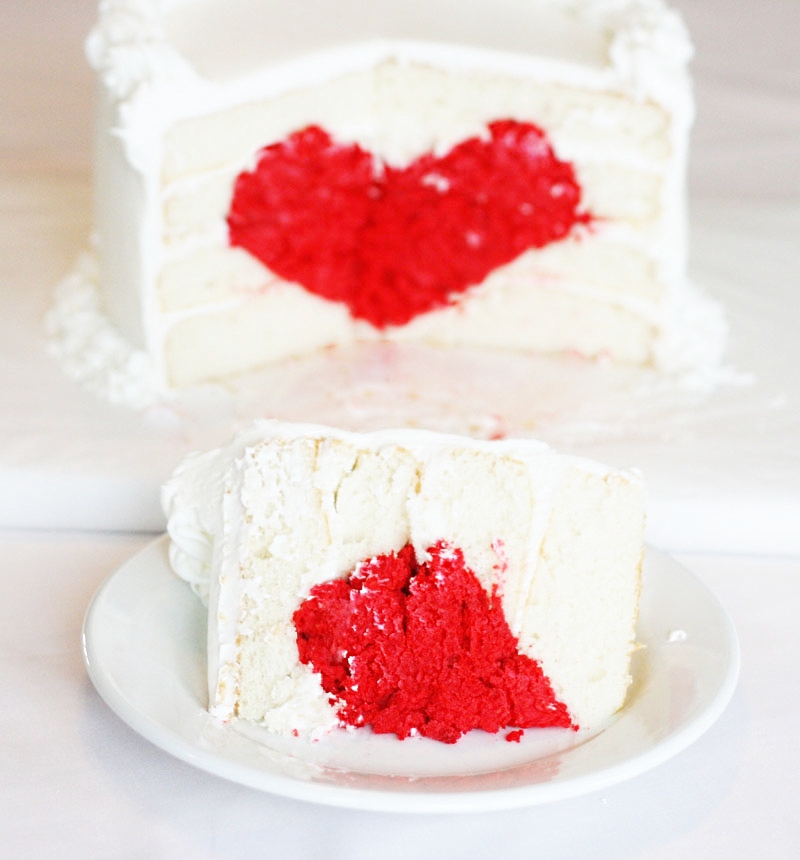
Got a someone special’s birthday coming up? Finding a more creative way to bake a cake for your friend’s ROM? Have the whole weekend to yourself, absolutely love baking, but you’re also itching to try something new? How about whipping up some batter and coming up with something like this?
Introducing, all you need to know about creating a “heart cake”:
1. Prepare the necessary
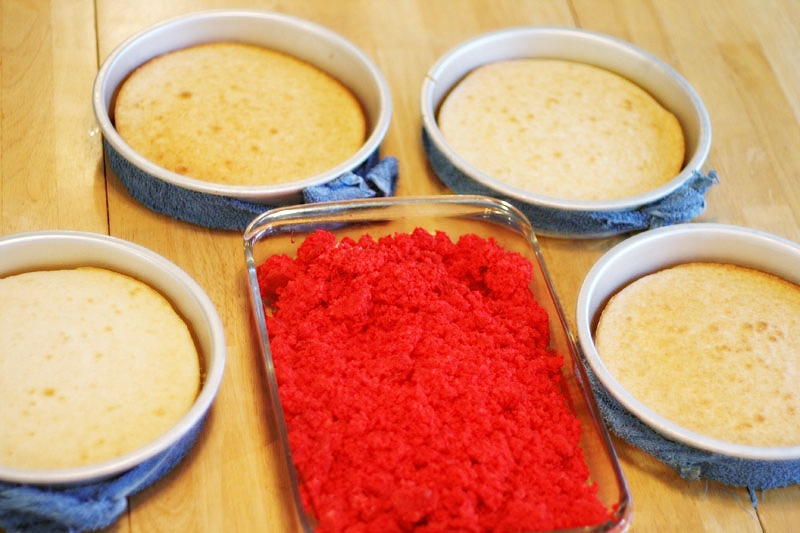
Start out by making four eight-inch pans of white cake (click here for the recipe). Freeze the cakes for at least a couple of hours. Or at least try to leave them in the fridge for a bit.
Make one 9 x 13 (you can do whatever shape and size you want) pan of red velvet cake (click here for the recipe). Run a fork through it to break it up into crumbs. Then mix in a cup of frosting to make it stick.
2. Layer and frost the cakes
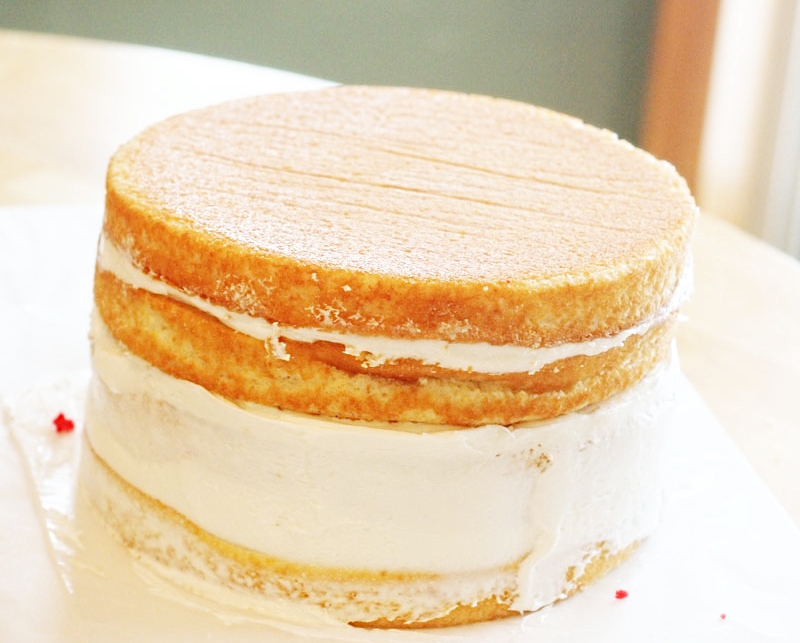
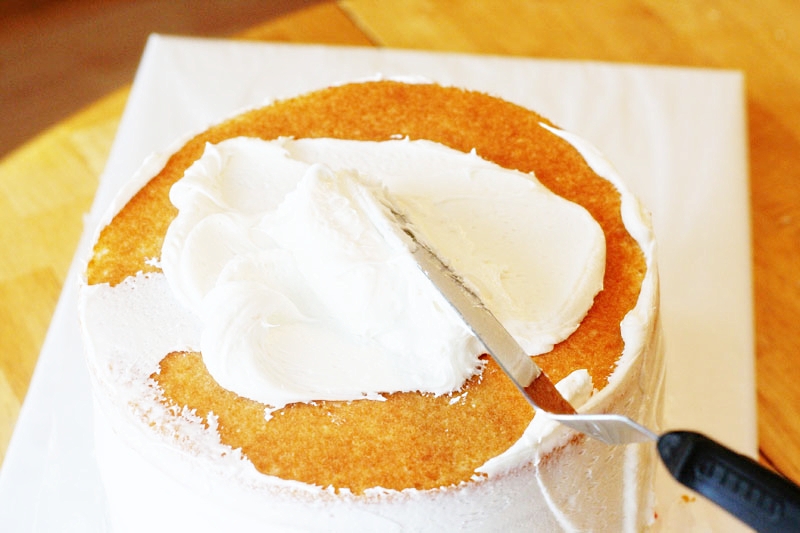
Two of the four eight-inch white cake is meant for the “bottom half” of the heart whereas the other two is meant for the “top half” of the heart. Level each cake. Remember to do this for all four white cakes. Add about 1/2 cup to 1 cup frosting and then put one layer on top. You want to separate two layered cakes at this point.
3. Mark the carving
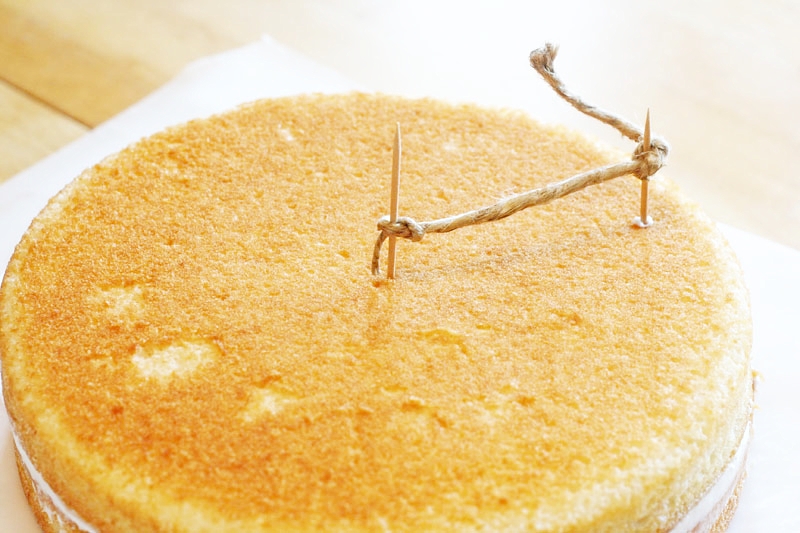
With two sharp toothpicks and a piece of twine, create a “carving” instrument. Remember to measure it right before attempting to mark it!
Place one toothpick in the center of the cake, then (holding firmly) drag the outside toothpick around the cake and make a circle (around the perimeter). Now, you have a rough guideline of where to being carving. Do this to both cakes.
4. Carving the cake
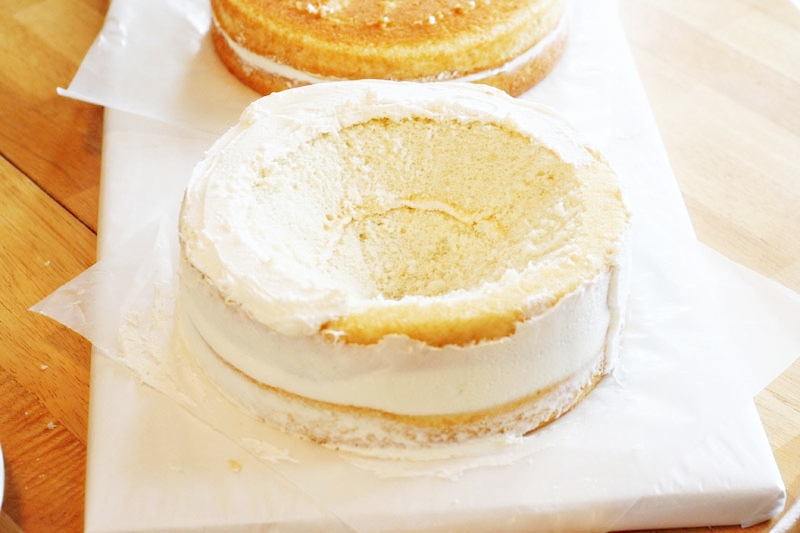
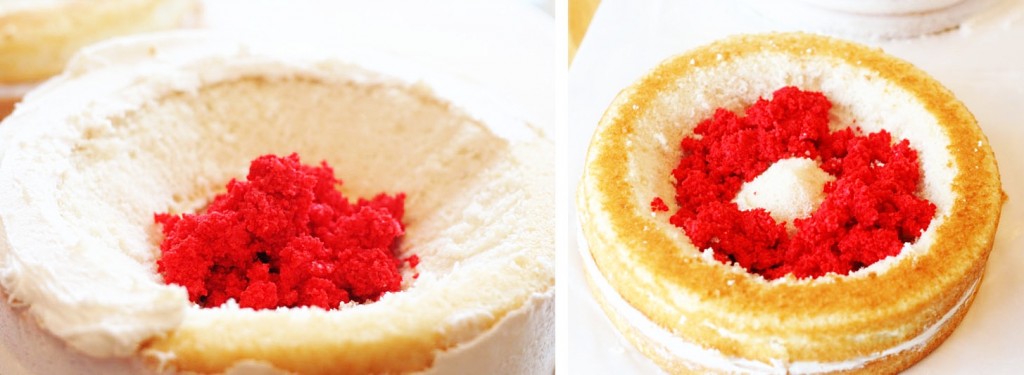
For the “bottom half” of the heart, take a knife and slowly, gently carve a “V” shape in the cake (refer to the above picture).
For the “top half” of the heart, start with a knife in the center of the cake and create a little “island”. Then, gradually move your knife back out to the guideline and start cutting. You will then create a “channel”. Once this is done, you can then go back in to create more detail. Use a spoon if you want!
5. Filling in the cake
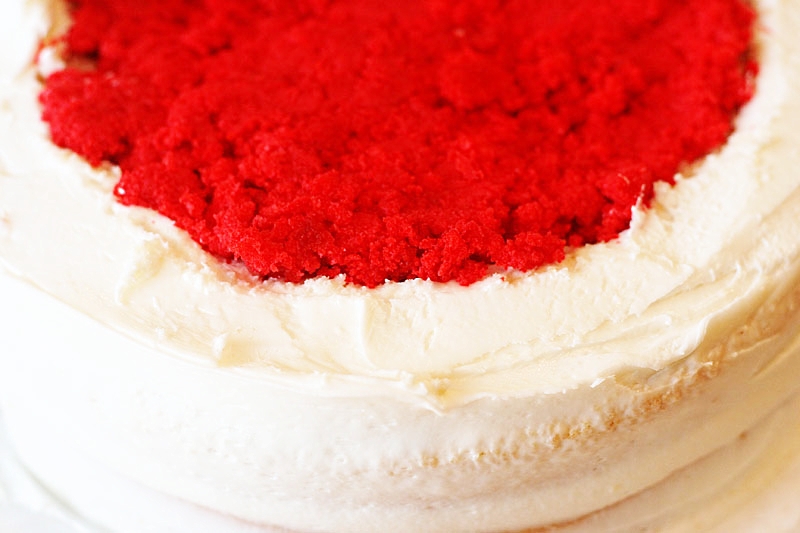
Yes, the hard part is over. Now, remember the red velvet crumbs? This is where they come in. Start filling out the two layered cakes. Ensure that they’re leveled nicely. “Mark” the cake that’s supposed to be the “bottom half” of the heart with some frosting on the edge just so you know which is which.
Leave it in the freezer for about 15 minutes to let them set.
6. Combining the two
Now that it has set, you’ll need to put the “top half” of the heart on top of the “bottom half” of the heart. Since the red velvet crumbs are stuck and set, you can do this by hand. Place your palm flat over the “top half” or the heart, flip it over, and gently fit it on the “bottom half” of the heart.
7. Finishing touches
Add some more frosting around and over the whole cake and decorate as you please. If you have any leftover red velvet cake crumbs, sprinkle it all over the top. Or you could leave it empty for a sweet message to a special someone. Finally, put it back into the fridge for at least half an hour. And you’re done!
Yummy!
*Disclaimer: Recipe and pictures are courtesy of i am baker.


