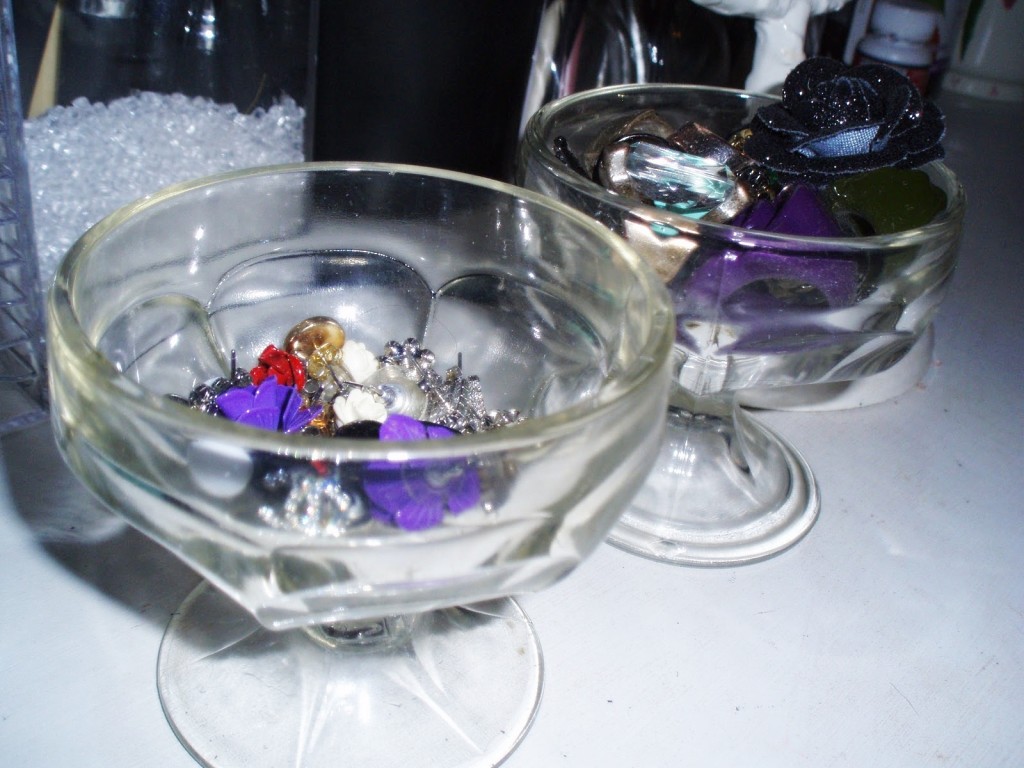
Do you often find it hard to organize your earrings? Do those little things often lie in a heap somewhere? Sometimes, it gets frustrating having to fish your earrings out of a random bowl only to find that you’ve lost one half of your favourite pair. Or having to turn the entire bowl upside down just to find out that the one half of your favourite pair was lodged at the bottom of the bowl. And then having to put all those earrings back into the bowl again.
Wash, rinse, and repeat.
Because we understand “earring troubles”, we’ve found a cost-effective way to help you keep them prettily organized (and on display in your room).
What you would need:
1. Picture frame (better to pick out rectangular ones because they hang better)
2. Wire mesh or window screen (available from any hardware or DIY store)
3. Heavy duty stapler
4. Hot glue gun
5. Cloth or fabric or a large picture (slightly bigger than your frame)
6. Scissors
7. Picture hanging kit
Take out the backing and front (glass) portion of your frame, leaving just the wooden bit. That’s all you would need for your earring holder, really. You would need to staple or glue your wire mesh or window screen right in the crease of the frame where the glass would have lain in.
With staples: Lay the wire mesh or window screen over your frame and start stapling at the top in the middle with one staple and work your way outwards. Then pull your screen down tight to the bottom and repeat the stapling process. Do the same for the sides. Cut of any excess screen.
With glue: If your frame isn’t thick enough, the staples will go through the wood on the other side. Your next best option would be to use a hot glue gun. Lay the wire mesh or window screen over your frame and fasten it at the top in the middle with a bead of glue. Place a line of glue in the crease, pull the screen tights, then use a butter knife or a screwdriver and press the screen into the crease. Cut off any excess screen.
Note: Staples usually work better and easier because it allows the screen to stay nice and tight whereas with the glue gun, you have to work very quickly and it may take a few tries to get it right. Also, remember to cut it as close as possible to the frame as you can when you cut off excess screen. Then, glue any ripples to the side. It would look neater!
Next, glue a backing of material onto your frame. You may choose cloth of any colour you wish (just make sure it goes well with your frame) or a picture.
For cloth: Using the same method as you just did with the screen, loosely cut out a portion of your material, leaving extra room to work with. Position your backing onto the frame and secure it at the top with a bead of glue in the middle, then work your way out. Once it’s dry, pull tight to the bottom and do the same. Repeat for the sides. Then trim off excess material.
For a picture: Your picture will have to be slightly bigger than the size it would have been if it were to lay in the frame instead of over it. Measure it against the size of your frame, cut it to fit. Position your picture onto the frame and secure it at the top with a bead of blue, then work your way out. Do the same for the sides, and then the bottom. Try not to leave creases! Trim off excess material.
Attach a picture hanging kit or leave it to lean against your dresser and wall.
And there you go! Your new earring holder. Beautiful and quite easily done. Earring hassle no more plus, it makes quite a good display!
*Disclaimer: Original idea and pictures are courtesy of squidoo.


