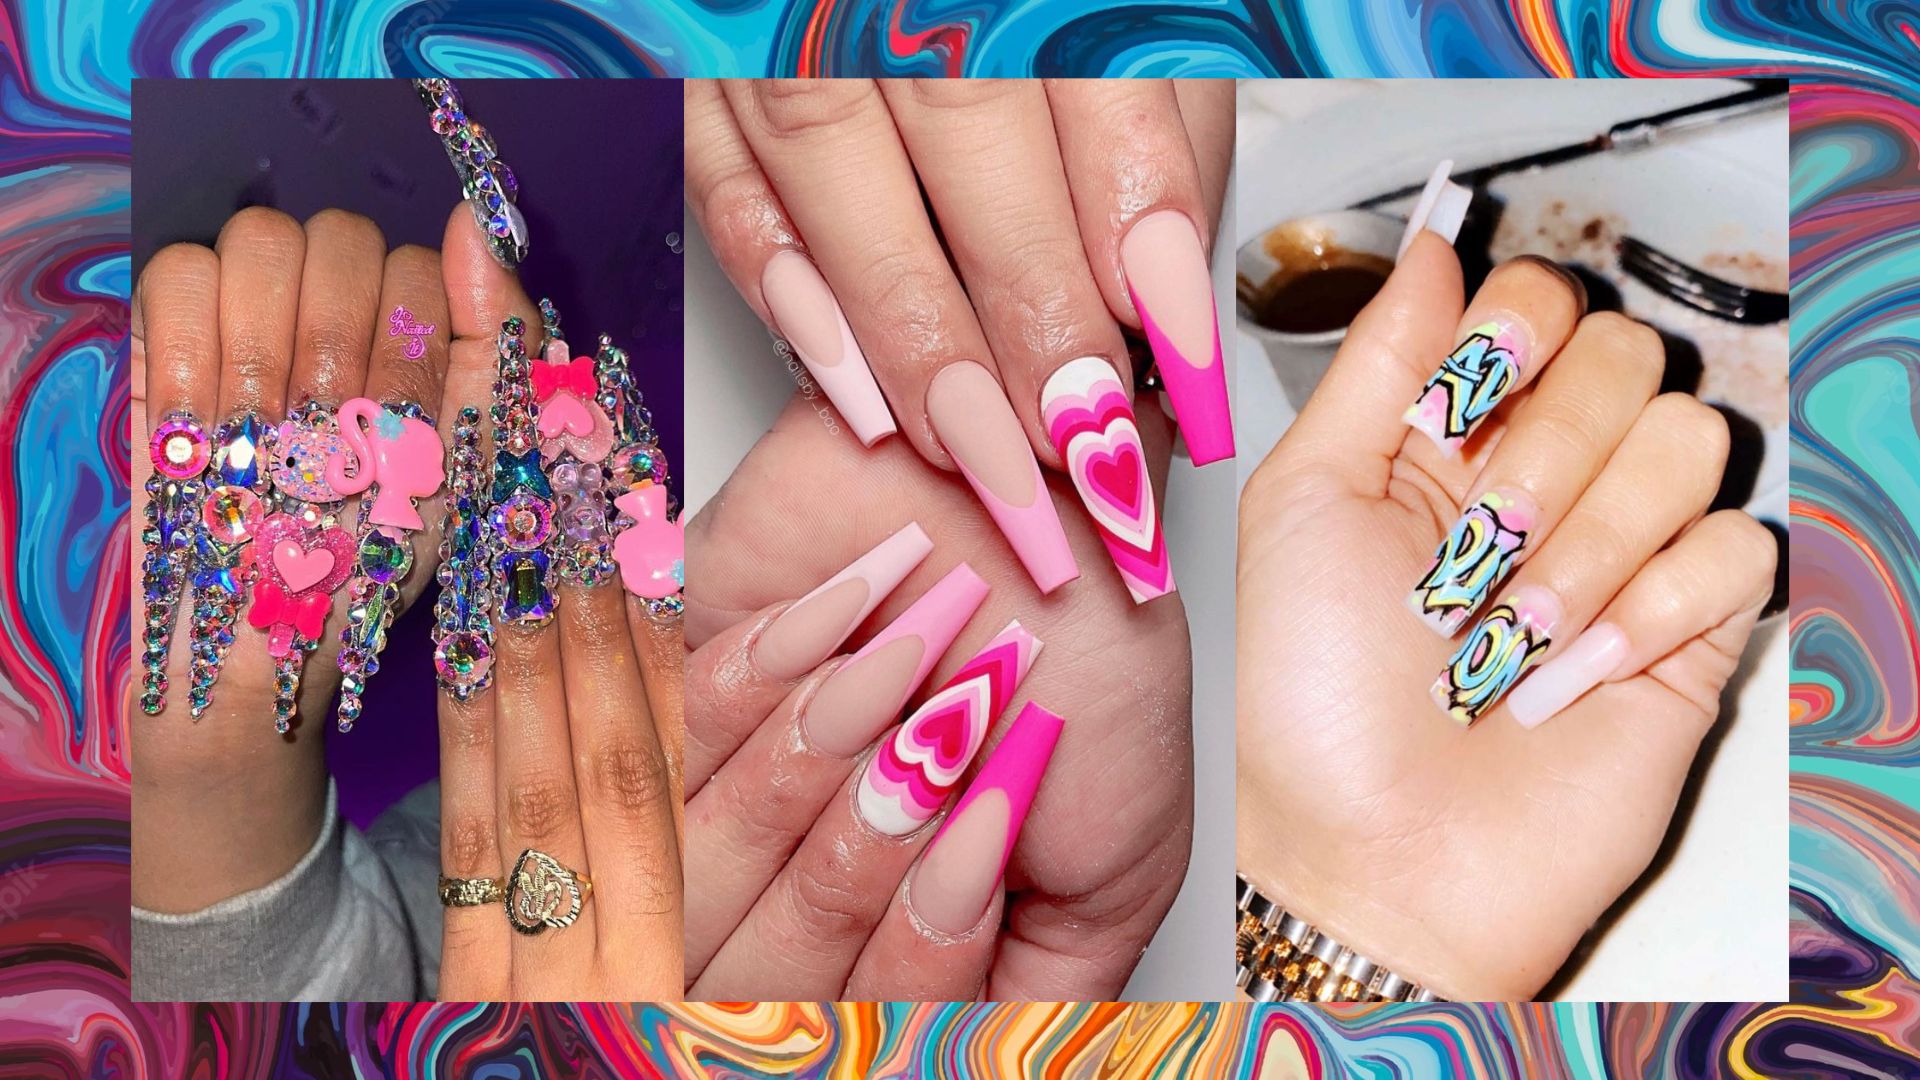
The spring season is finally here and we reckon that everyone should lighten up, let loose and embrace the cheery weather. Fashion trends are a little difficult to keep up with so we’ve decided to channel springtime with our nails by sporting some bright pastel coloured nail polish! Pastel nail polish can be a little intimidating and can come off as way too bold of an expression sometimes, so we’re toning it down with some abstract patterns. Learn how to get these nails below!
You’ll need: Base coat, top coat, pastel colour nail polish of your choice, metallic bronze or gold nail polish, nail polish remover, foil or plastic, cotton pads

Step 1: Before you start any manicure, always protect your natural nails with a base coat. Here, we’re using Sally Hansen’s Hard As Nails Hardener.

Step 2: We then chose Nails Inc Marylebone Road nail polish and we applied two coats of this to get an opaque and even colour.

Step 3: Now, get your piece of foil ready. For the abstract print, we’re using Marc Jacobs Gatsby nail varnish, which is a striking and lovely metallic shade of champagne pink.

Step 4: Take your piece of foil or plastic and scrunch it up, then hold it tight between your fingers. Put some nail polish on the scrunched part you just made and start stamping on your nails until you get your desired effect. When you’re happy with the results, clean up the edges of your nails with some cotton pad and nail polish remover. We didn’t put on a top coat as we really liked how the metallic polish stood out from the pastel colour, but if you want your nails to appear shiny and smooth, you can always finish your manicure off with a fast drying top coat.

These nails look amazing when the light hits as you’ll be able to tell there’s a distinct print going on. We’re super satisfied! If you’re going to try this tutorial out, share with us your recreations on Instagram by tagging us at #lipstiqdotcom. We might even share your photo with the rest of our readers!


