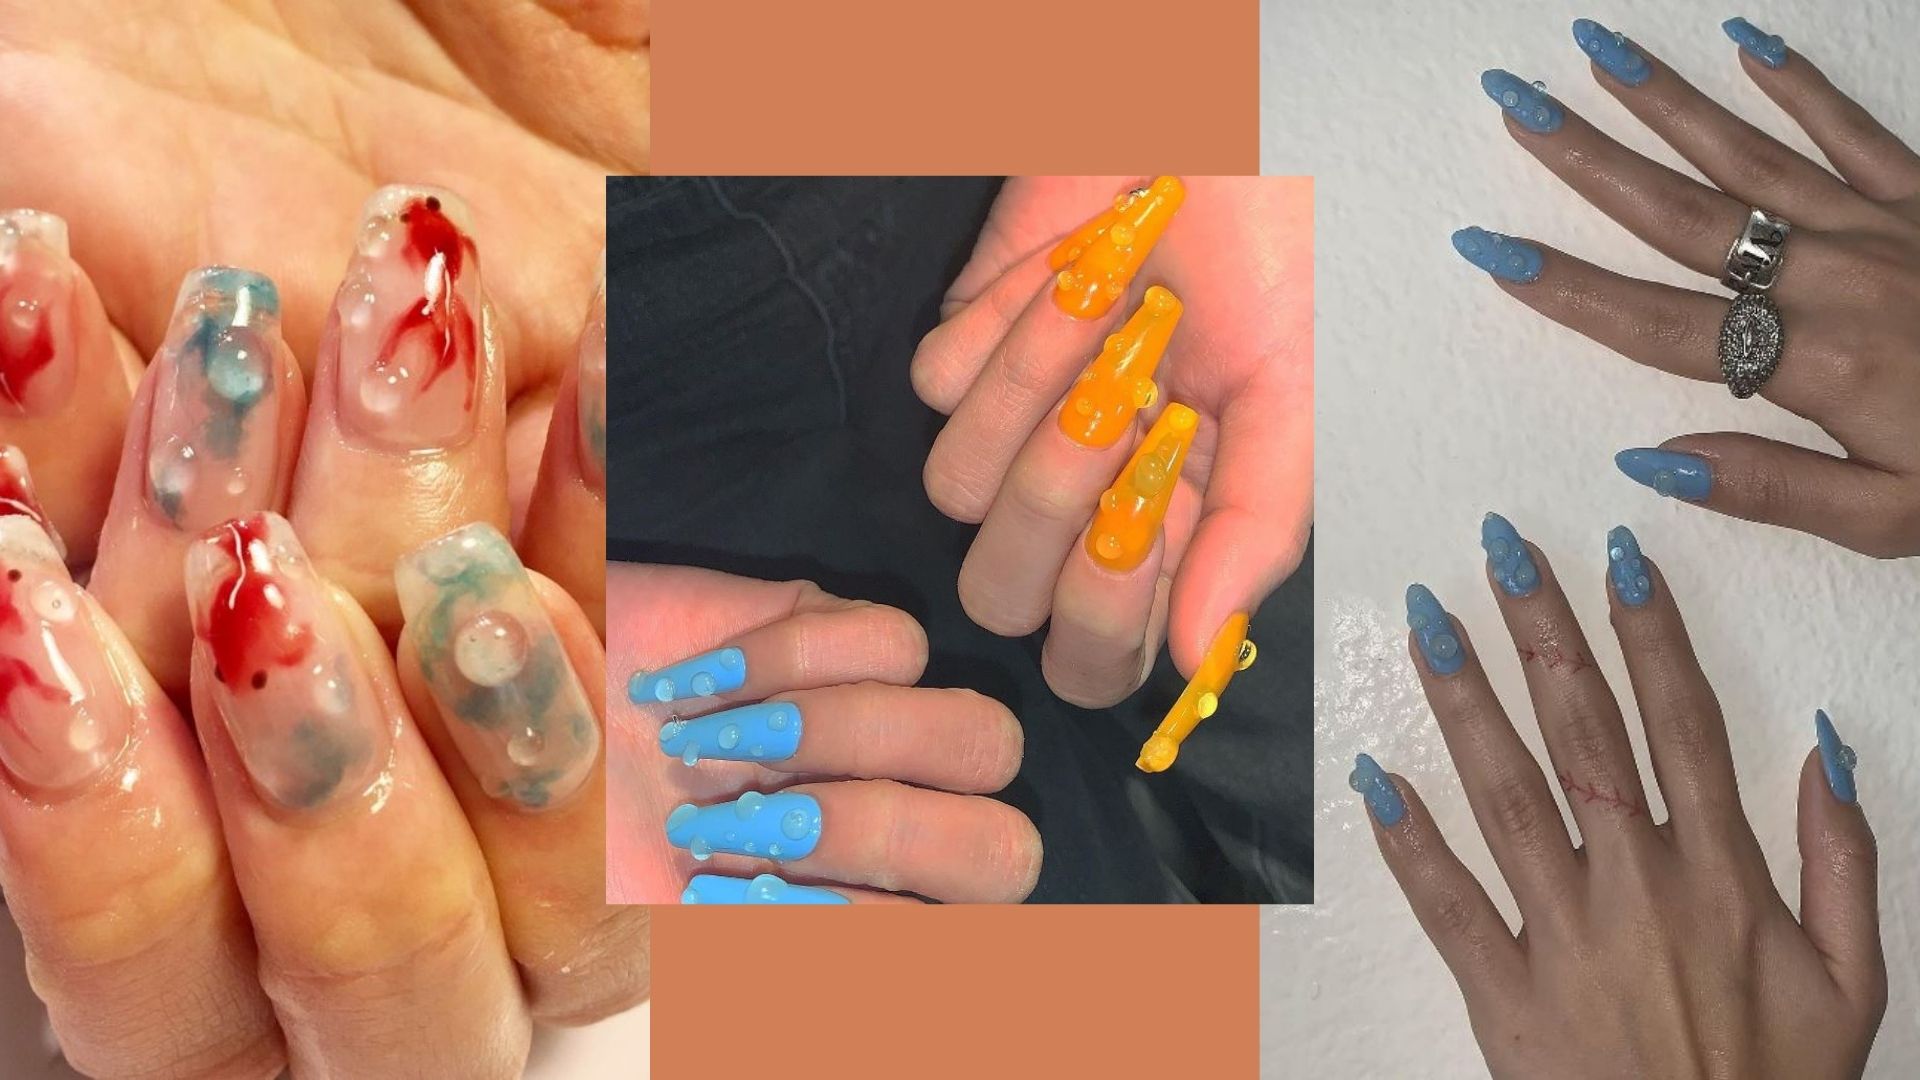
If you’ve ever worn nail polish, you must have noticed the little droplets that form when your hands get wet. They look pretty neat, don’t you think? What if I told you that you could have those tiny droplets on your nails permanently (or at least for a week)? Here’s what they look like:
https://www.instagram.com/p/B8xveeSFg2i/?utm_source=ig_embed&ig_rid=7a877f26-fd8f-48ed-9465-7557930e0293
If you’re smitten with them, we can show you how to DIY these adorable Water Drop nails at home!
What you’ll need:
All you need for this is a nail polish of your choice, which can be any colour or shimmer, a top coat, a base coat, and a clear polish. If you don’t have clear nail polish, you can always use the clear portion of your glitter nail polish!
Step 1
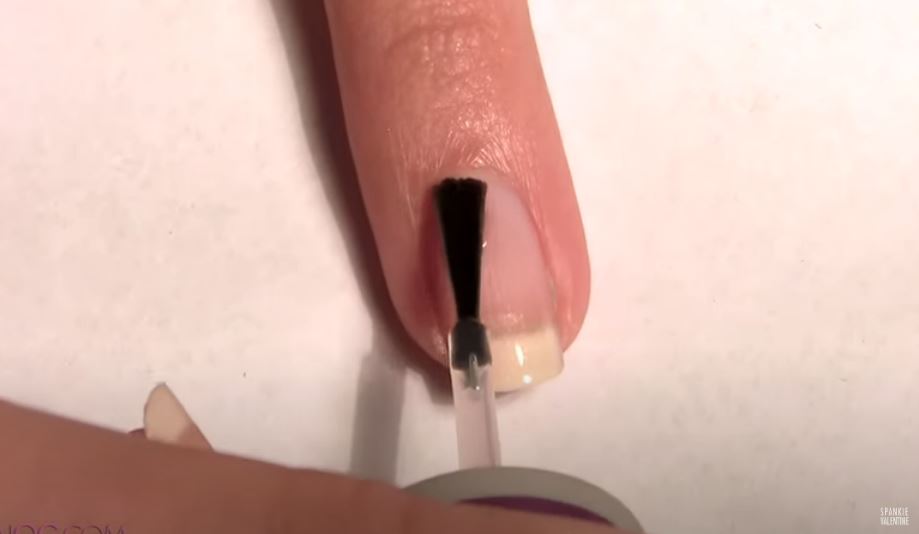
Like how you would normally paint your own nails, apply a base coat to your nails.
Step 2
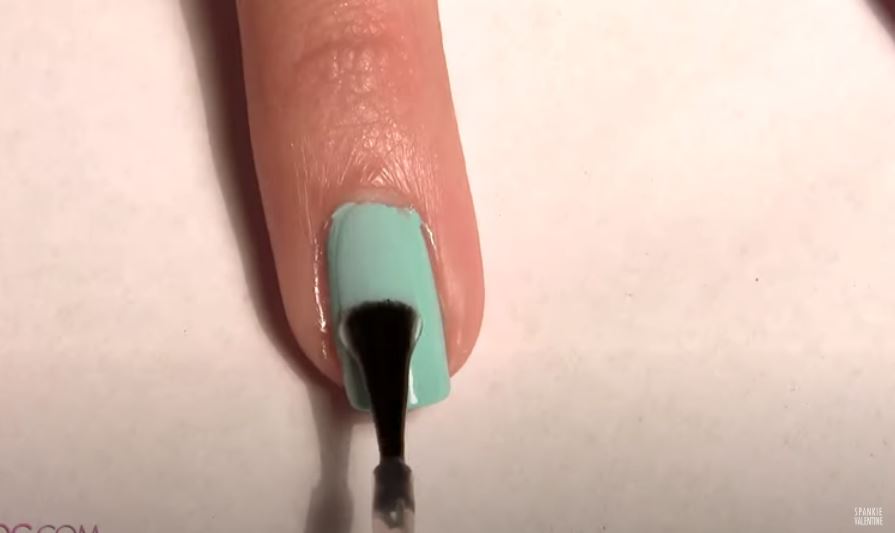
After your base coat has dried, apply two layers of the nail polish of your choice! This is to make sure that everything is filled in and smooth. Pro tip: lighter nail polish works best for these nails because the ‘water droplets’ are more visible!
Step 3
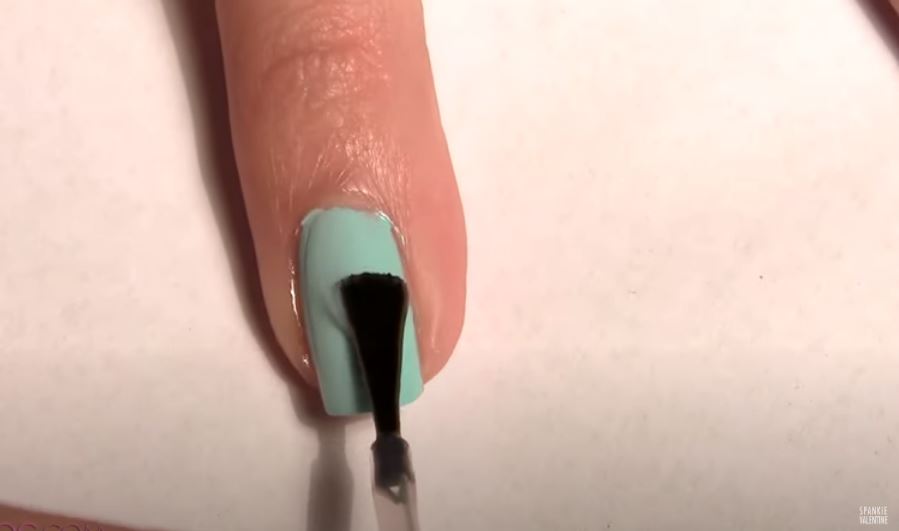
Now that your nail polish has dried, apply your top coat! It can be either shiny or matte, since they’re not gonna affect the look of the ‘water droplets’!
Step 4
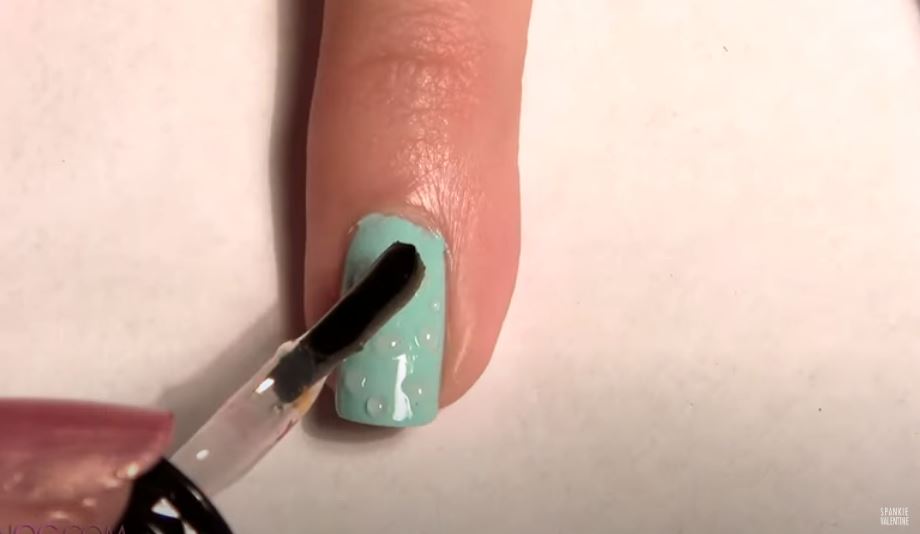
Now comes the exciting part: the water droplets! Using a dotting tool or a nail polish brush, pile on some clear nail polish and create little pools of dots of varying sizes on your nails. However, if you want the dots to appear more lifted and 3D, use the nail polish brush because it holds more polish. The key is to allow plenty of time for it to dry, so be careful not to smudge your nails!
Wanna spice things up? Here are some water drop nails inspos:
Would you try these Water Drop Nails?
More on nails? Read this:
Nail It Like A Bad B****! 4 Top Spots To Get Your Nails DONE

