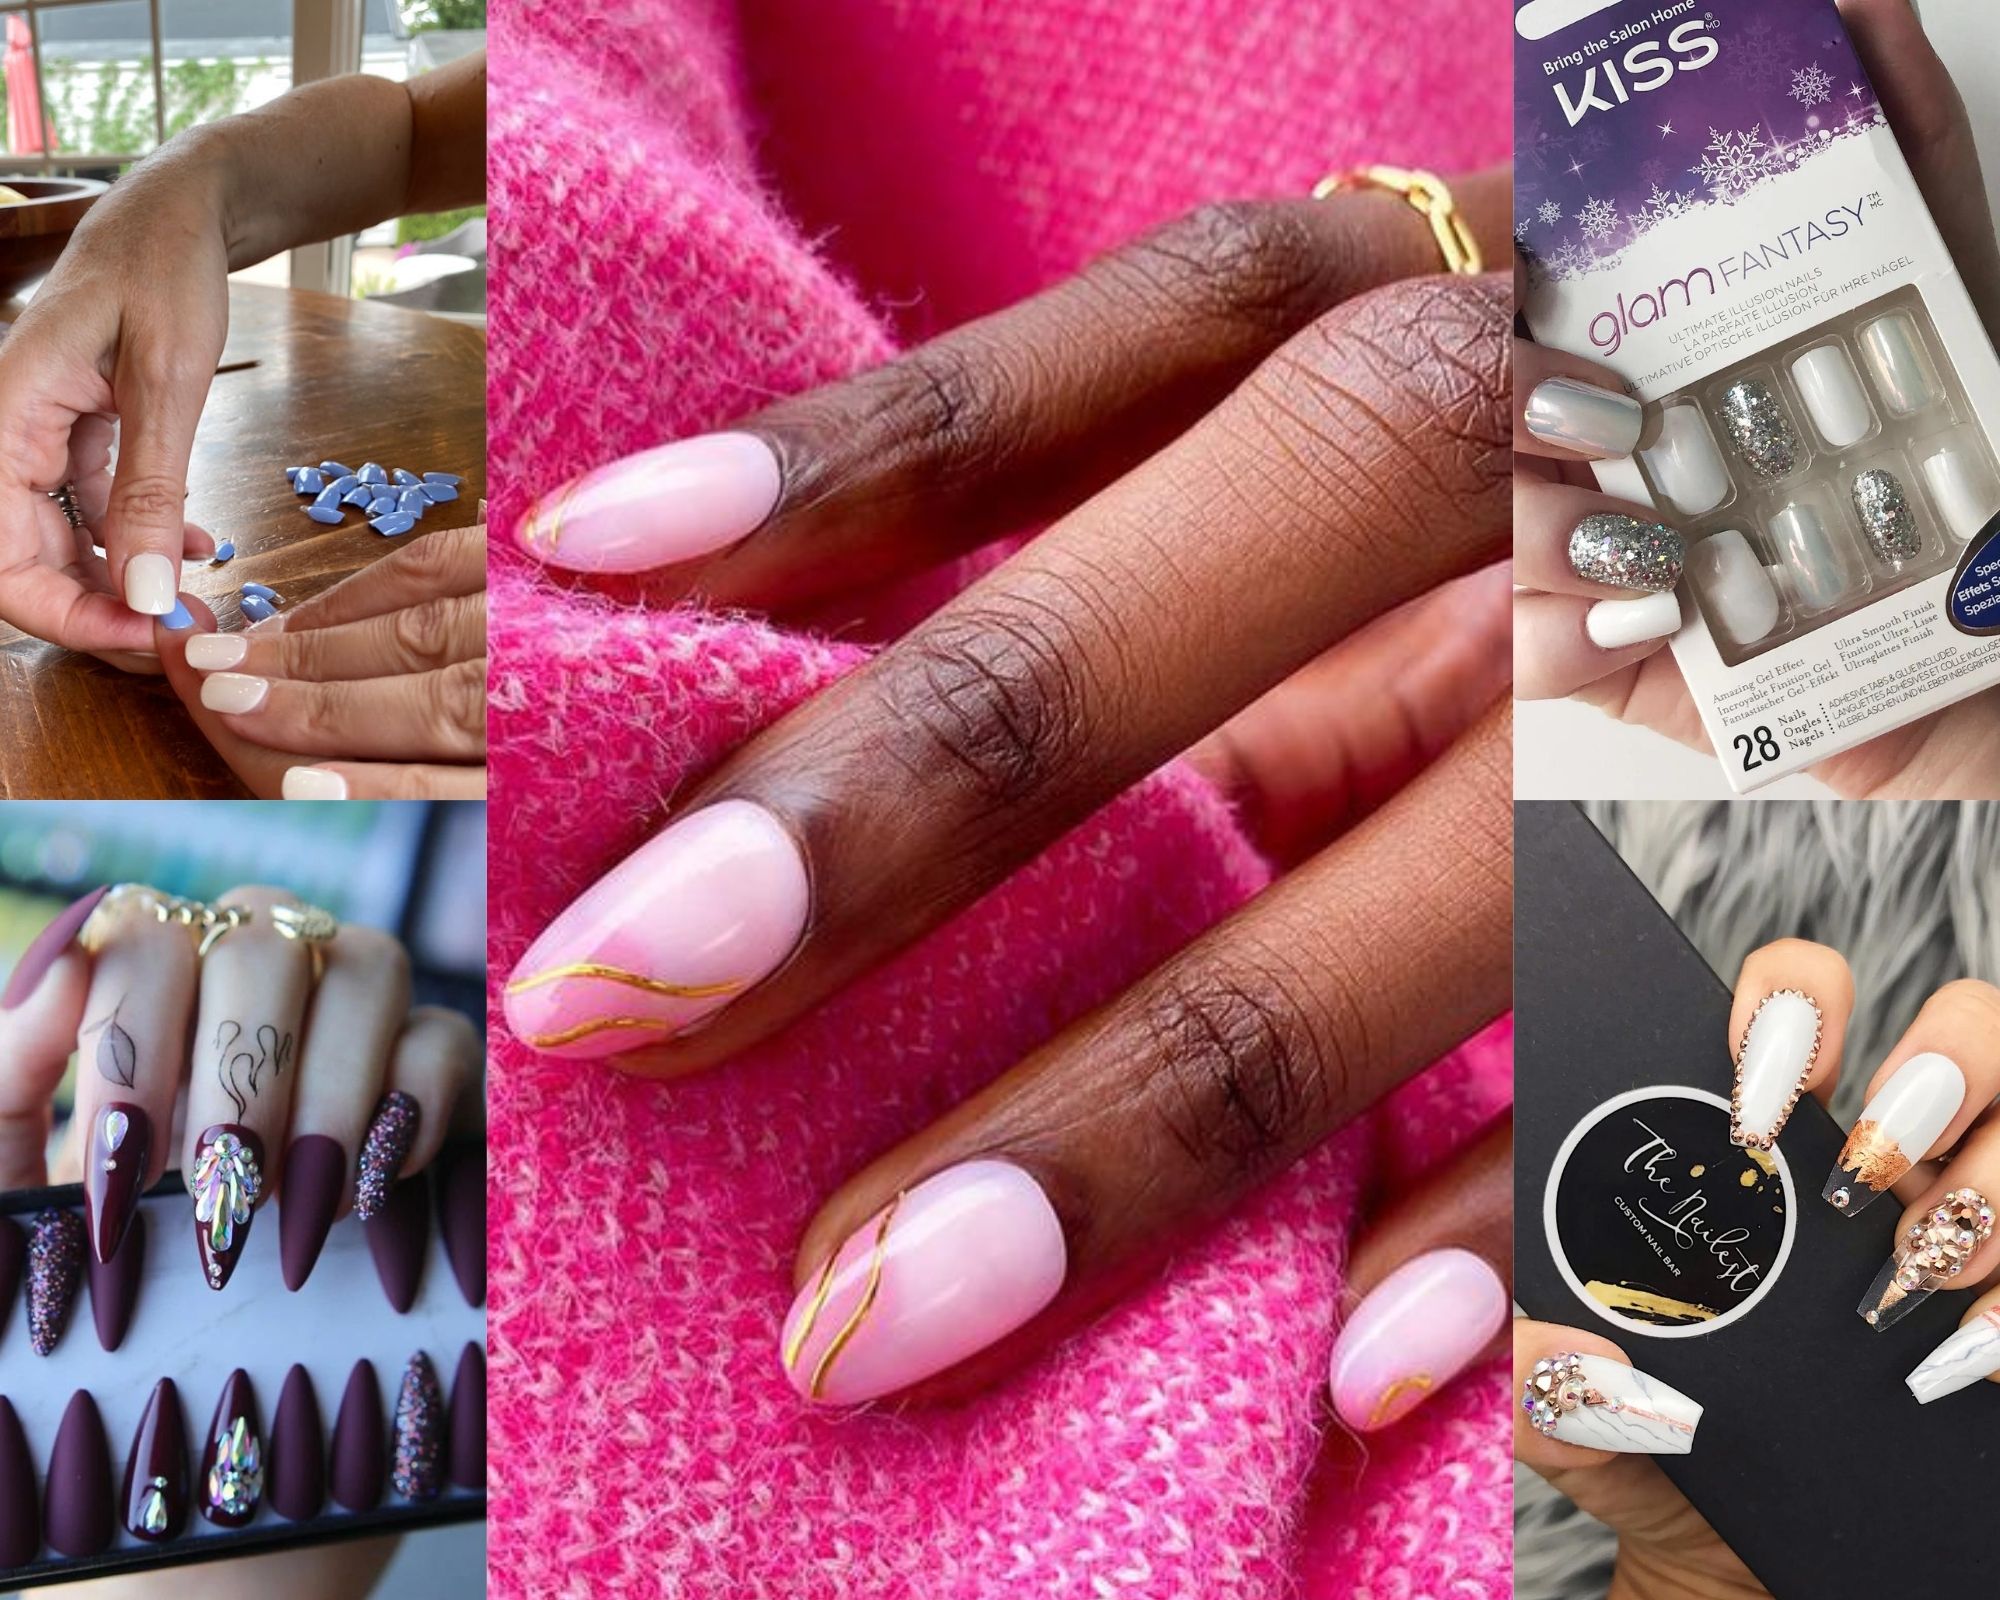
Youngsters have a lot on their minds – and now, their appearance has been added to their list of concerns as a result of the social media craze. And that includes everything from their hair to their nails. Finding time to have nails done might be difficult for people who enjoy nail art. Even if they have the time, going to the nail parlour every two weeks is completely out of their budget. What is the solution? Welcome to the world of press-on nails.
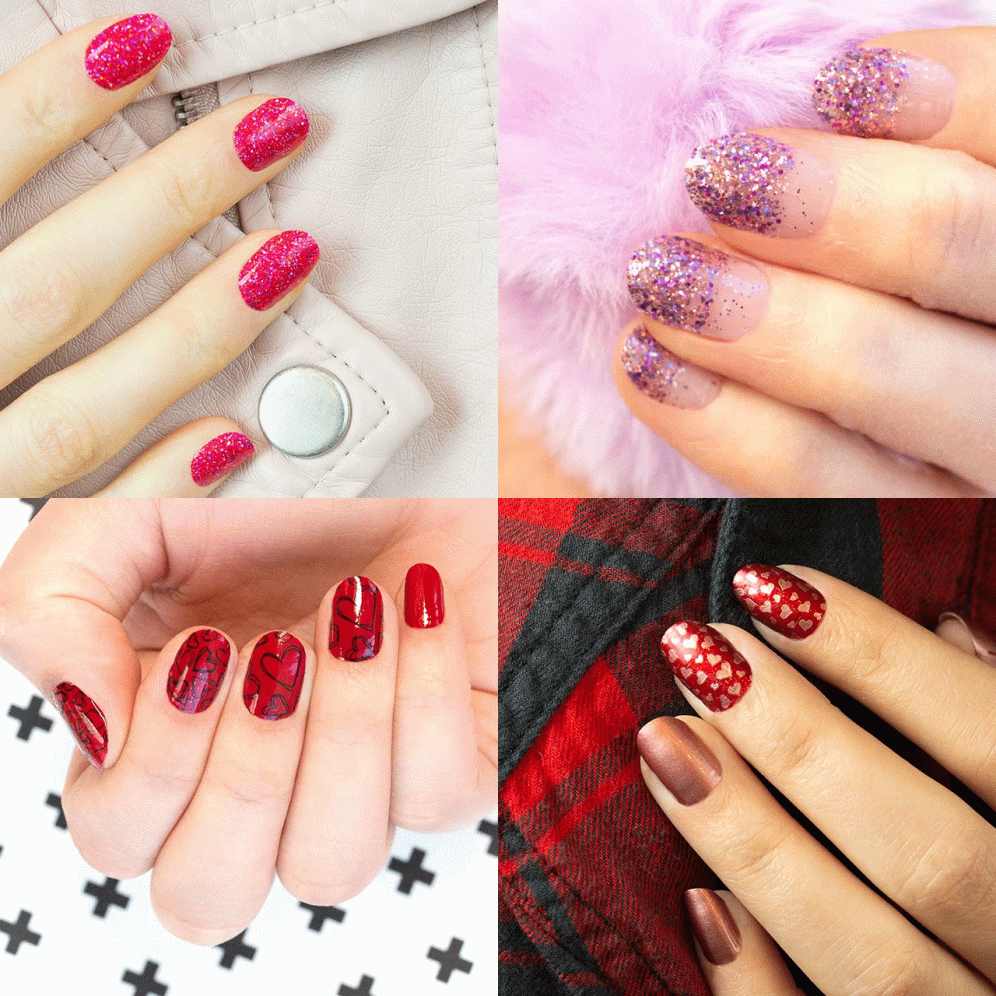
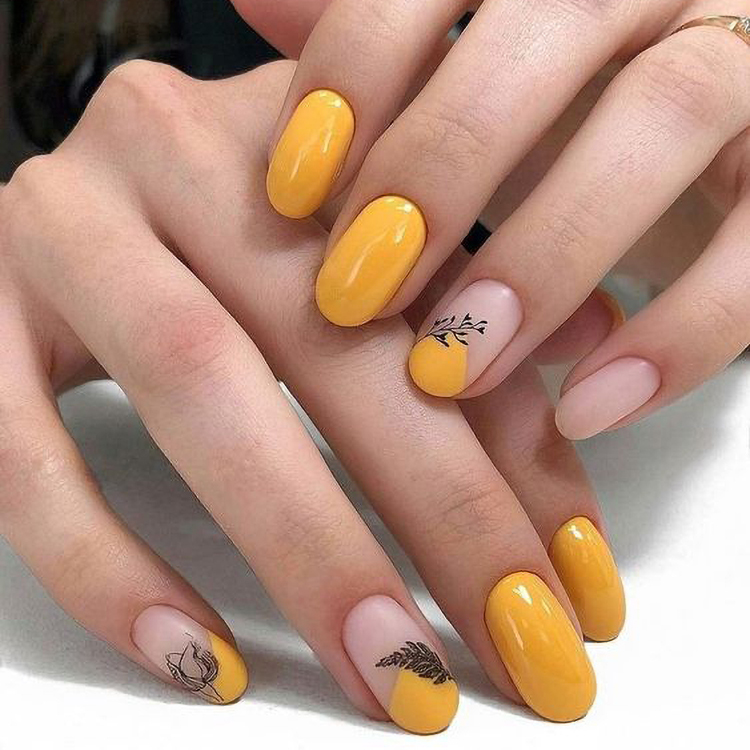
If you enjoy having your nails done all the time, then press-on nails should be on your radar. While they may appear to be relics of the past, the inexpensive press-on nails you remember from your childhood have been given a modern-day makeover. Whether you want them long or short, polished to perfection or embellished with gems, there’s a press-on nail kit to suit your needs.
What are press-on nails?
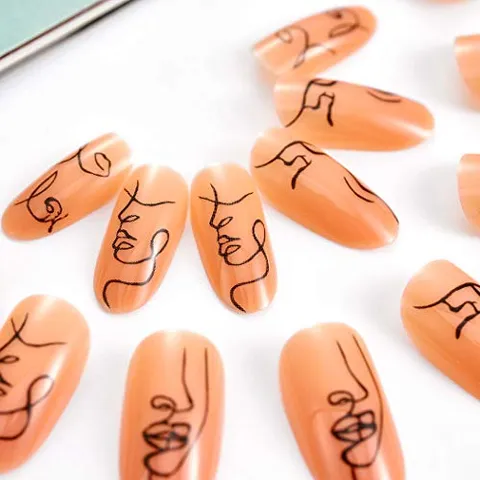
If you’re new to this thing, you’d probably be wondering what on earth a press-on nail is. Don’t worry, we got you. Press-on nails or glue-on nails, are simply artificial nails (yes, they’re fake!). Acrylic resin is used to make them. There is a variety of acrylic resins on the market, and the specific constituents vary depending on the brand and model. The best part about these artificial nails is that they’re inexpensive, come in a variety of forms, sizes, and designs, and are really simple to apply. To apply, all you need is either nail glue or nail stickers.
How to apply?
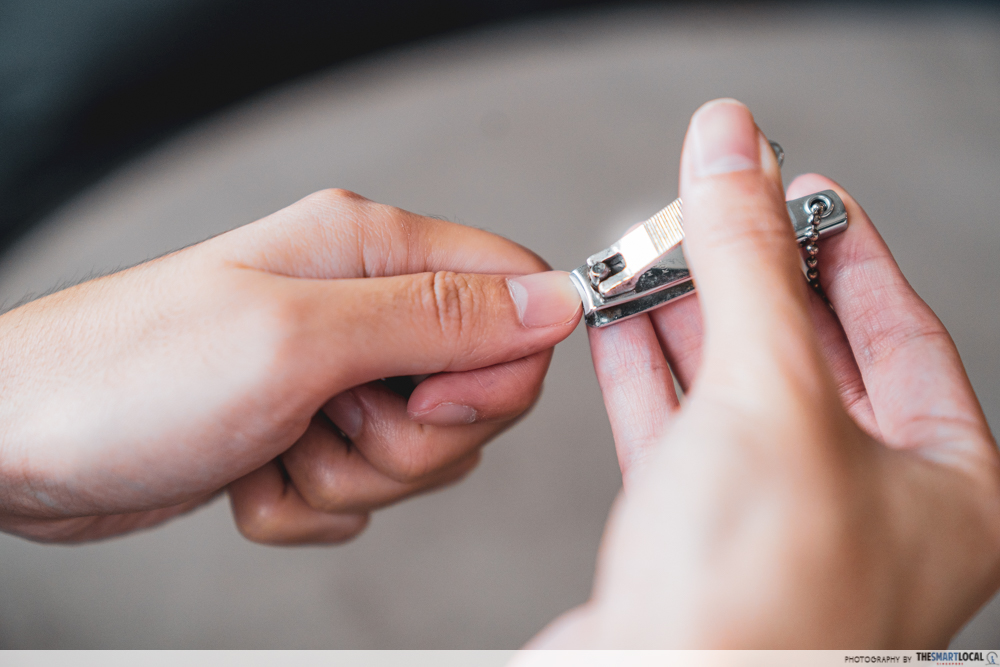
Super easy and hassle-free, press on nails are definitely a go-to beauty tool if you love changing your nail designs every now and then. The application is pretty simple. Start by cleaning your nails and cutting them slightly short. Longer nails will give your press on nails a shorter lifespan since they won’t stay put for too long. Use a nail polish remover to clean your nail base.
Press on nail kits come in different sizes. It doesn’t mean they will fit perfectly on your nail. So, before you apply the nail glue, measure and pick your size first. Simply pick the press on nails and place them on your fingers to see which one suits them. You can even file the sides of your press on nails to make them fit perfectly on your nails.
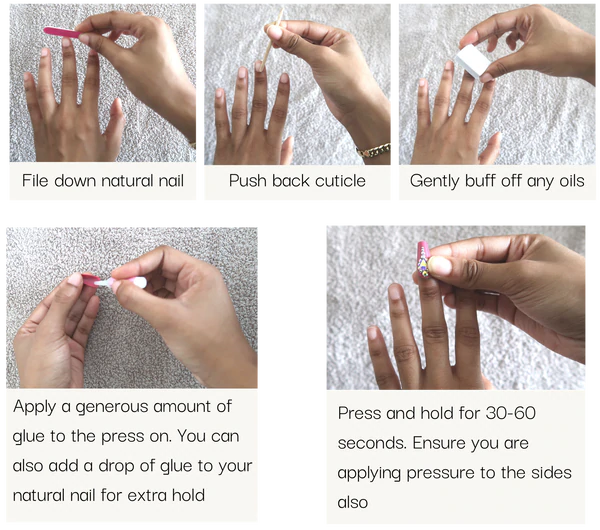
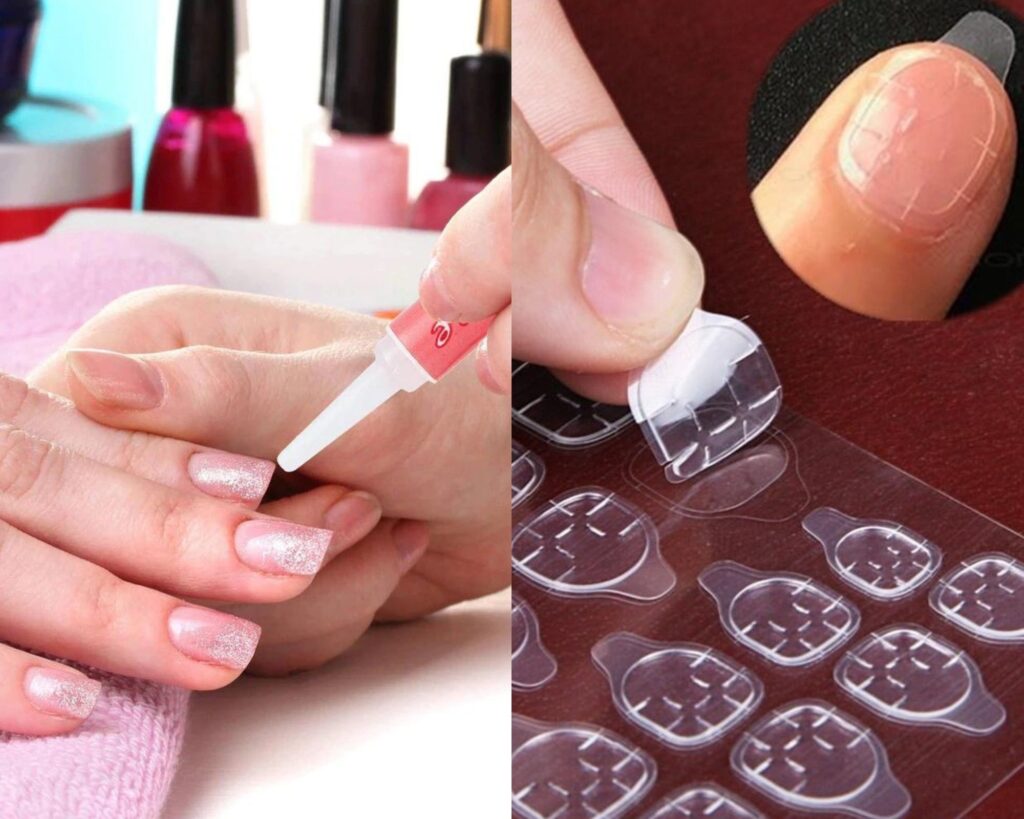
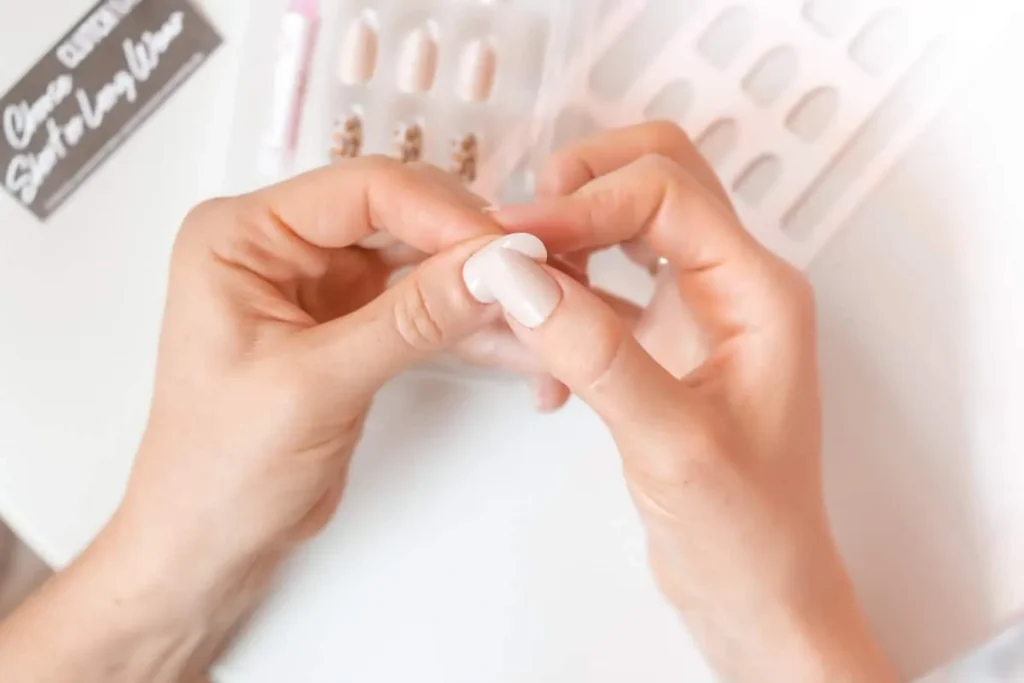
One finger at a time, apply the nail glue and stick on your fake nail. Gently press the nails for few seconds to ensure they sit well on your original nails. And you’re done. Pretty looking fingers in no time. Personally, I prefer using nail stickers instead of nail glue simple because nail stickers can be removed easily and won’t damage your original nails. Nail glue, on the other hand, is long-lasting but the removal is really inconvenient. I remember using nail glue once and the texture of my original nails were so bad and rough. In fact, nail glue is somewhat similar to super glue, so you do the math!
Ways to make your press-on nails last longer
Now that you know what press-on nails are and how to use them, let’s look into ways you can make them last longer with 5 easy steps.
Step 1: Before applying your press-ons, make sure your nails are completely clean so that dirt, oil, or other debris don’t hinder the glue from fully bonding the press-on to your natural nail.
Step 2: Depending on how long you want your press-on nails to last, apply your adhesive accordingly. If you merely want to change up your nail look for the weekend or if you want them to last a week or more, use only a few drops of adhesive because the glue can be quite strong. Use nail stickers for a simpler choice. Never use glue to cover your entire nail because when you remove it, it ruins the texture of your original nails.
Step 3: Choose shorter nails. Long coffin, stiletto, and almond-shaped nails are all fun, but the longer they are, the more likely they will snag on anything and pop off. But if you’re the type that sits like a queen at home, then long press on nails will do just fine.
Step 4: I know I claimed press-on nails are simple to apply, but they do require a little patience. After you’ve applied the glue and placed it onto your nails, apply pressure to each nail for 30 seconds. This allows the adhesive to distribute evenly throughout the entire surface, resulting in a stronger bond. As a result, press-on nails will adhere better.
Step 5: To help your press-on nails last longer, don’t wash your hands or come into contact with water for at least 2 hours after application. Apply it before bedtime to make it simpler. Remember that press-ons are supposed to come off with merely soap and water, so don’t soak your nails in water.
Because press-on nails are reusable, they are a great money saver. If you wish to reuse your press-on nails, keep them separate from the rest of the kit’s unused ones. You may now participate in the Instagram artistic nail trend without getting broke. Happy DIY-ing!
More on nails? Read this:

