To get a beautiful marble nail art, the old school DIY method would require you to dip your fingers into a cup of water with nail polish on its surface. The results are great, but it can get very, very messy and most of the time, the colours would turn out sheerer than expected. For that reason, we’re showing you how to get a neat marble nail art that is opaque and easier to pull together, without the mess of water involved.
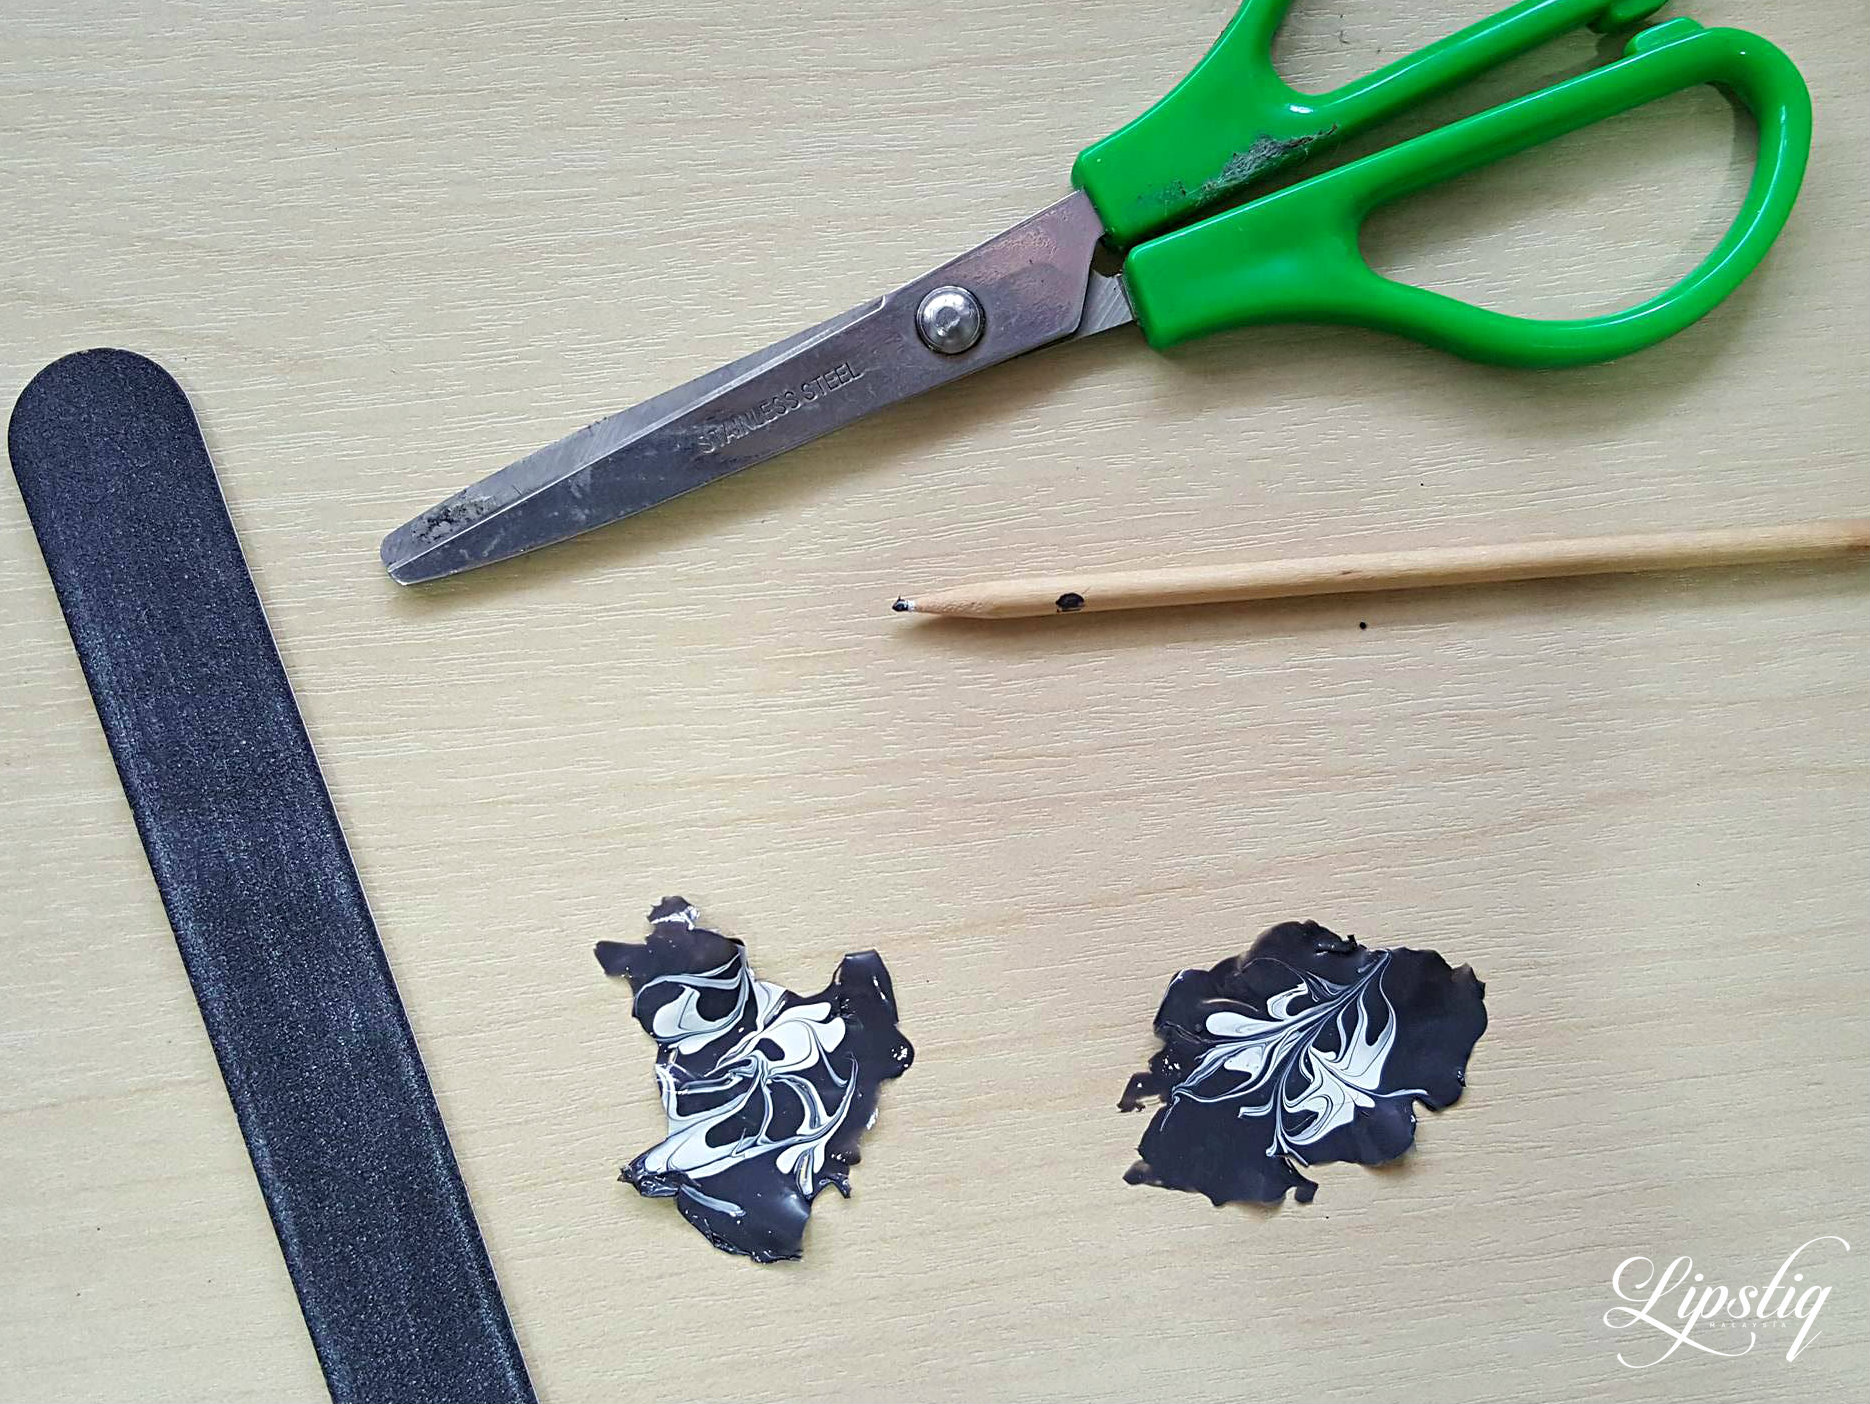
You’ll need: Plastic sandwich baggie, base coat, top coat, grey nail polish, white nail polish, orange stick, nail file, scissors, nail polish remover, paint brush
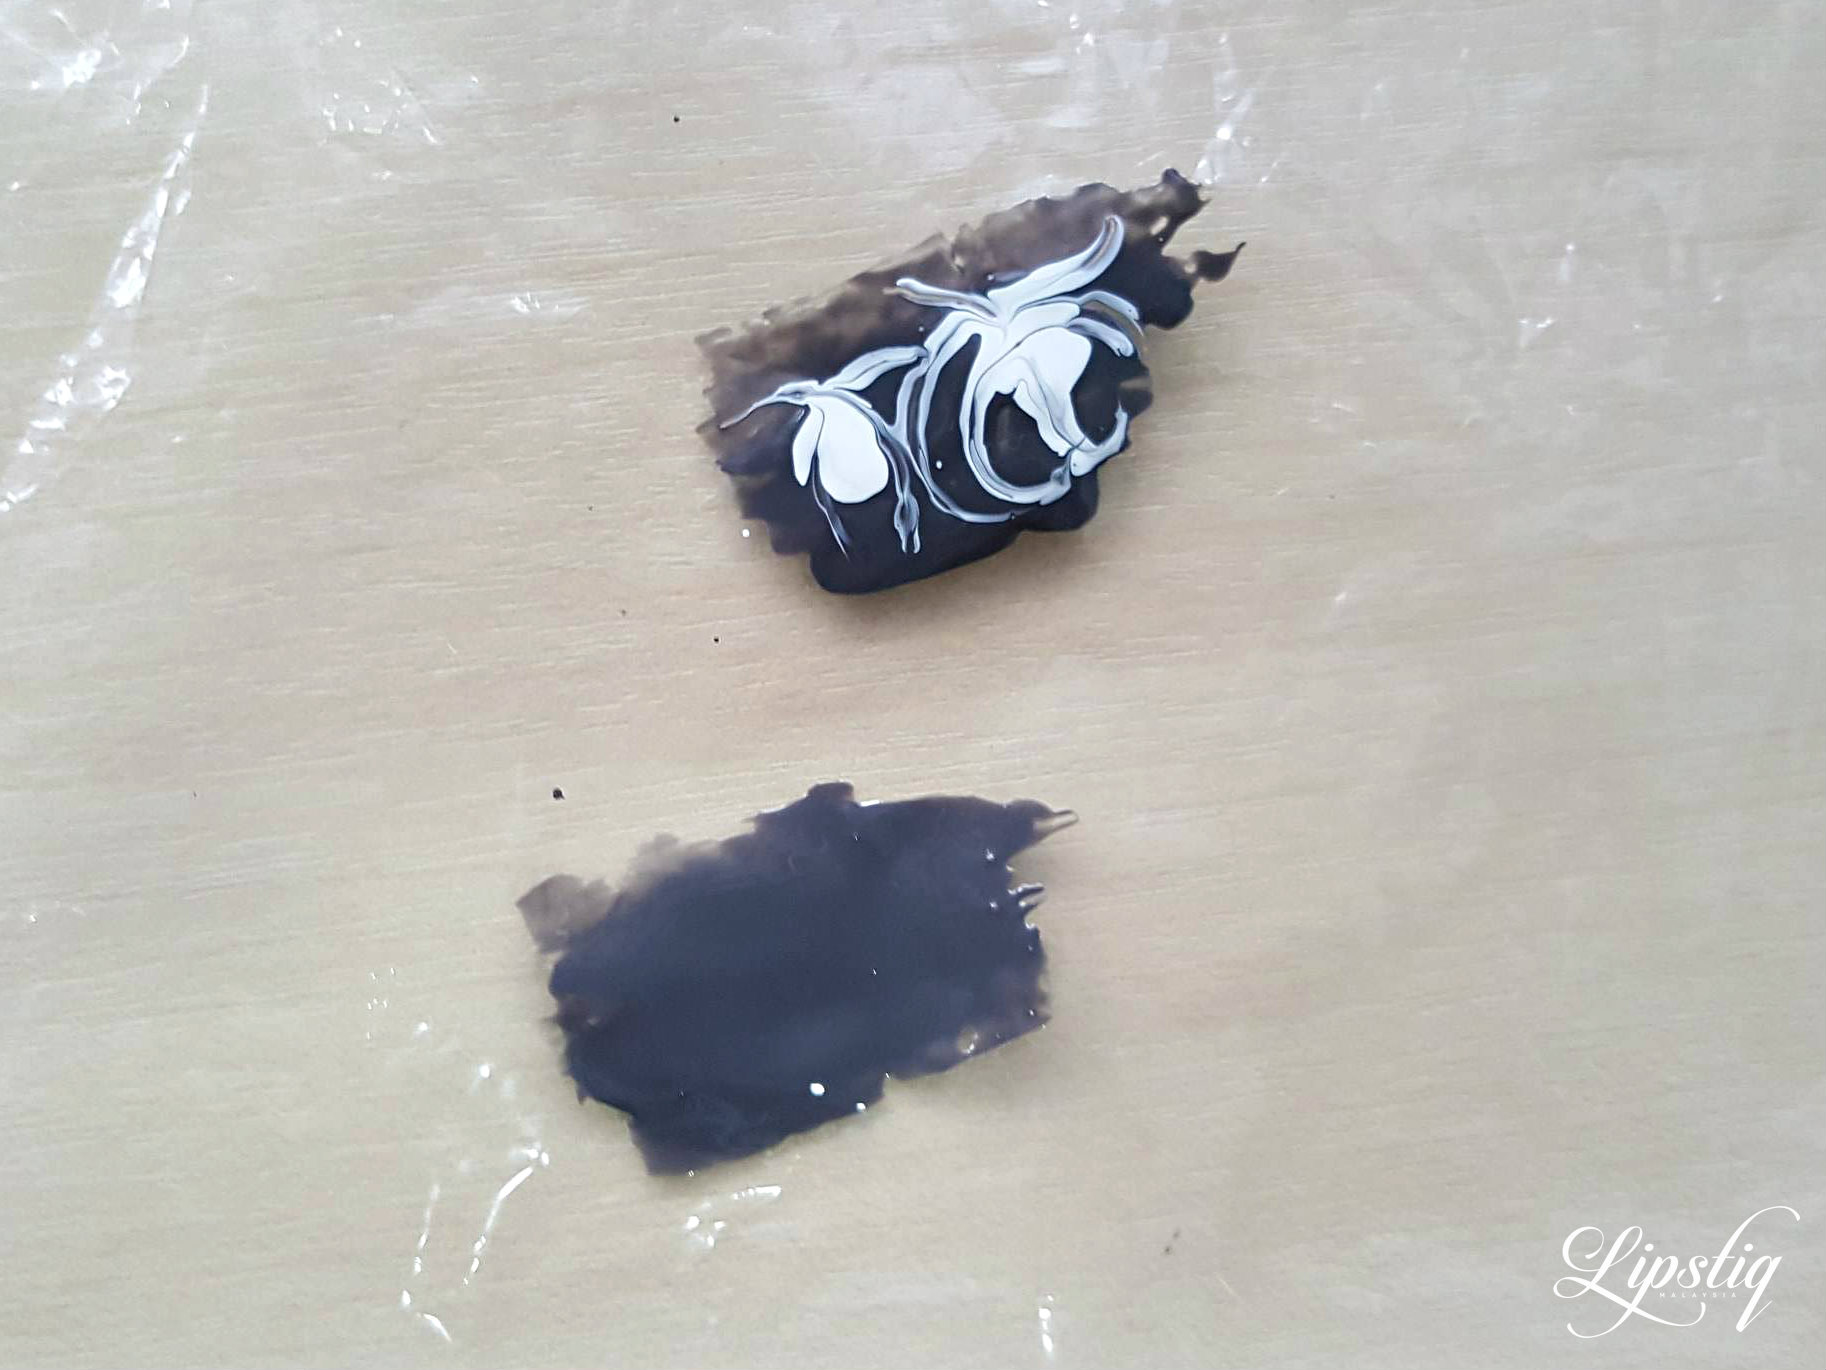
Step 1: Get the resealable sandwich baggie and paint on some grey nail polish. Make sure that your paint area is big enough to fit one or two nails.
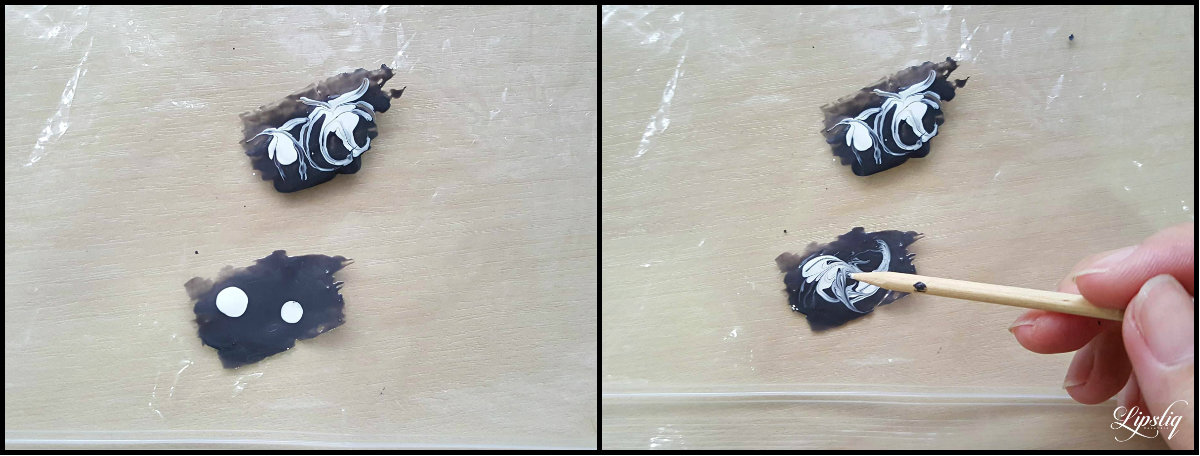
Step 2: Drop a couple blobs of white nail polish on your paint area, then use the orange stick to swirl the colours around. Make sure to work as fast as you can before the nail polish dries. Be careful not to swirl too much or the colours will mix together. Leave it for two hours to dry completely.
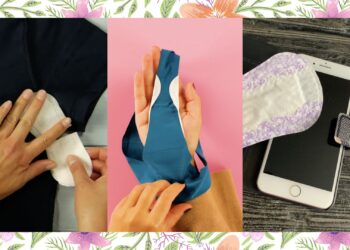
Step 3: Gently peel off the nail polish from the baggie. If you tug on it too hard, it will rip apart.
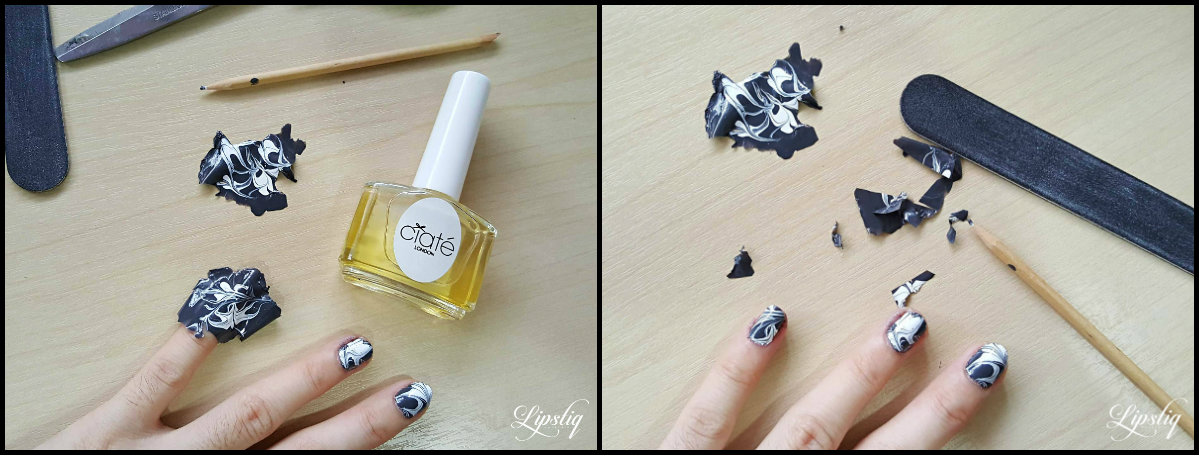
Step 4: Apply your base coat, then gently apply the dried nail polish onto the area and press down. Snip off the excess, and use the orange stick to get around your cuticles. Apply pressure on the dried nail polish where you want it to snap and carefully tug it away from the nail. At the edge of the nail, file downwards until the nail polish breaks off.
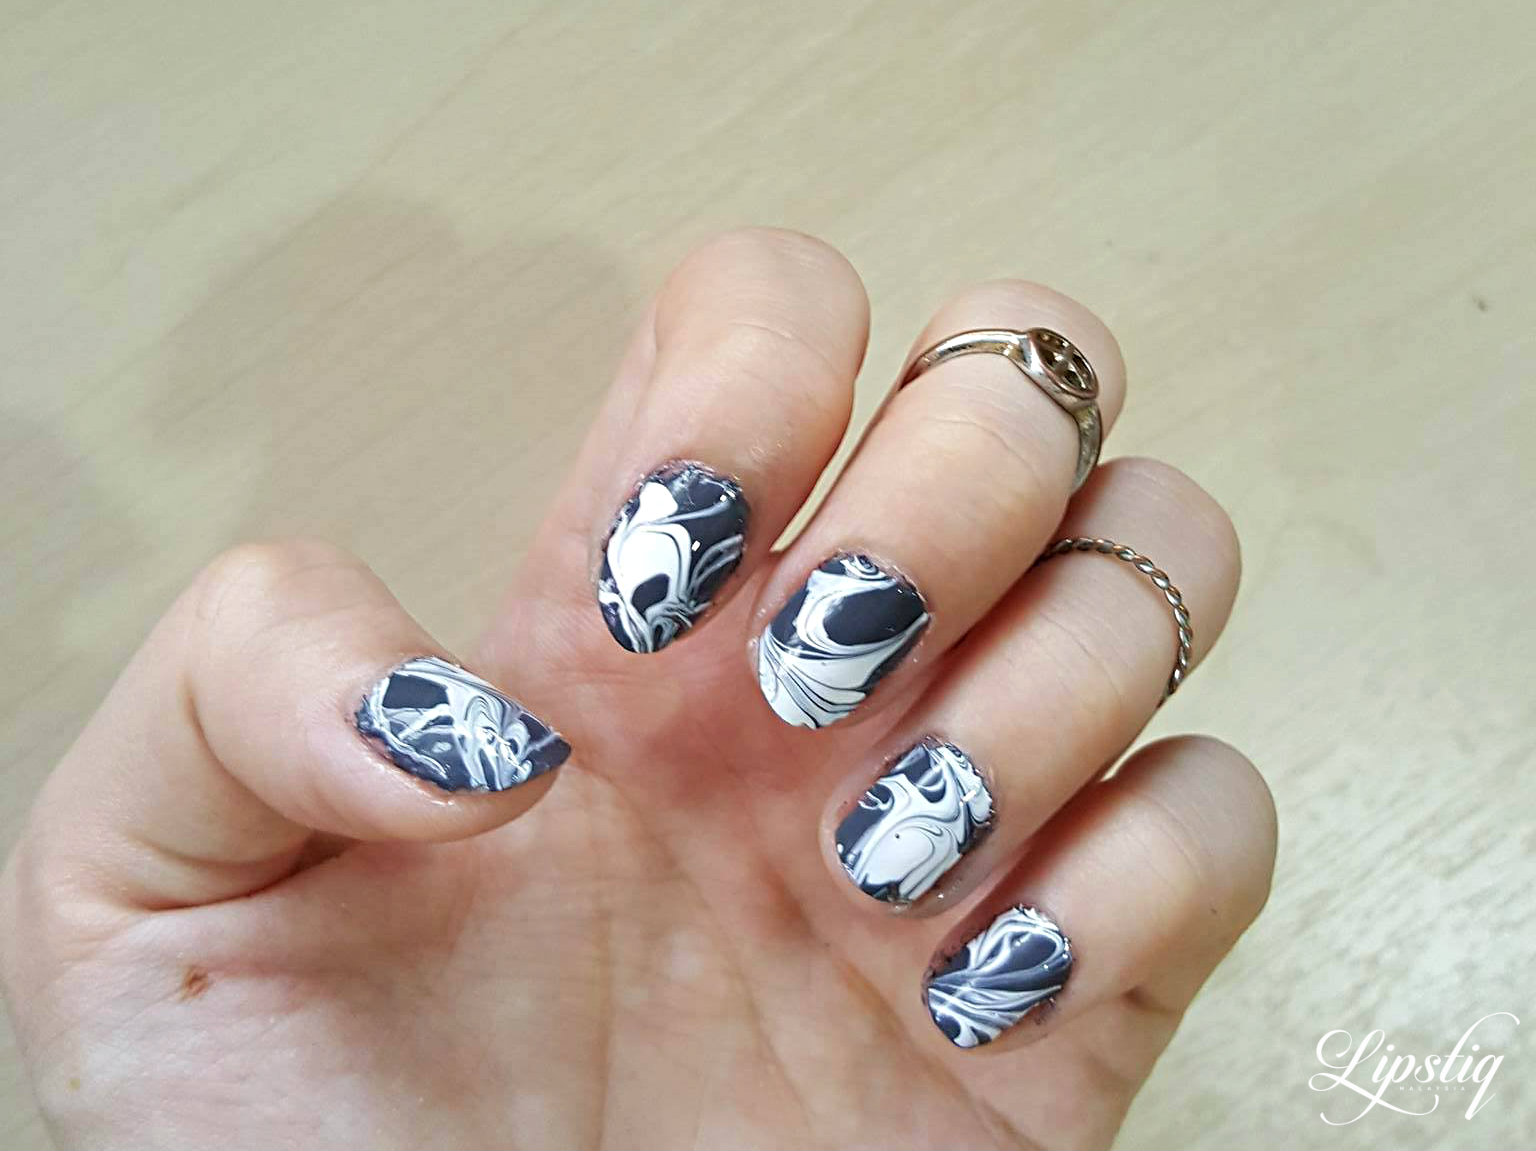
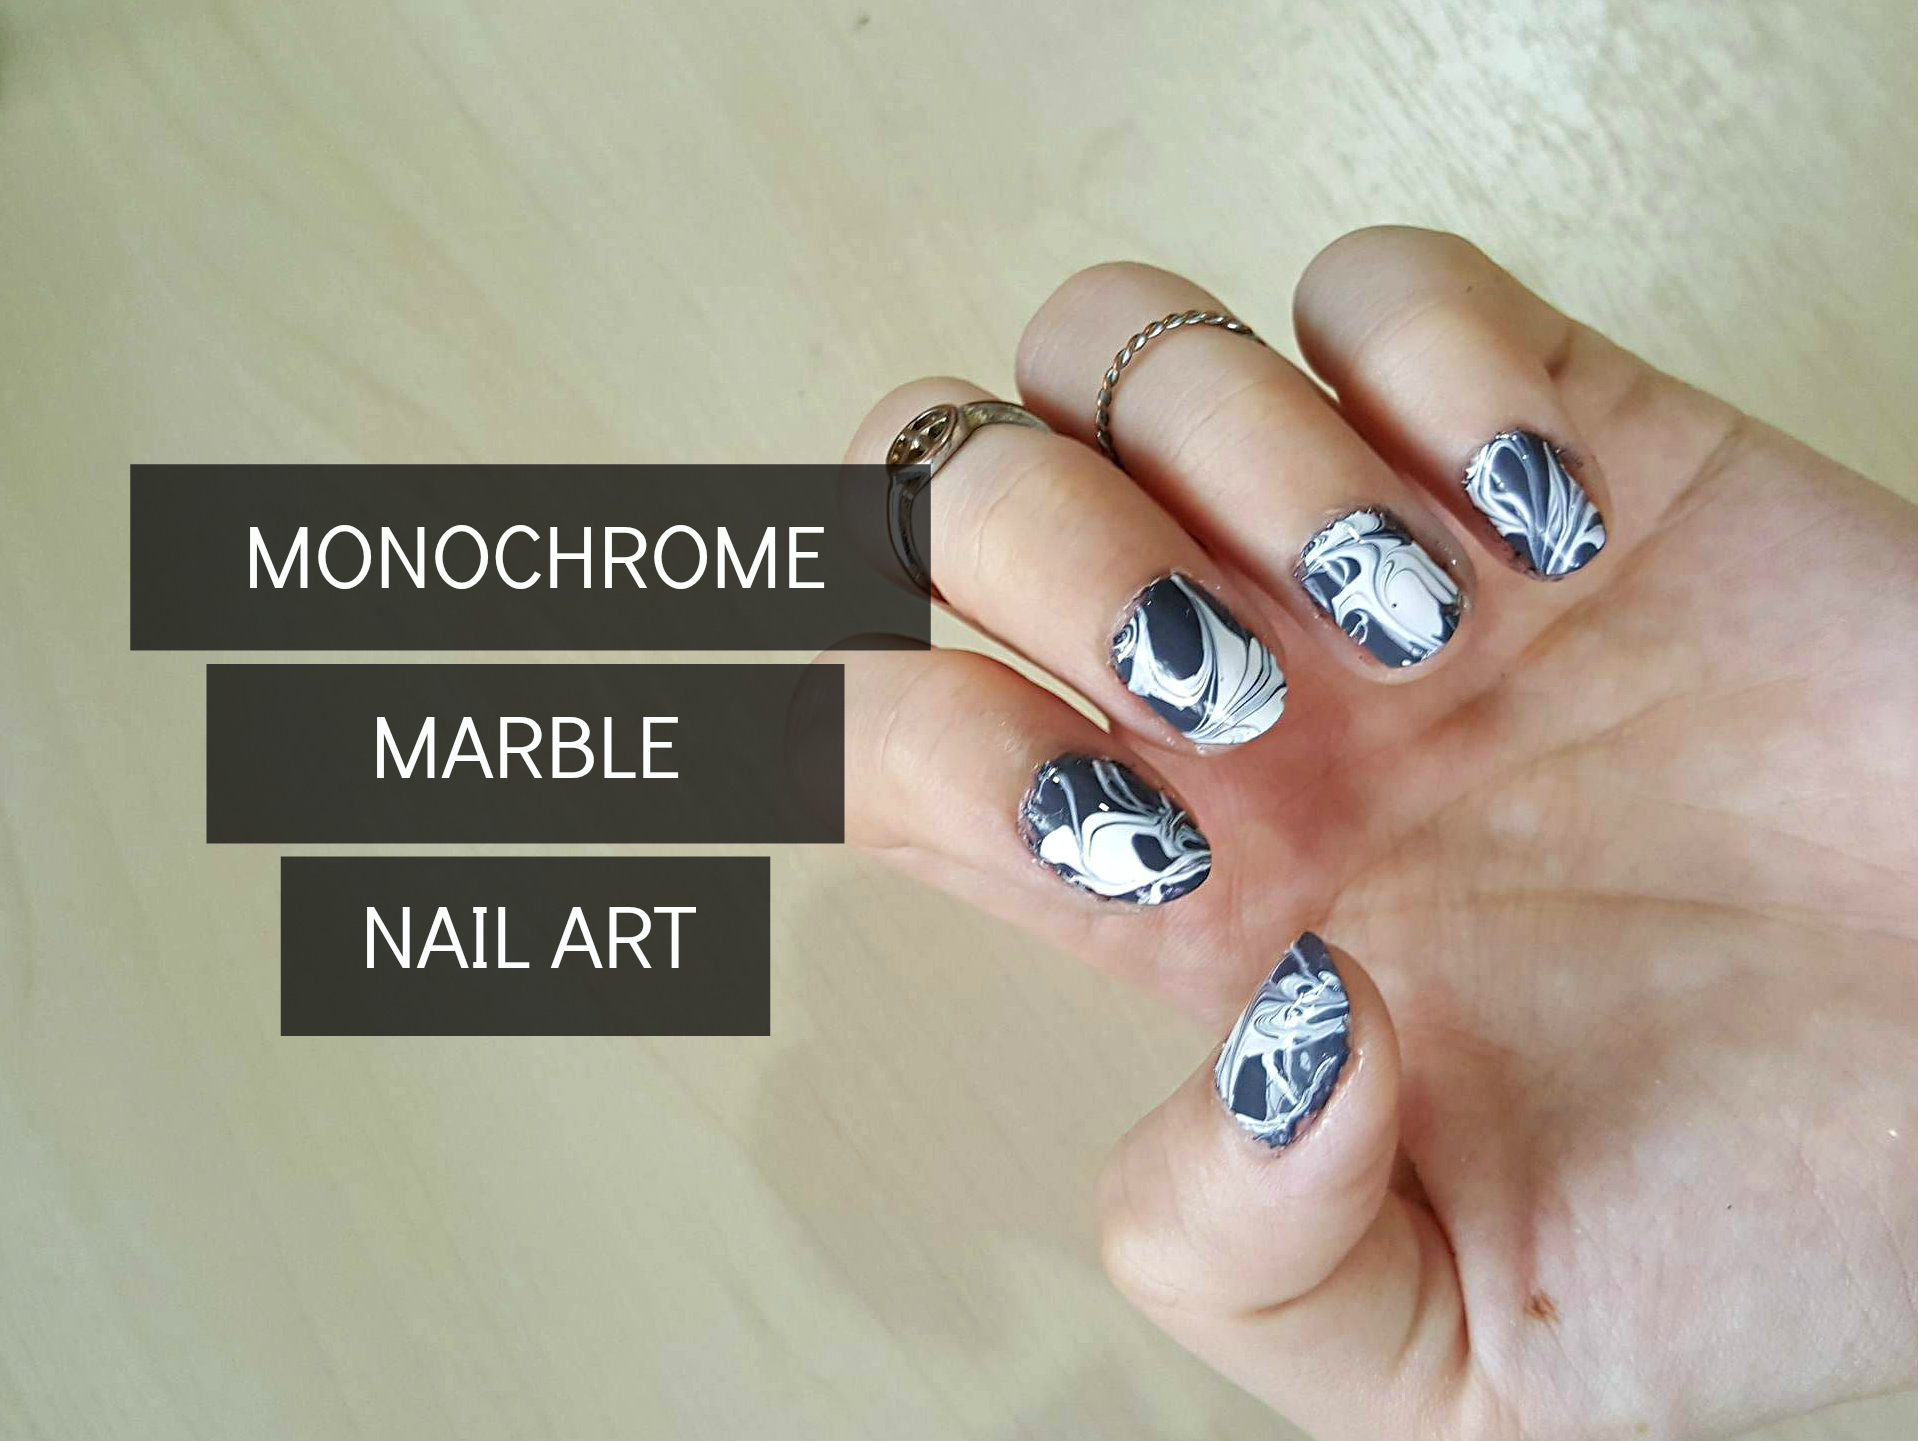
Step 5: Apply a top coat, repeat these steps on all your fingers and you’re done! You can clean up around your cuticles with nail polish remover and a small paint brush.
Do try this mani out and let us know how it’s worked out for you. You can also experiment with different colours. Good luck!