As a chocolate lover, there’s nothing quite like the feeling of biting into a delectable piece of cocoa goodness. I recently started experimenting with making my own chocolate and I assure you it’s nothing fancy or difficult – just a few ingredients, some chopping and lots of melting.
Inspired by a health food website which I recently stumbled upon called Aloha, I decided to add a nutritious twist to some dark chocolate in the form of mixed nuts and orange rind. This is a seriously simple way to jazz up some plain chocolate and you can use just about anything you like, especially dried fruit. I’ve tried it with dried dates, dried apricots, dried cranberries and figs and they all worked fine. Check out the idiot-proof recipe below!

What you need:
Rind of one orange, grated
340g good quality dark chocolate or semi-sweet chocolate
75g assorted nuts, chopped (this recipe uses a combination of almonds, cashews and walnuts)
- Place a large bowl over a pot of simmering water and melt chocolate. Make sure the water level isn’t touching the base of the bowl as chocolate is incredibly delicate and you don’t want to burn it.
- Once chocolate is melted, toast chopped nuts in a pan without oil. Just move it about until it turns golden brown and remove from pan.
- Mix grated orange rind and chopped nuts into melted chocolate and combine evenly.
- Line a rectangular baking dish with greaseproof paper and pour chocolate mixture into it.
- Spread it out evenly with a spatula and leave to cool for 15 minutes. Refrigerate for two hours minimum or until completely hardened.
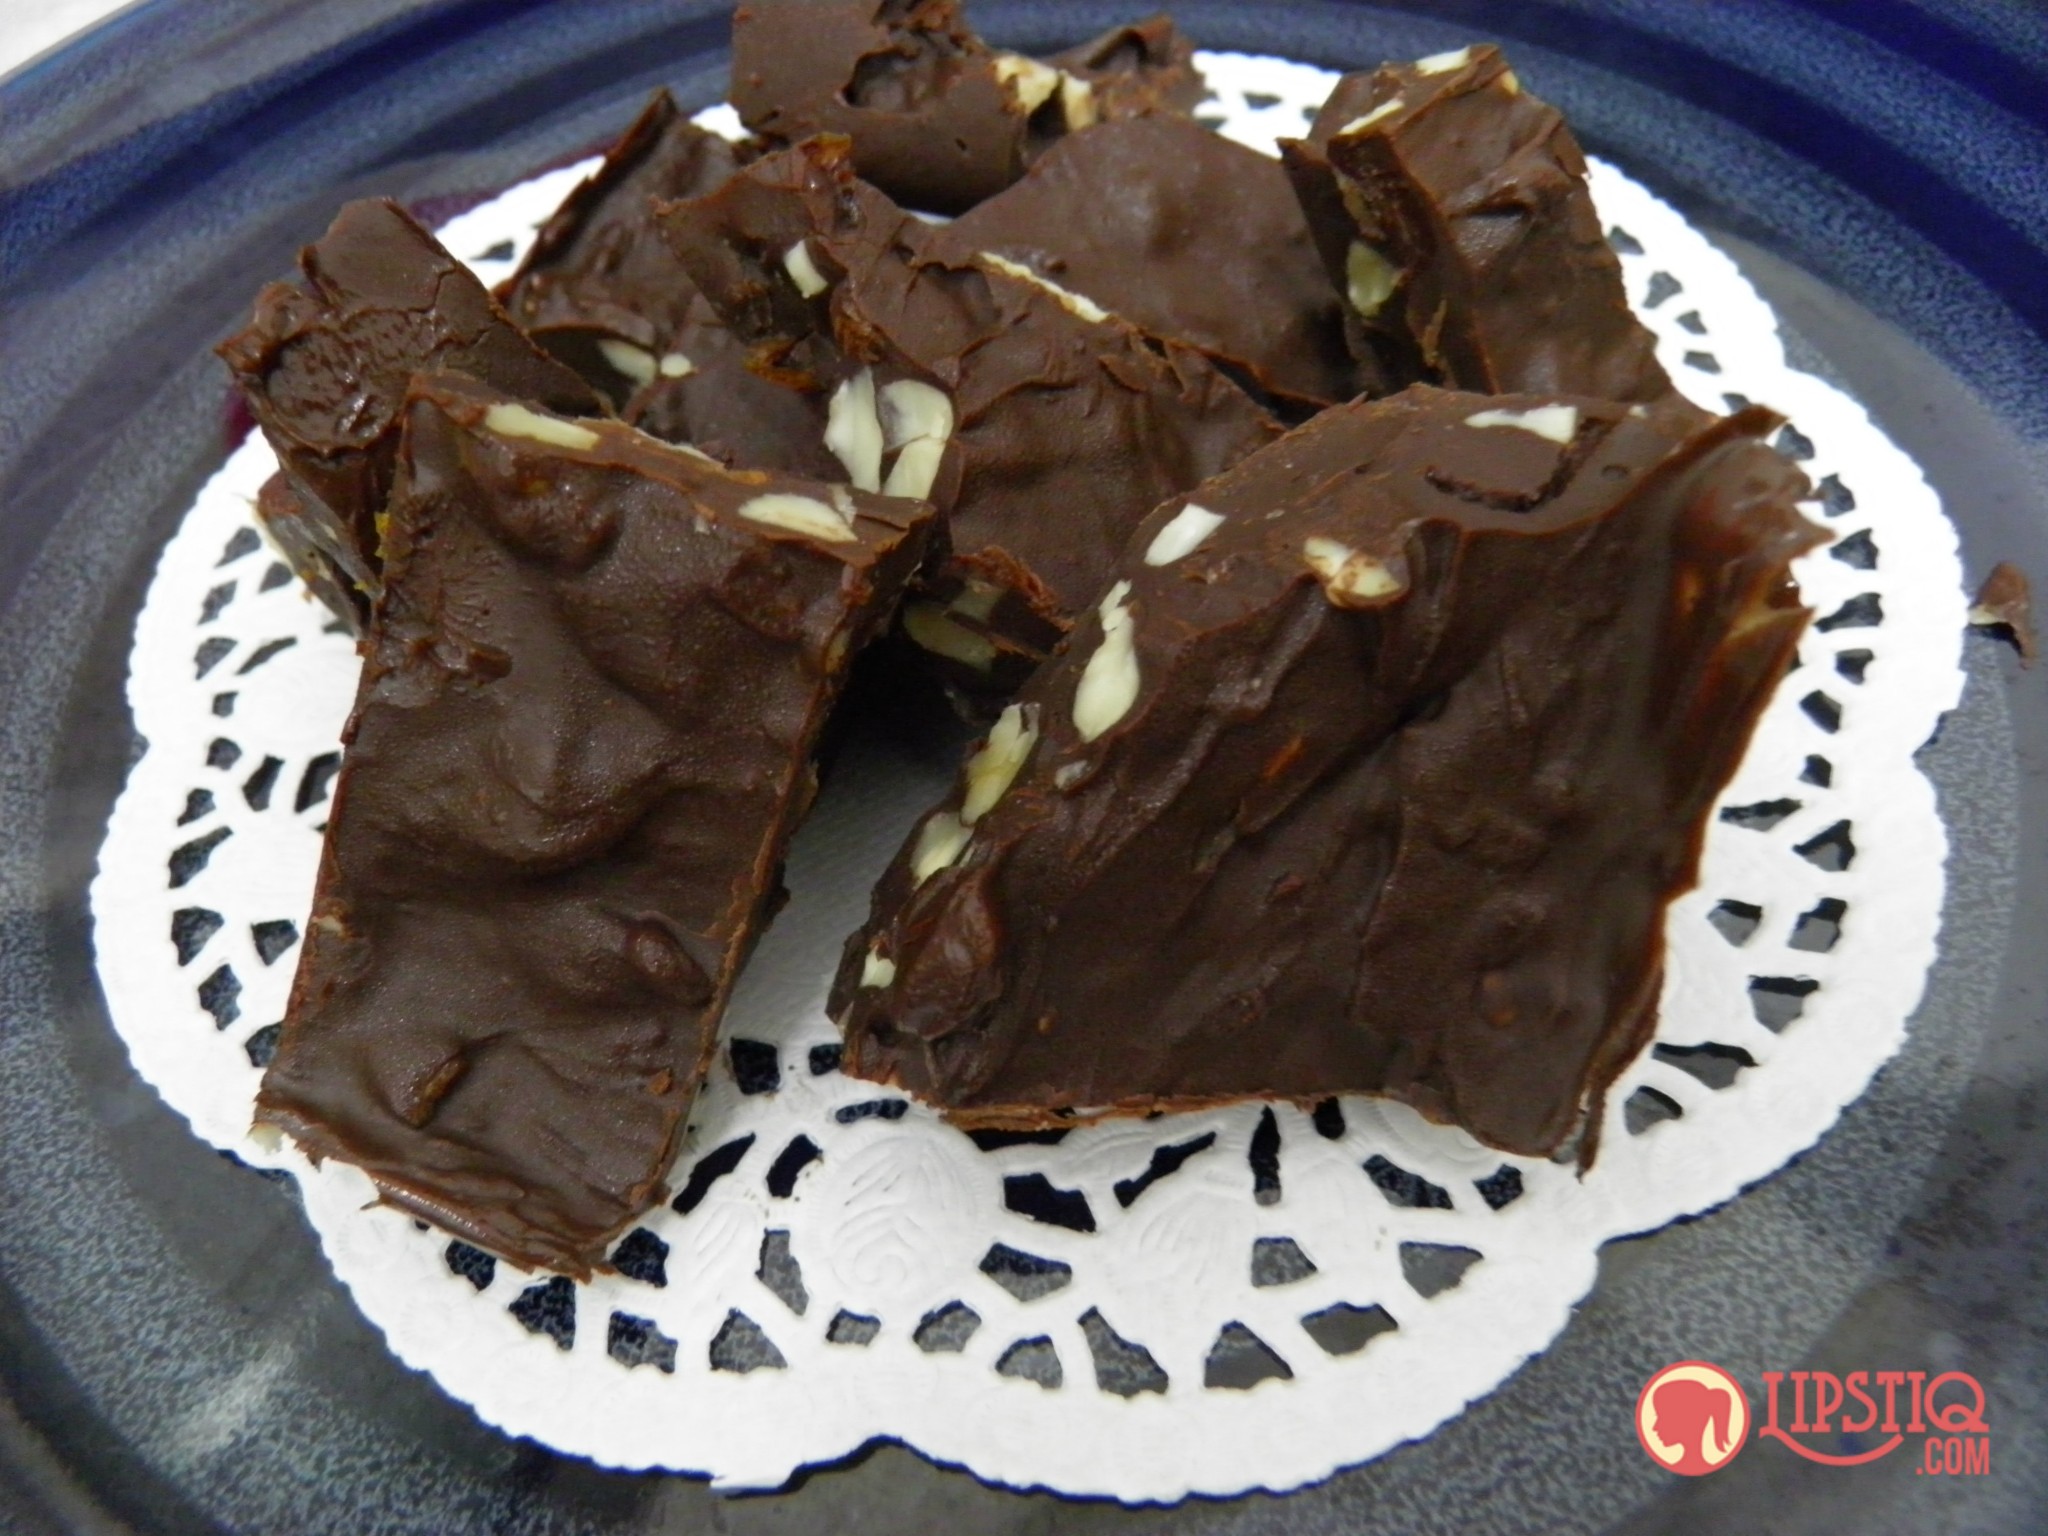
- Cut up the block of chocolate into tiny pieces or large chunky blocks.
How easy is that really? We’d love to hear your feedback and comments so be sure to share your thoughts at the comments section below.