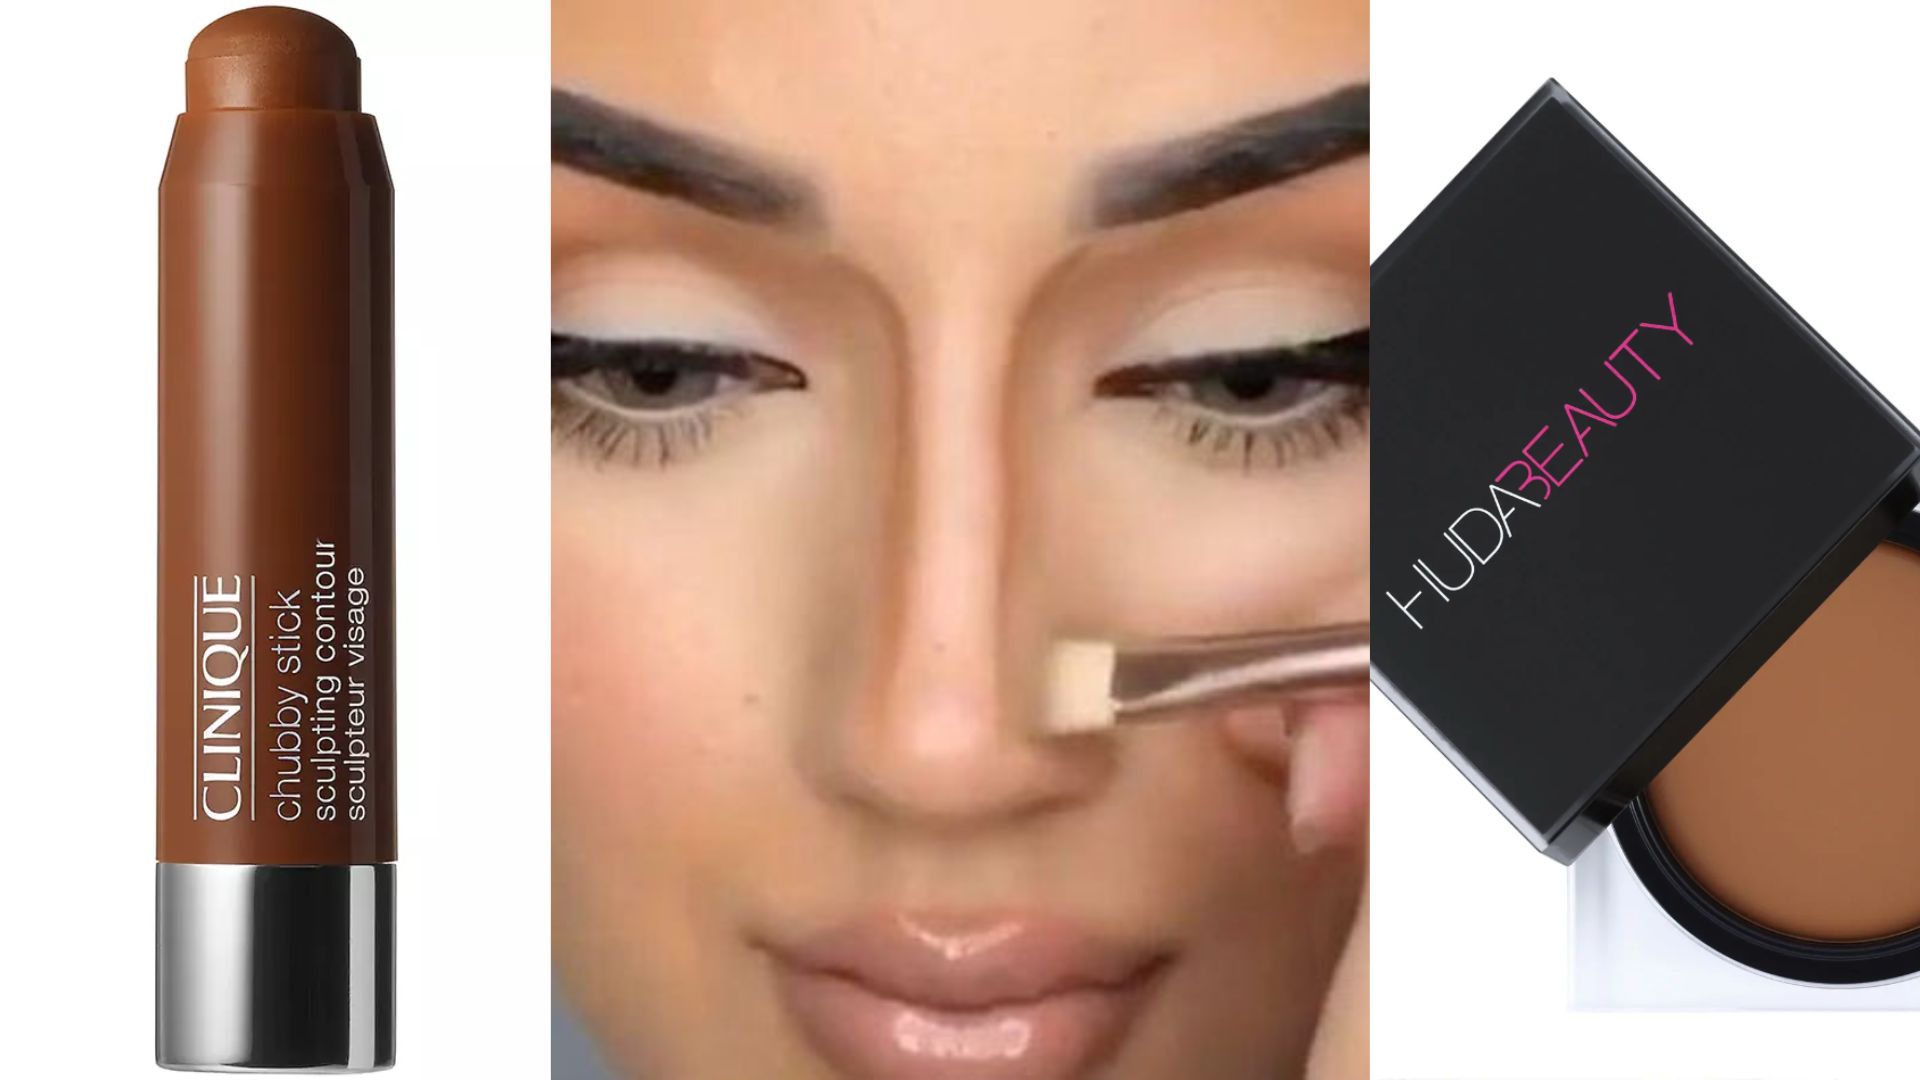
Contouring is a game-changer in the make-up world. Contouring your face can literally make you look like a whole other person and there is a technique to it. Like, gurl, you can’t just go about contouring your face without knowing what you’re doing. Unless you wanna look like this:
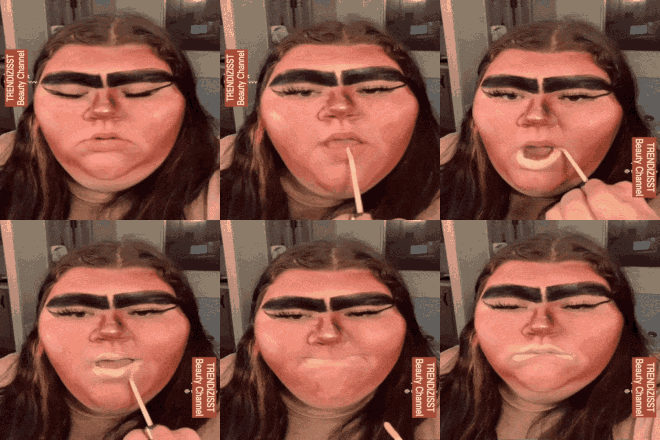
But seriously though – when your contouring is done right, you are able to change the appearance of your facial features temporarily – and THAT is the power of makeup. One of the facial features that I am low-key insecure about is my nose. Like, momma just straight up has a big nose and contouring has helped me a lot.
But learning to contour has never been easy. Trust me girls when I say, there were days when I legit walked out of the house with my nose looking like I allowed my 5 year old nephew to scribble on it with crayons. It’s all in understanding the shape of your nose, what contour technique works best for it, and of course, the power of blending it all in seamlessly.
So, although I am no master in this department, here is a little guide on how to contour the shit out of your nose.
1. Choosing The Right Contour Kit
Before we actually get into the steps of contouring, first, choose a contour kit that you love dearly. Ultimately, there are three kinds of contour products – the cream contours, powder contours and the recent favorite – the stick contour. It’s important to understand the difference between these contour products and the results they create on your makeup.

Cream contours have a more creamy texture and are easily blend-able. They give off a velvety touch to your makeup and depending on the contour, cream contours are able to give you that natural look that you may be going for.

Powder contours obvi come in a powdery formula – often matte – and are best if you want a more dramatic and chiseled look. Like bish, if you wanna contour the life out of your face and walk out the door with only bones on your face, then powder contour is the best option for you. One thing to take note of – powder contour can make your makeup look more cakey.

Contour sticks also come in creamy formulas, and they are amazing for contouring the whole face. Usually, contour sticks are travel sized, so you can carry them around just in case you wanna get to contouring in the middle of a party.
Now, lets get to contouring.
Flat Nose
For people with flat noses, the bridge of your nose may not be all that defined, making it appear flat. And of course, contouring a flat nose means you would wanna give it more definition and shape.
Depending on what contour product you are using, get your contour brush, place it right at the start of your eyebrows, and draw a straight line from the start of your brows all the way down to the tip of your nose. So now, you should have a straight line down the bridge of your nose connecting your eyebrows to the tip of your nose.
Usually, with a flat nose, you would not need to apply any highlights. Just the contouring should be fine. Once the contouring is done you should be left with this:
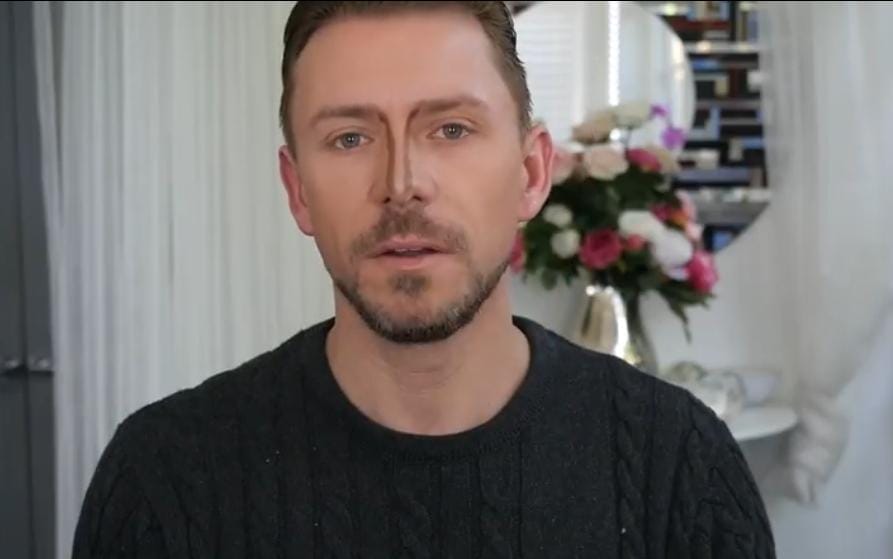
Blend it out seamlessly till there are no harsh lines – and there you have it.
Triangular Nose
The triangular nose has wide sides (nostrils), and the bridge is higher and straighter. For triangular noses, start your contouring at the tip of the nose. Draw two lines approximately an inch and a half alongside the tip of your nose. Then proceed to highlighting. Get your favourite highlighter and highlight just beneath the start of your brows – at the bridge of your nose. It should look something like this:
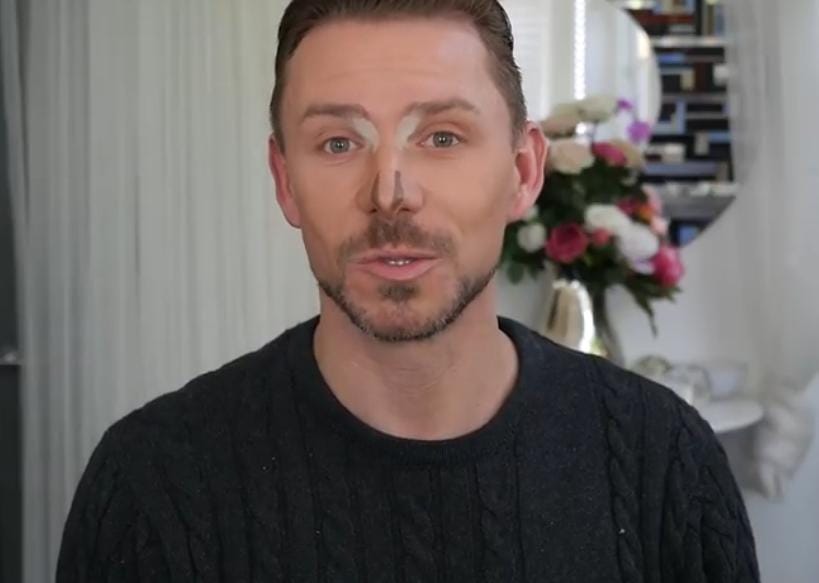
And now, all you have to do is blend away. The highlighting at the brows is going to add more light to your inner corners and provide a balanced look to your nose.
Crooked Nose
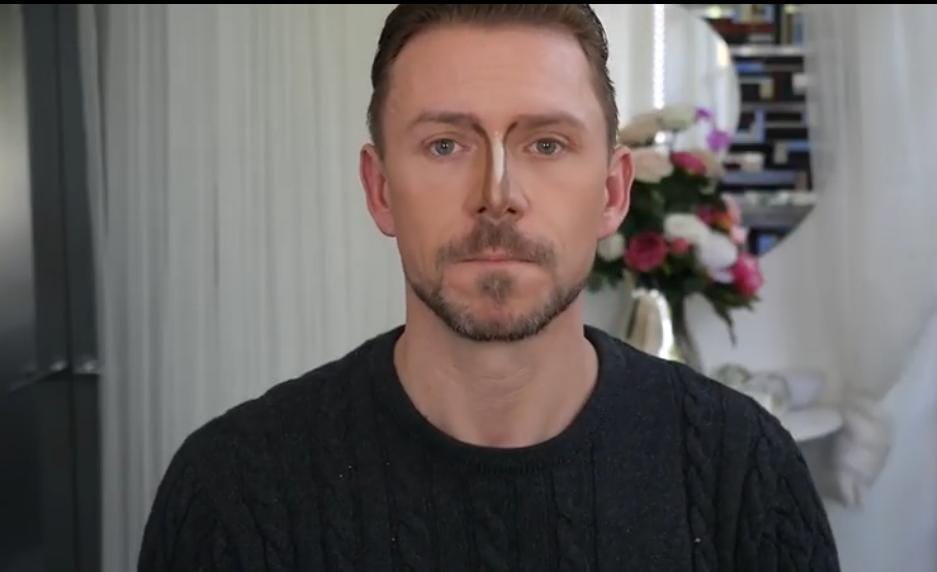
This is when the bridge of the nose doesn’t go in a straight, vertical line downwards. It may be a subtle dent, or it could be more dramatic. Whatever the situation may be, for peeps who have crooked noses, draw a straight line down the bridge of your nose starting from the brows.
The trick is to go over the crooked area of your nose in a straight line without actually following the dent in your nose. With a highlighter, highlight the centre of your nose along the bridge in a straight line. The key here is to always contour and highlight in a straight line to make your nose appear less crooked and more contoured.
Your contouring should look like this:
Irregular Nose
Irregular noses aren’t like the crooked nose. Irregular noses have a slight dent on either side of the nose. It is only a slight indentation, so you don’t really have to contour your nose all the way. All you have to do is add highlight to the area of your nose that is indented. On the other side of the nose, draw a straight line and on the side that has the highlight, draw lines before and after the highlight – sort of like you are connecting the dots.
It should look something like this:

Placing a little bit of highlight over the indented part of your nose is enough to perfect it.
Heavy Bridge Nose
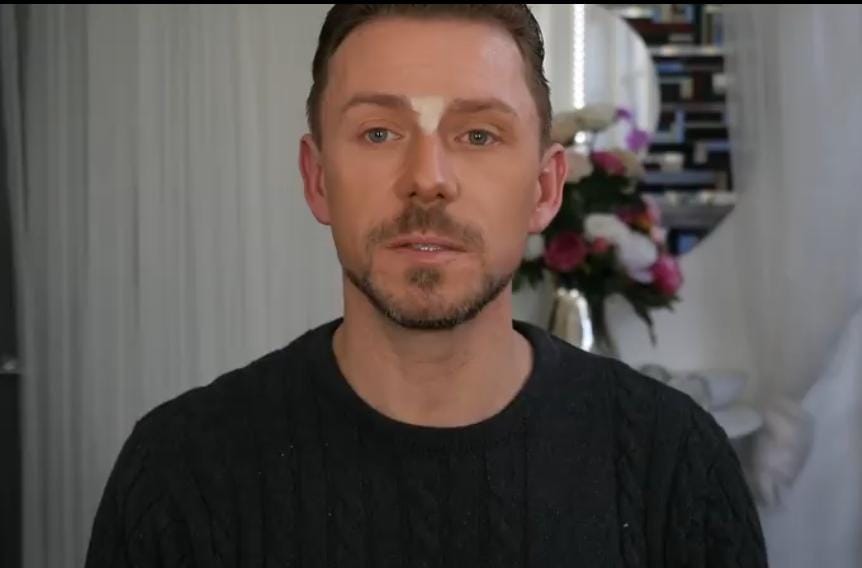
This is where the top of your nose bridge, which is the start of your nose, looks more prominent and heavy. For this type of nose, you really don’t gotta contour, all you need to do is place some highlight on the space in between your eyebrows, which is the bridge of your nose, and blend it out evenly.
This step alone will instantly correct and give more dimension to your nose.
Narrow Nose
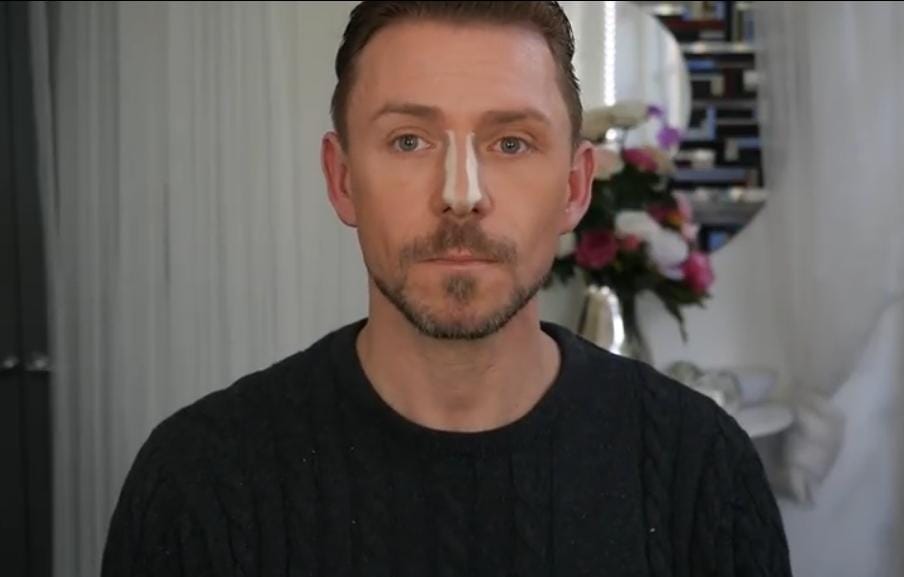
With a narrow nose, you can’t really contour it, because you’re only going to make your nose look more narrow, which doesn’t add shape to it. So all you need to do is take a highlight shade and draw a straight line down the bridge of your nose, as you would when contouring it.
Create thicker lines because the whole goal here is to give an illusion that your nose looks wider.
The end result should look like this:
And then, blend away seamlessly.
So, there ya go, peeps. Contour techniques for the different types of noses. Watch this YouTube video to learn more.
More on makeup? Read these:

