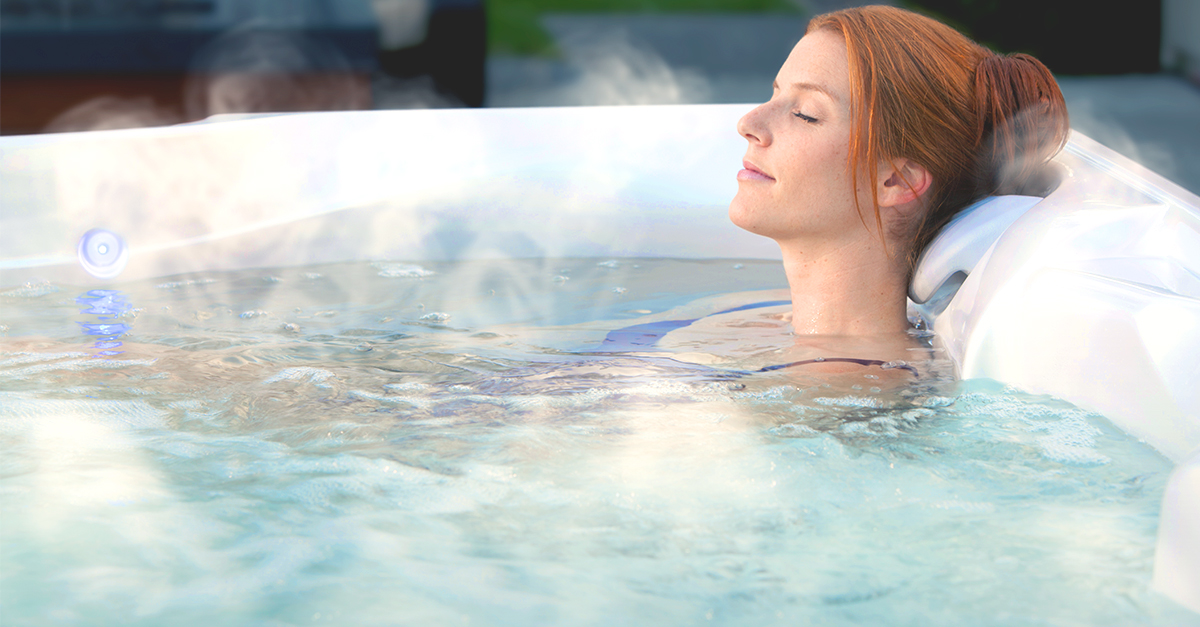
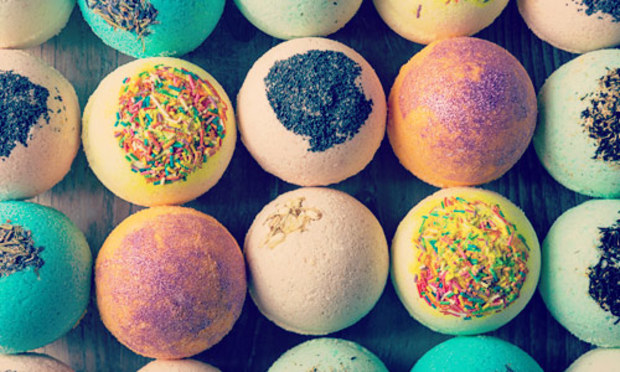
We all love a good soak in the tub, don’t we? What’s not to like about it, hot water, bubbles covering you up, scented candles and a great background music that can ward off the accumulated stress. If something is missing in the picture is a nicely scented fizzy bath bomb that will not only give you an instant mood lift, but also gives your skin the care it needs.
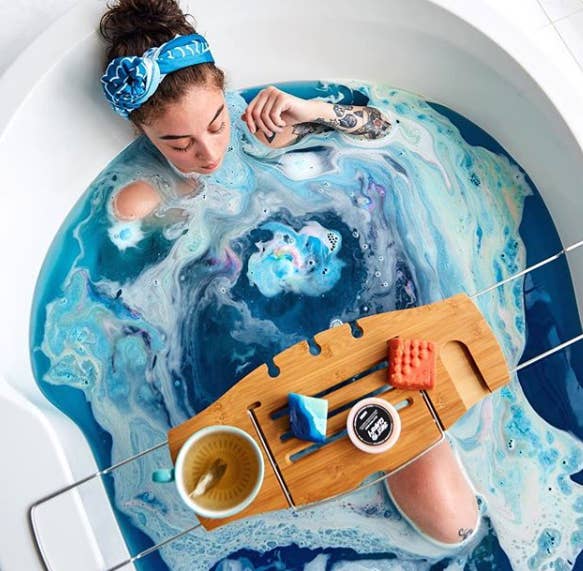
Occasional use of bath bombs can be good for your skin. Once it is dissolved in the water, the citric acid becomes fizzy, which helps to loosen damaged layers of the skin. Additionally the oils used into making the bath bombs gives your skin the moisture boost it needs. If you notice your skin feeling super supple and soft after basking in the hot tub with a bath bomb, that’s all thanks for the essential oils packed into it. What’s most important is the feeling you experience during the whole process. The rejuvenation is real.
However, commercial bath bombs can be pretty expensive to own if you are planning to use them on a regular basis. So we have this easy-to-do recipe on how to make affordable bath bombs that you can make in the comfort of your home.
Let’s dive into making these gorgeous uber-relaxing bath bombs, shall we?
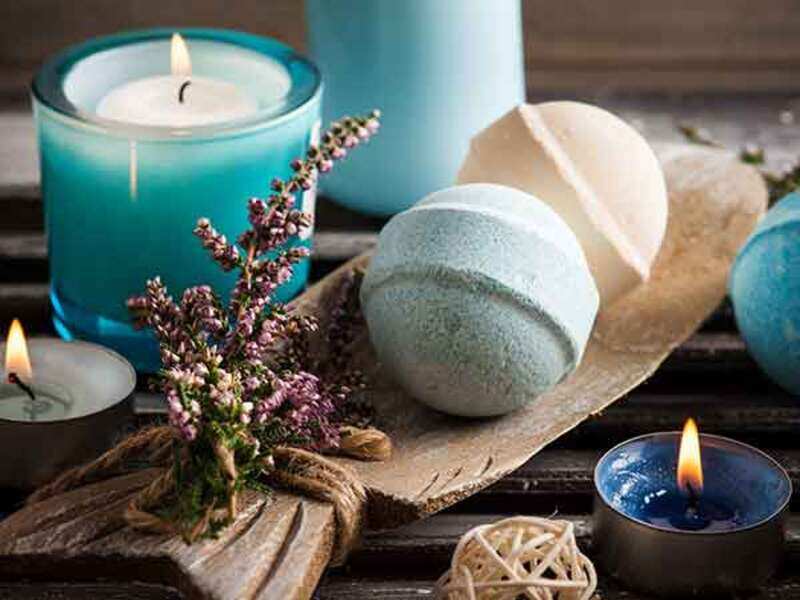
What You’ll Need
Equipment
Bath bomb molds
Whisk
Mixing bowls
Measuring cups and spoons
Materials
1/2 cup baking soda
1/4 cup corn starch
1/4 cup citric acid
1/4 cup Epsom salts
1 tsp essential oil of your choice
1 tsp vegetable or olive oil
1 to 2 tsp water
1 to 2 drops food coloring (optional)
Decorative add-ons like chia seeds, flower petals, sea salts, or herbs (optional)
Instructions
1. Place the dry and wet ingredients in separate bowls while leaving out any decorations for now.
2. Then, slowly mix the wet ingredients into the dry, and thoroughly mix them using a whisk. Avoid any lumps while mixing.
:max_bytes(150000):strip_icc():format(webp)/__opt__aboutcom__coeus__resources__content_migration__mnn__images__2017__02__mixing-bath-bombs-f4c45078655346169532bad5bfcaf59e.jpg)
3. This is the time to put on your creative cap. It’s time to get creative, so feel free to add any decorations of your choice into the mould. You can use anything from chia seeds, flower petals, Himalayan salt, or anything else that you feel can make you and your skin feel awesome during the bath. Of course this step is optional. If you want to leave out decorating, then skip this step and move straight to the moulding process.
:max_bytes(150000):strip_icc():format(webp)/__opt__aboutcom__coeus__resources__content_migration__mnn__images__2017__02__bath-bomb-finishing-touch-43dc711108854e0c843ef6c904711930.jpg)
4. Now that we have a great-smelling mixture ready, it’s time to mould it together to make it look like a bath bomb! You can get any bath bomb mould in any shape you desire. You can even use empty plastic ornament, cupcake tins, or even just a measuring cup. If you’re using a sphere mould, the key to getting it in a perfectly round shape is by overfilling it and then squeezing it tightly. If you’re using any other mould shape, press the mixture into the mould so that it takes shape.
:max_bytes(150000):strip_icc():format(webp)/__opt__aboutcom__coeus__resources__content_migration__mnn__images__2017__02__bath-bomb-mold-def5a39af6874e3884c8771c34d25886.jpg)
5. Then gently tap the mold and release the finished product.
6. And that’s all to it, literally! Now that you’re a pro at making homemade bath bombs, it’s a great gift idea for family and friends for any occasions. Be sure to stock up on your own stash first, so that you can enjoy a relaxing bath, anytime!
