It’s almost Chinese New Year. And you know what that means! New clothes, new shoes, new hair, and new..nails. Sorta.

Every girl who’s into self pampering knows that pedicures are the way to go but there are times where we wanna save some moolah and do it ourselves instead. Especially when Chinese New Year is just around the corner!
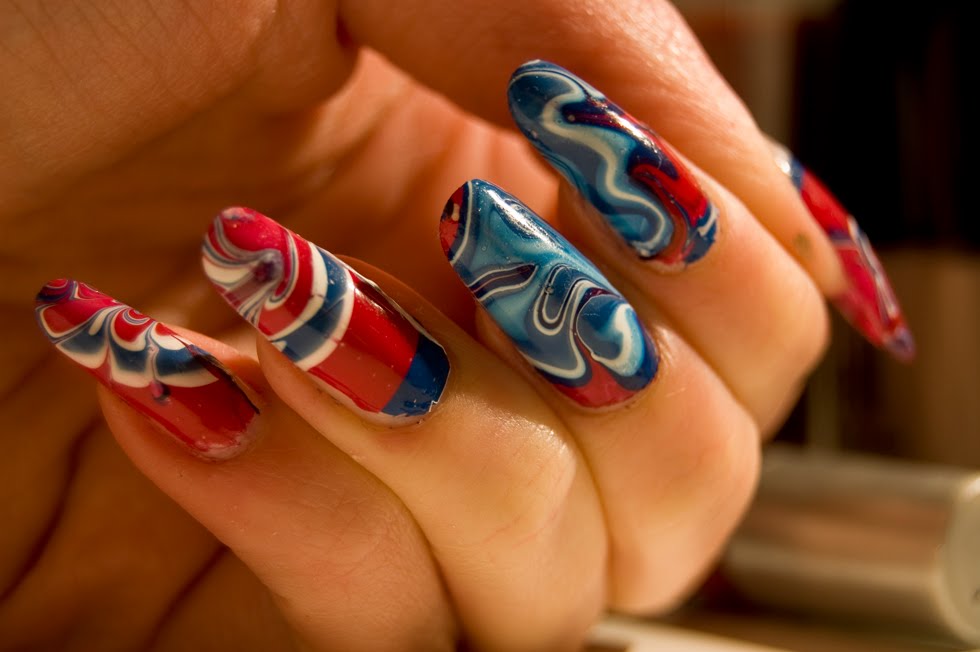
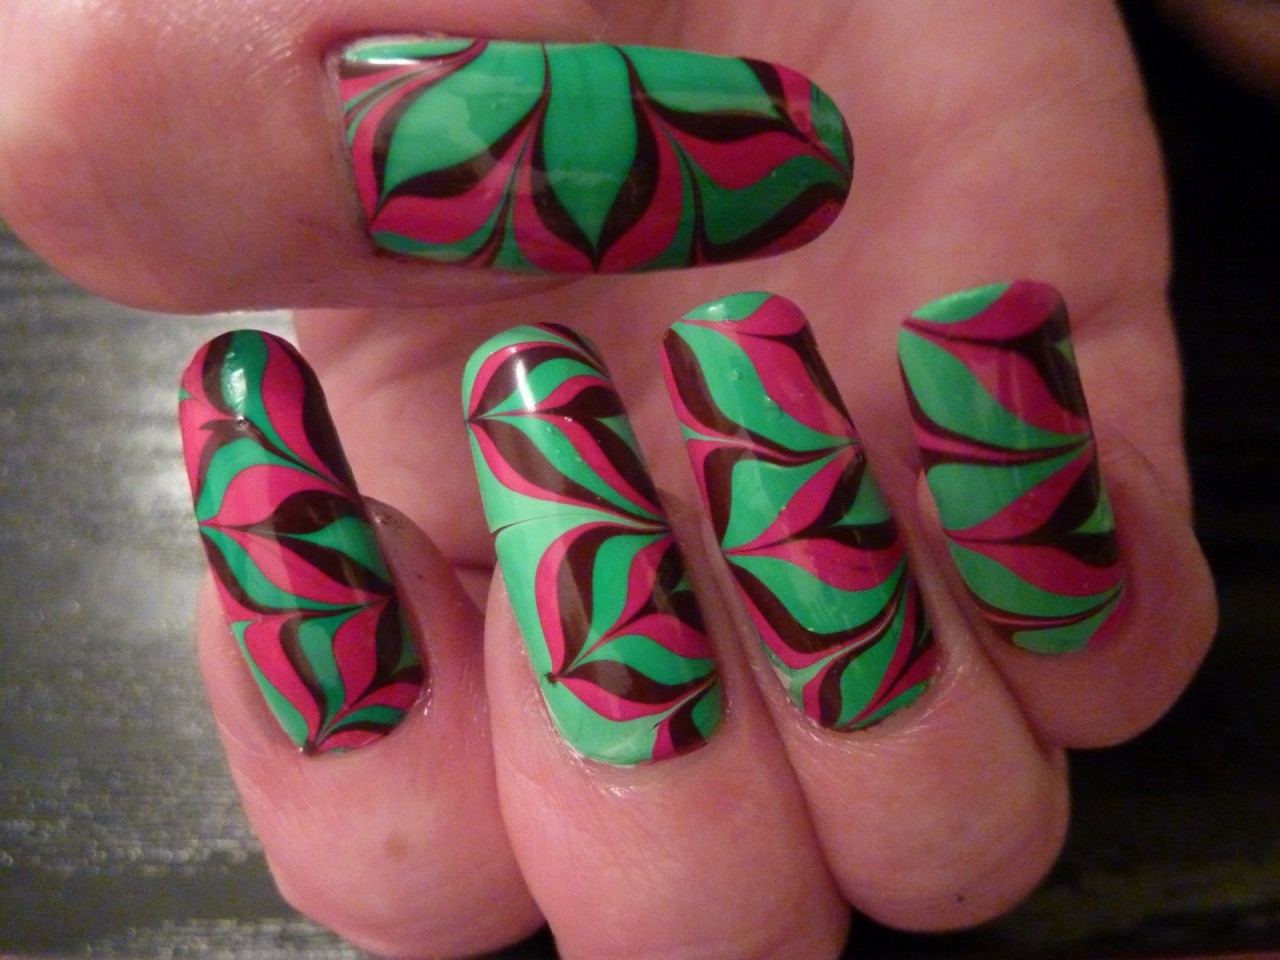
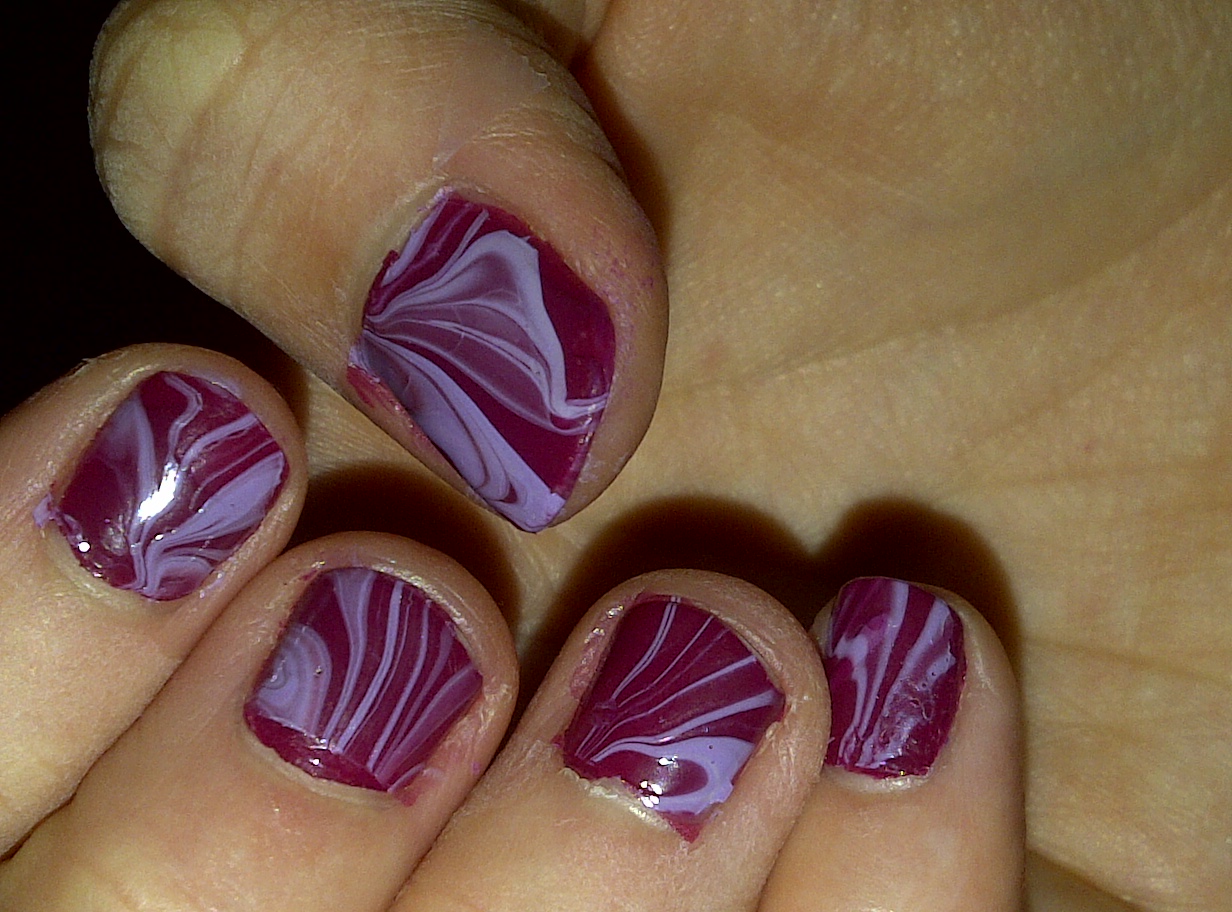
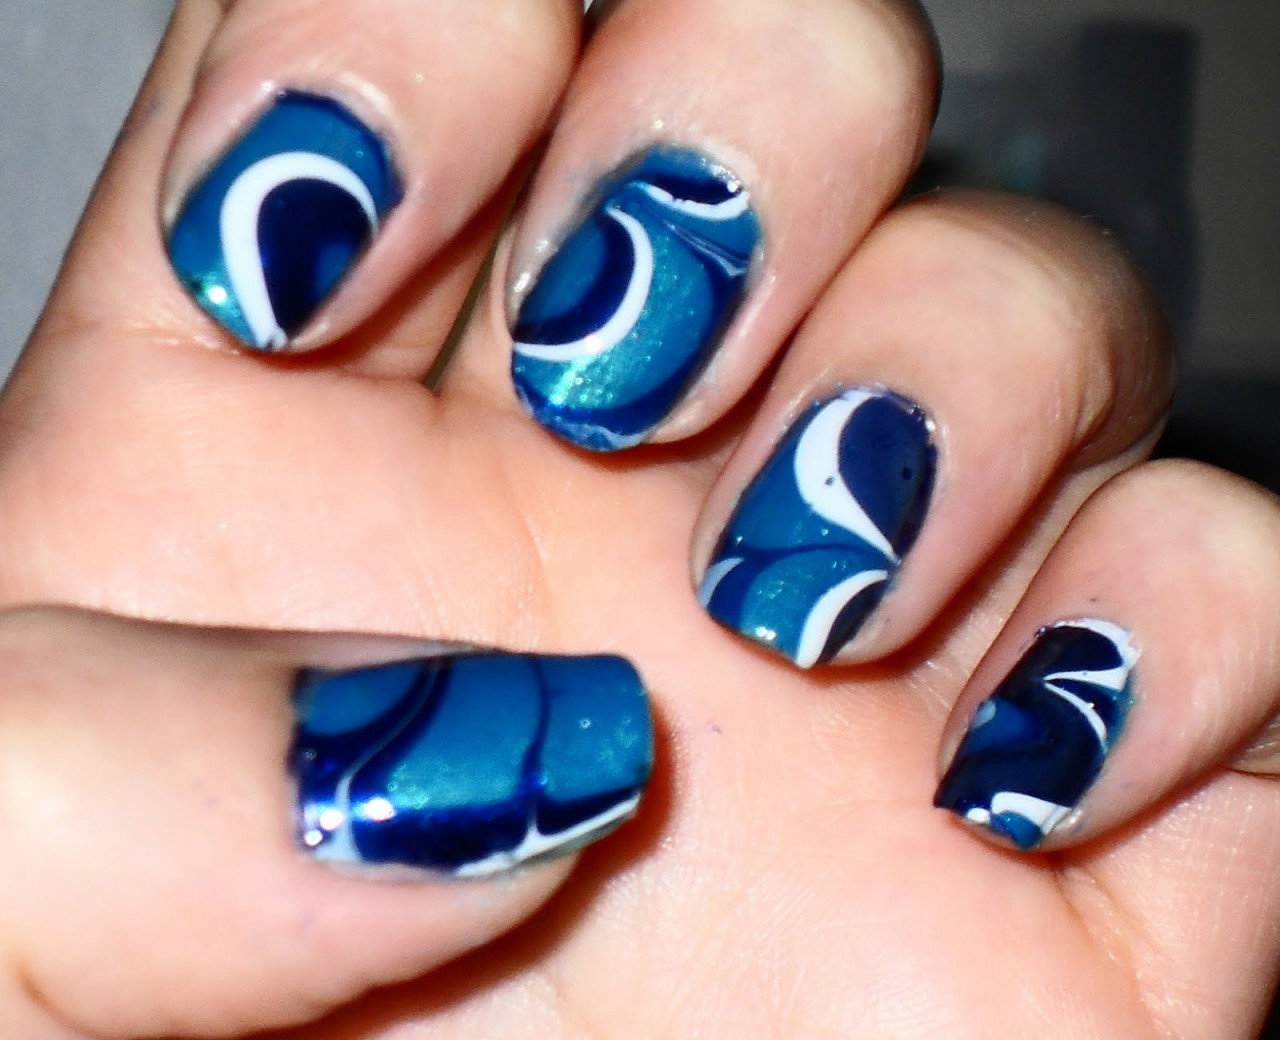
And when it comes to DIY nail art, what most of us are capable of are single colored nails and perhaps a couple of stick-on crystals to finish off. Here’s something that’s mindblowingly easy (with practice, mind you) which you can execute in the comforts of your own home – nail marbling.
The results are nothing short of gorgeous and they look professionally done, in fact you might be thinking “I can’t even draw in a straight line and you want me to do swirls?”
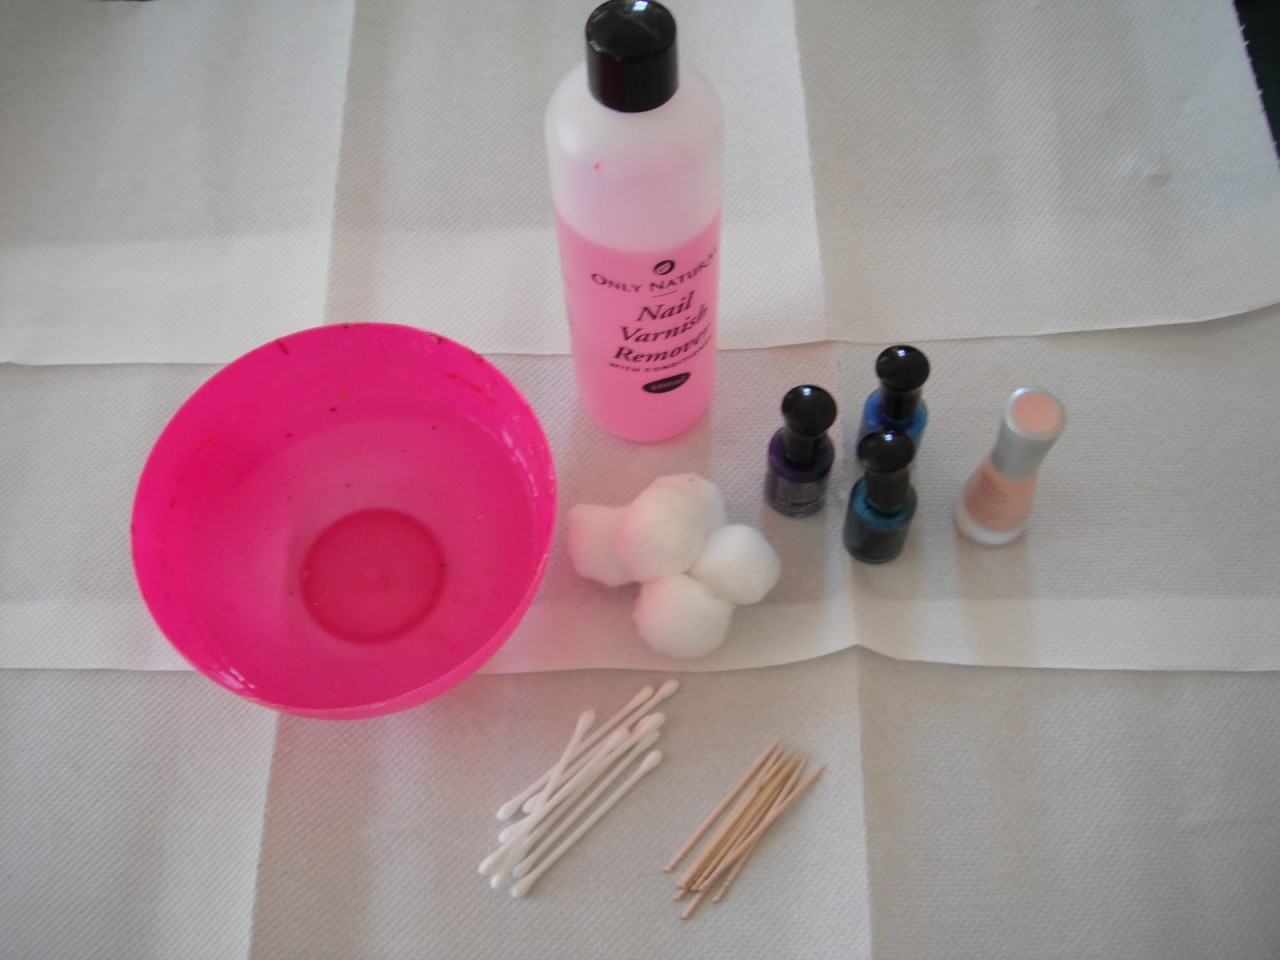
Ladies, by the time you’re done, your nails will be the talk of the town. For nail marbling, you’ll need the following:
A styrofoam or paper cup (you’ll stain the edges of your cup so better to get something disposable)
Warm water
Toothpicks
A variety of different colored nail polishes
Tape
Try to use nail polish that’s new because the older your polishes the thicker its consistency and it won’t work well with the other colors.
Instructions
1. Fill a styrofoam or paper cup with warm water.
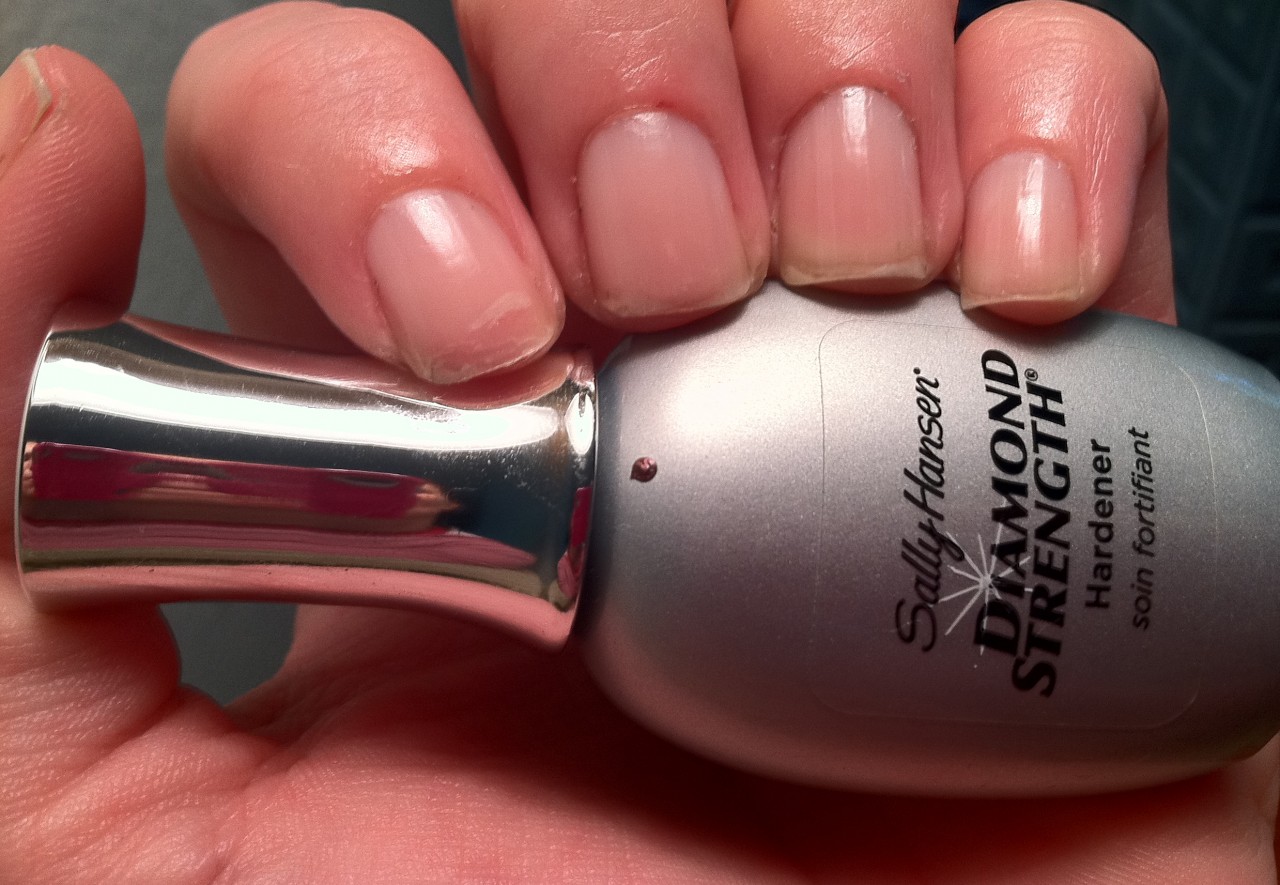
2. Paint your nails with a clear base coat and leave to dry.
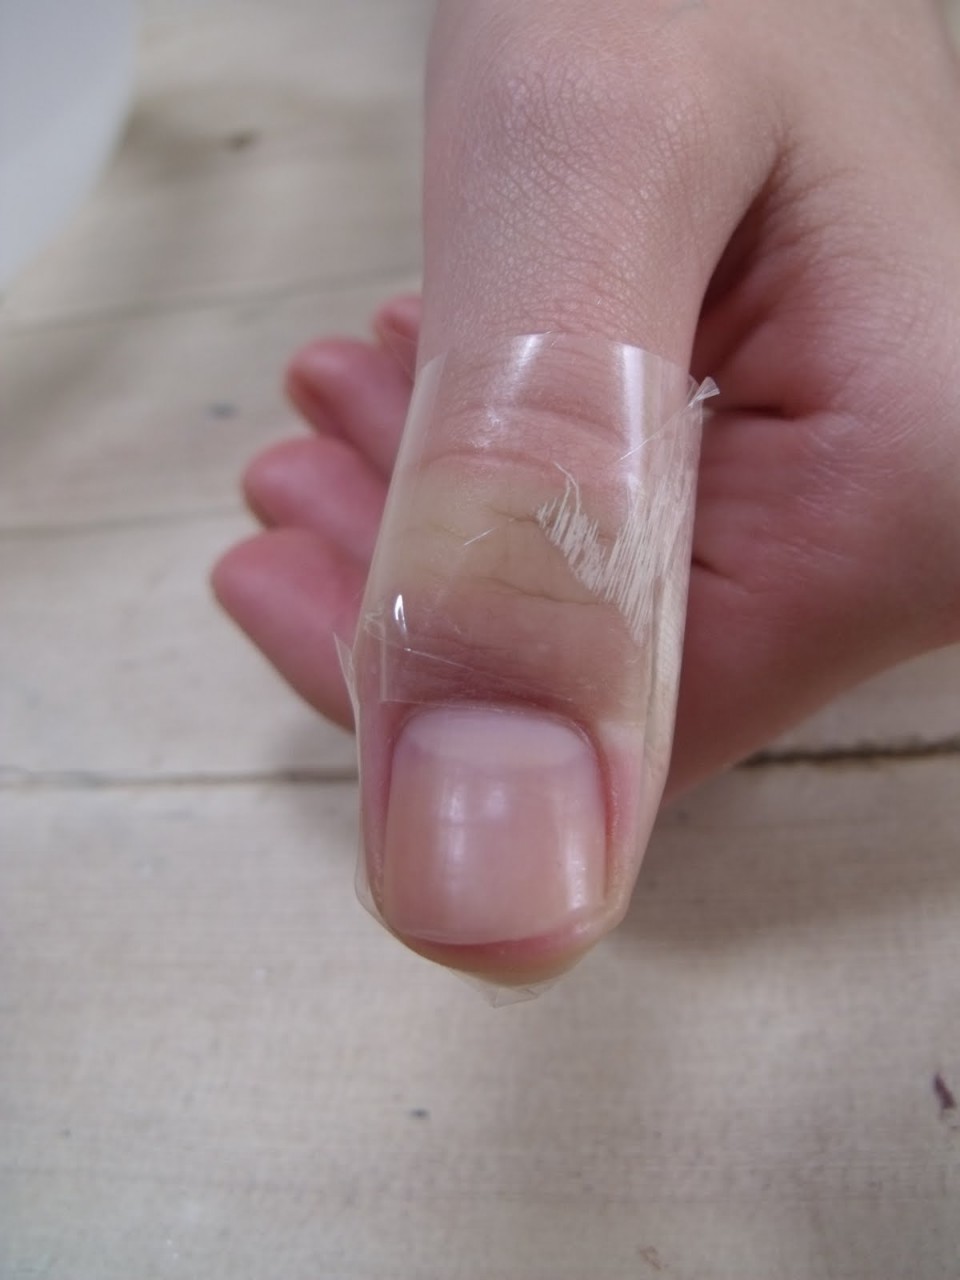
3. When your nails are dry, take some tape and put it around your finger, so only your nails are uncovered. You must put the tape on so you do not get nail polish on your fingers later on.
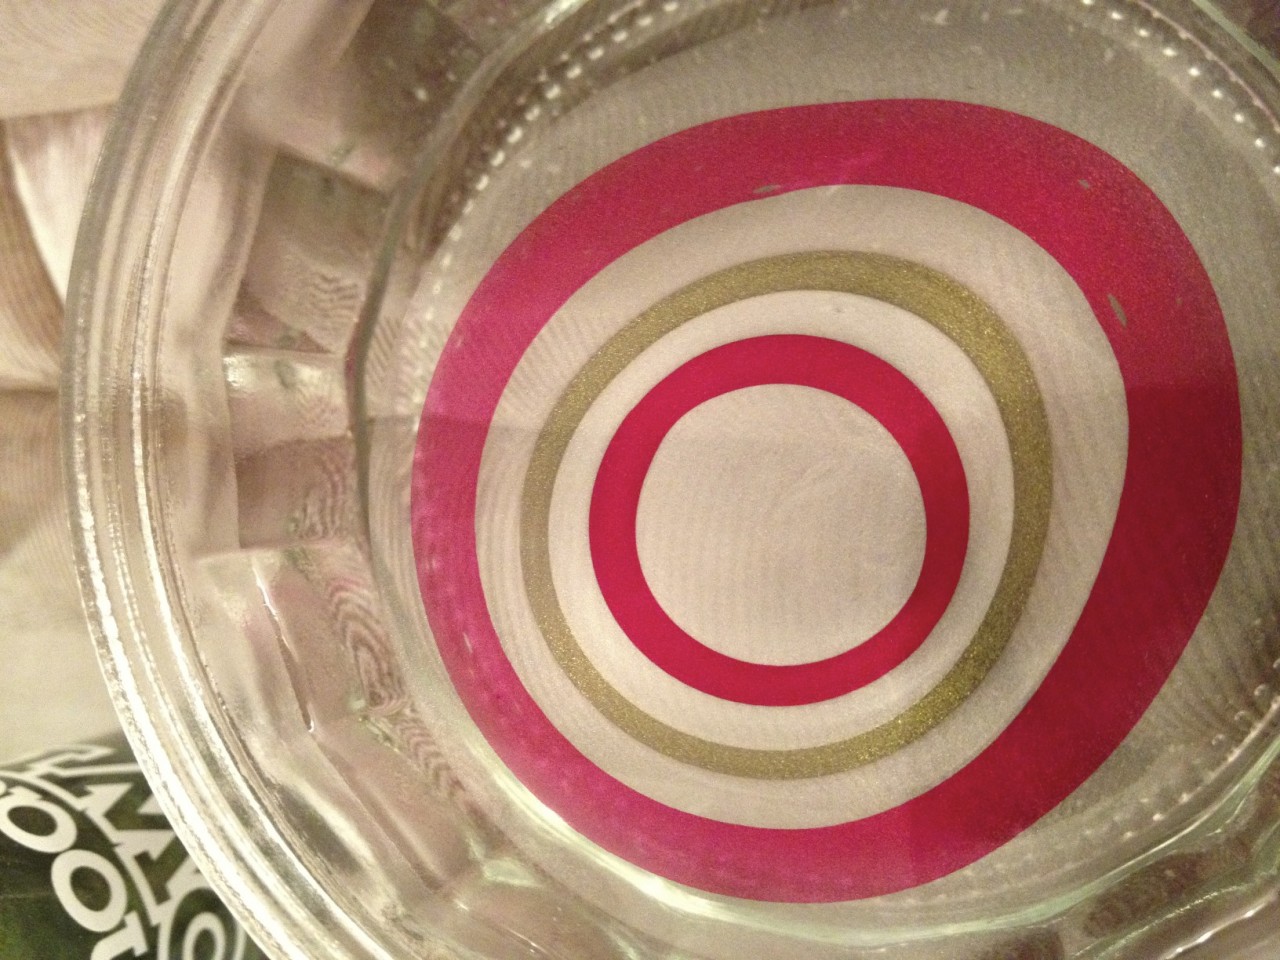
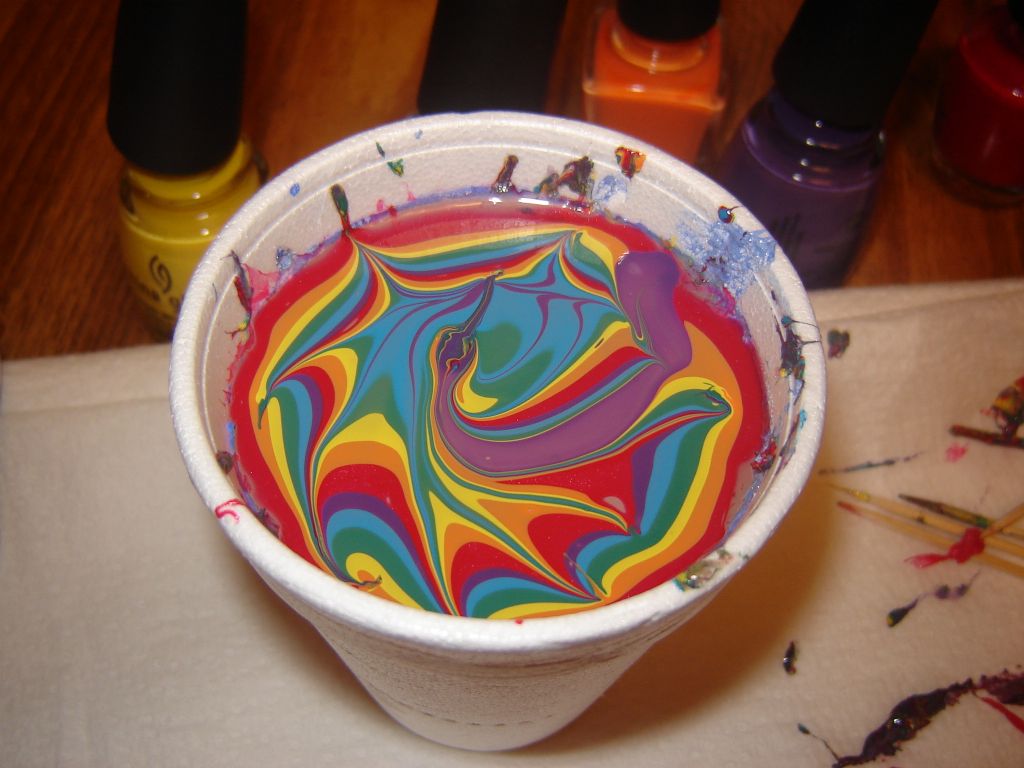
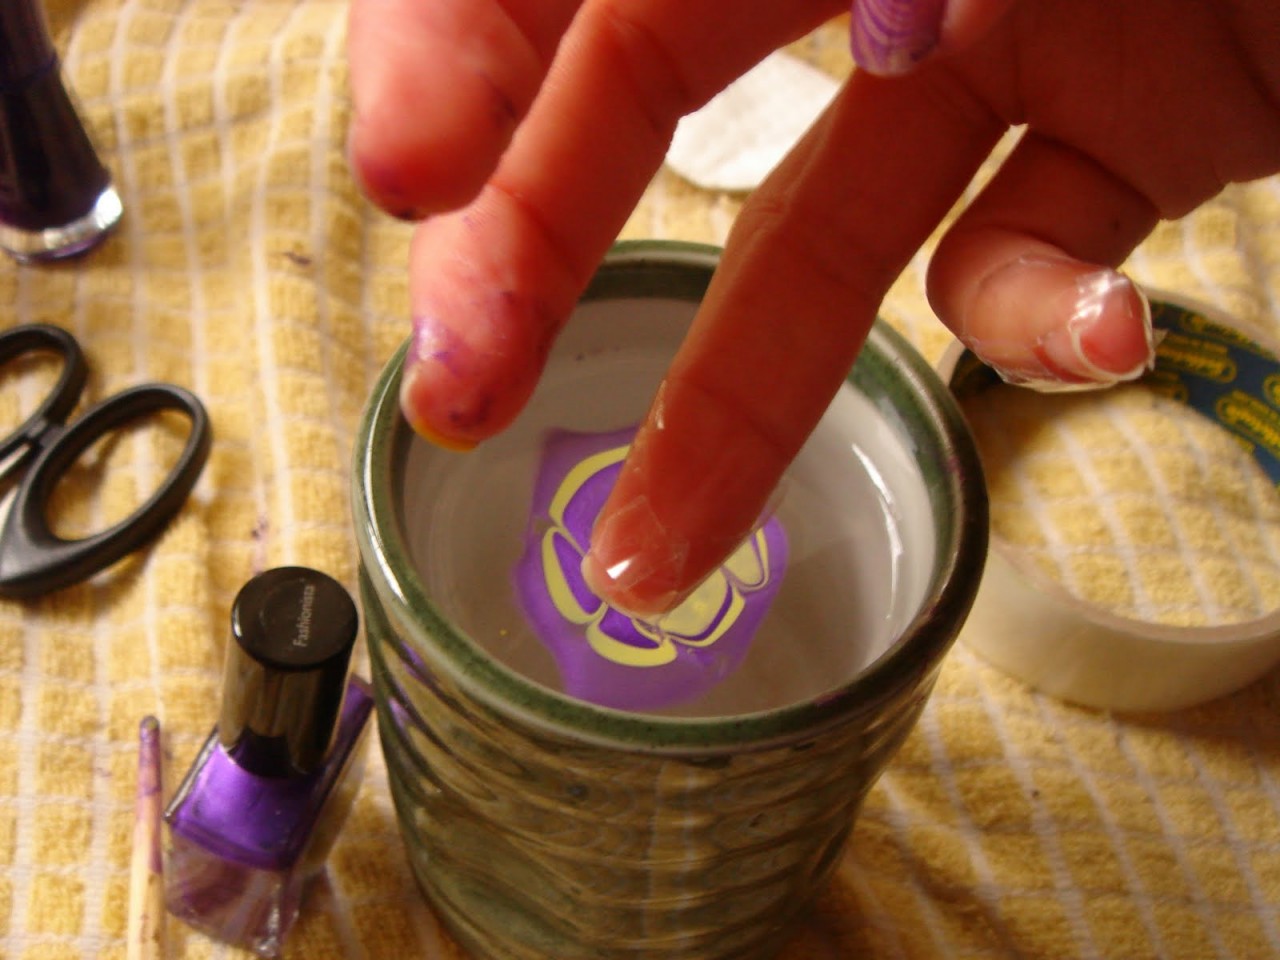
4. Drop a bit of nail polish into the styrofoam cup and continue dropping nail polish in the water with different colours.
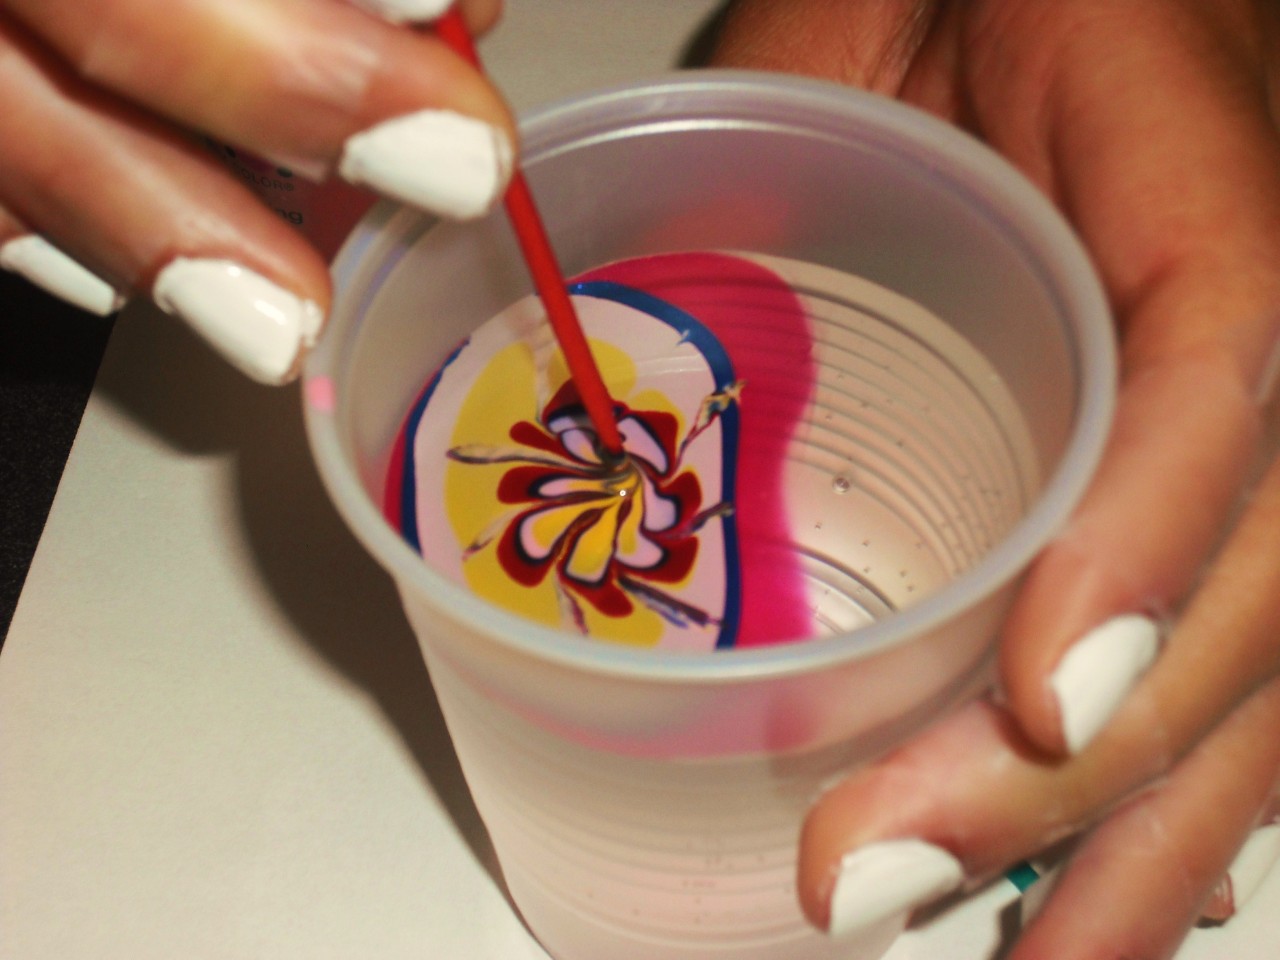
5. Use a toothpick to create a cool design with the nail polish! You can drag the toothpick form the middle out to the edge of the cup, or do diagonal designs.
6. This is where the tape comes in handy! It will shield you skin while you carefully dip your nail in the water and polish. Use the toothpick to remove the excess nail polish from around your nail.
7. Remove your nail from the water. When the polish is dry peel off the tape.
8. Repeat this process for all 10 nails. It is time consuming but it is definitely worth it, your nails look fabulous after!
Timing is critical with marbling be prepared, have all your tools with you and work fast because nail polish dries quickly especially on the water surface so have your bottles open on standby.
Image credits to styleitgirl, thestudiobymdm, goddamnawesomenailart. For more details, on how to pretty up your nails check out Style It Girl here.

