Thanks to an overall ’90s resurgence, the choker trend is definitely creeping back and everyone, including models-off-duty, celebrities, and everyday cool girls have been seen in all sorts of choker varieties. It’s simple and chic, but best of all, you can make some of your own and it’s so easy! Here are four examples you can DIY or flaunt, according to level of difficulty:
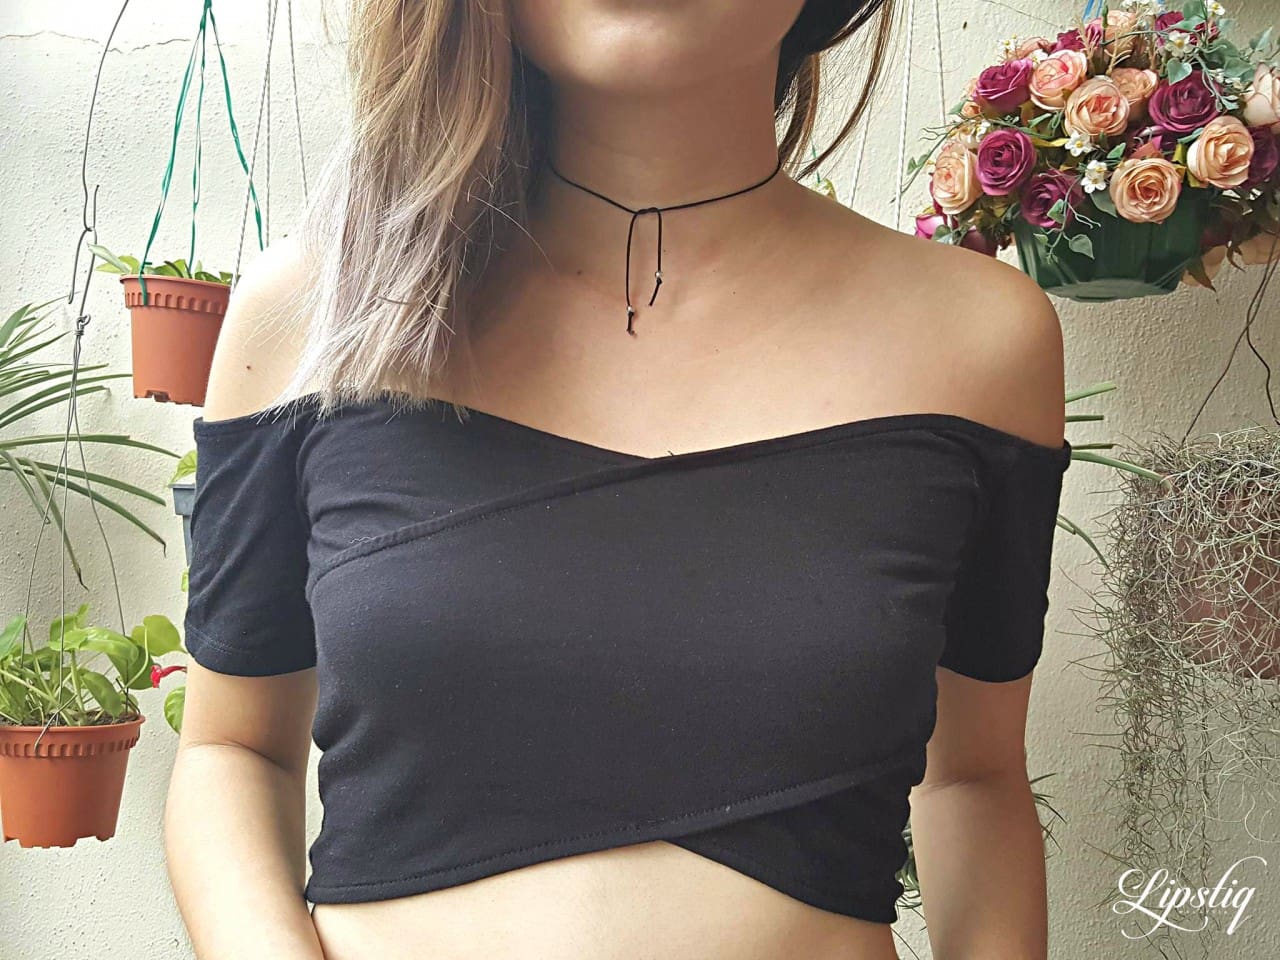
Style 1
You’ll need: Thin string, two silver beads
Measure a thin black string around your neck, add about two inches to that length, and snip it off. Simply thread two silver beads through and tie the ends. To wear it, knot at the front twice, ensuring that it isn’t too tight so you can easily remove it.
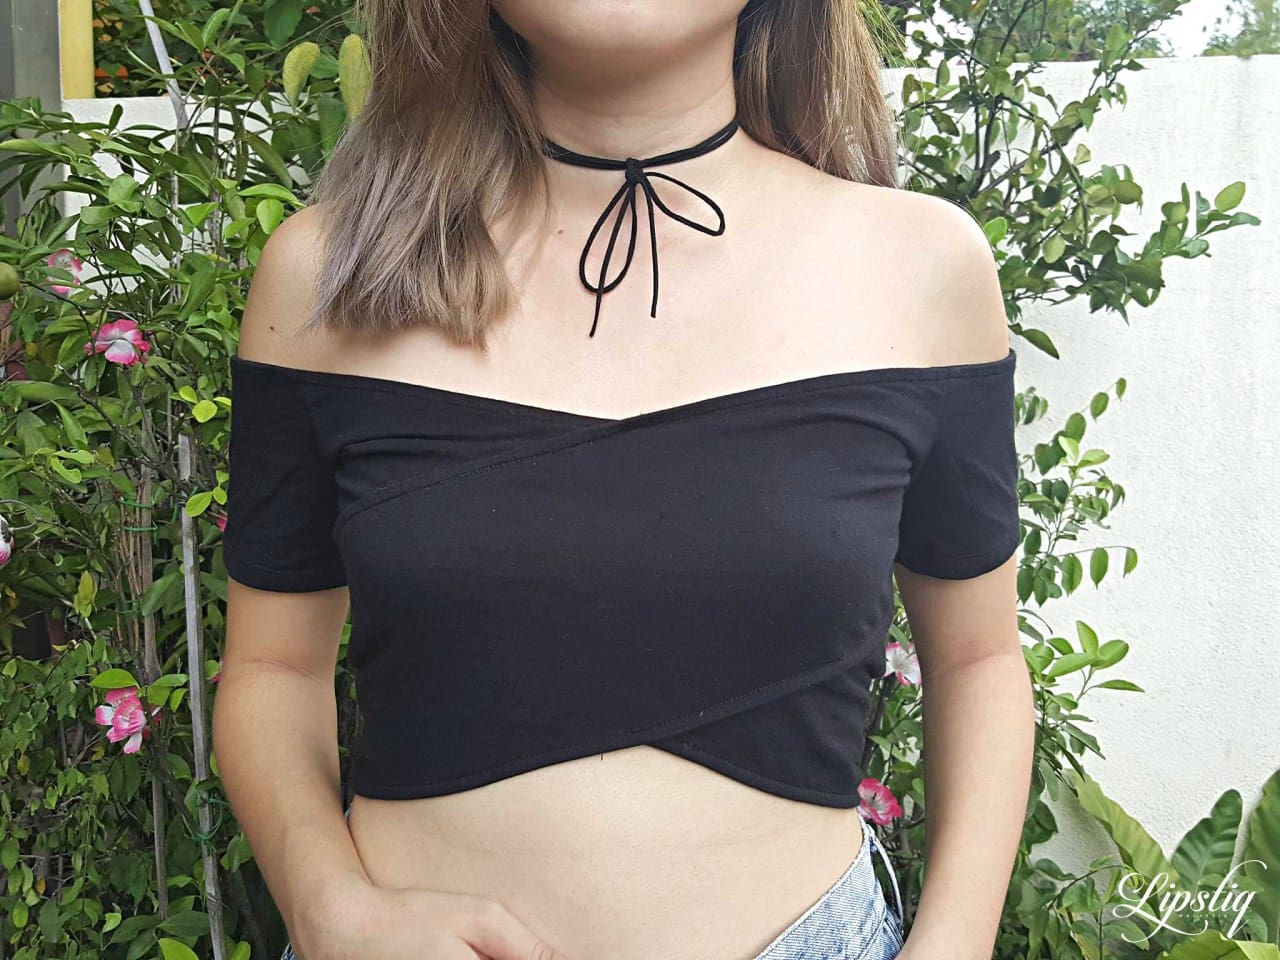
Style 2
You’ll need: Suede cord
All you have to do is measure the cord around your neck twice, then add a few more inches to that length and snip it off. To wear it, loop the cord around your neck from the front to back, then bring the ends forward, finishing it off with a little bow.
Style 3
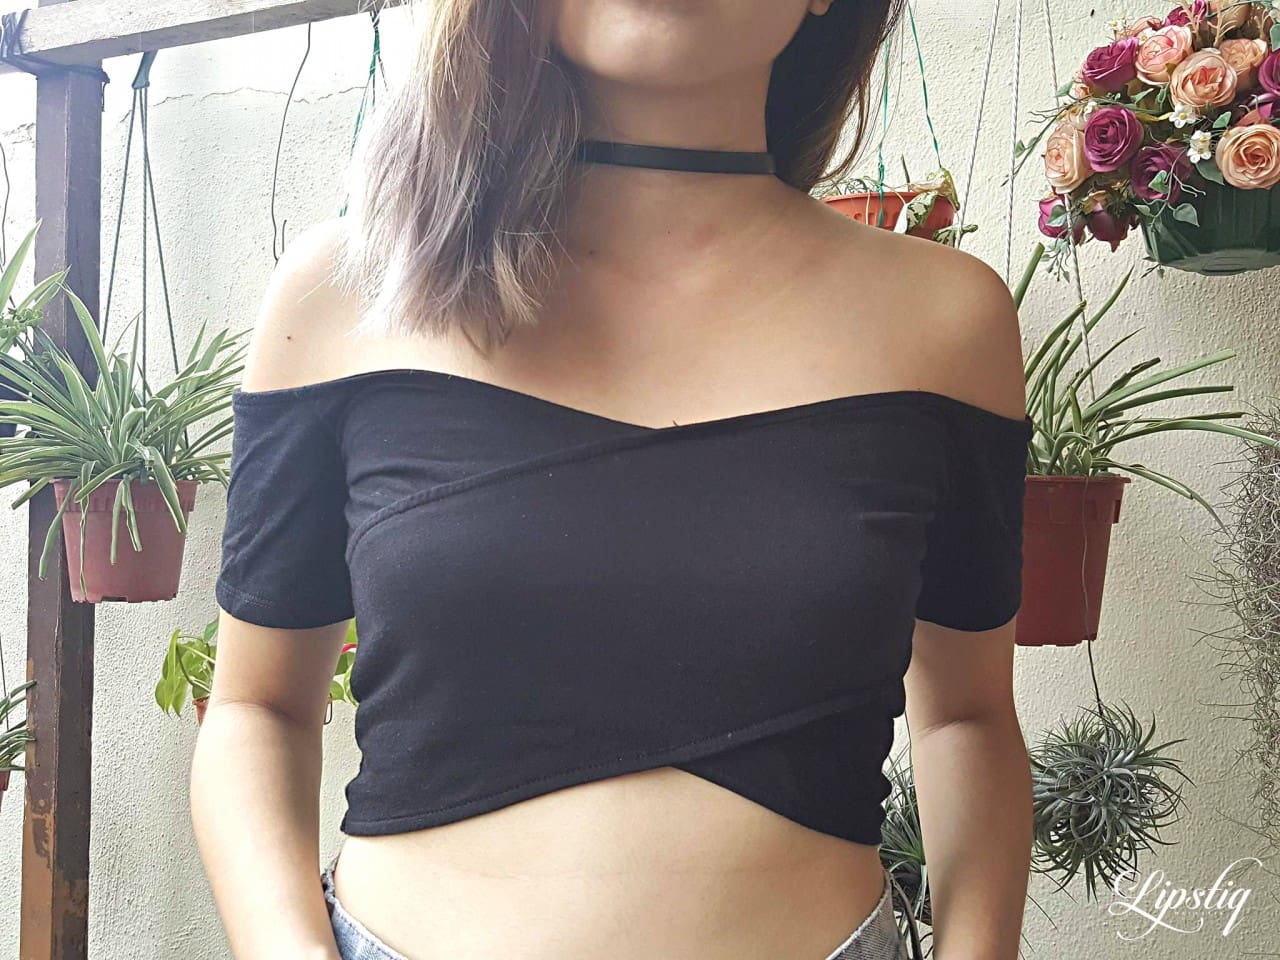
You’ll need: Flat leather lace (10mm), magnetic clasps for flat 10mm cord, stronghold craft glue
Put the leather lace around your neck, then mark it off, keeping in mind the length of the magnetic clasps. Once you’ve snipped it off, insert the clasps and measure once more, ensuring that the choker sits nicely around your neck; not too loose or tight. When you’re happy, glue the leather lace to the clasps. To wear the choker, simply snap the clasps on.

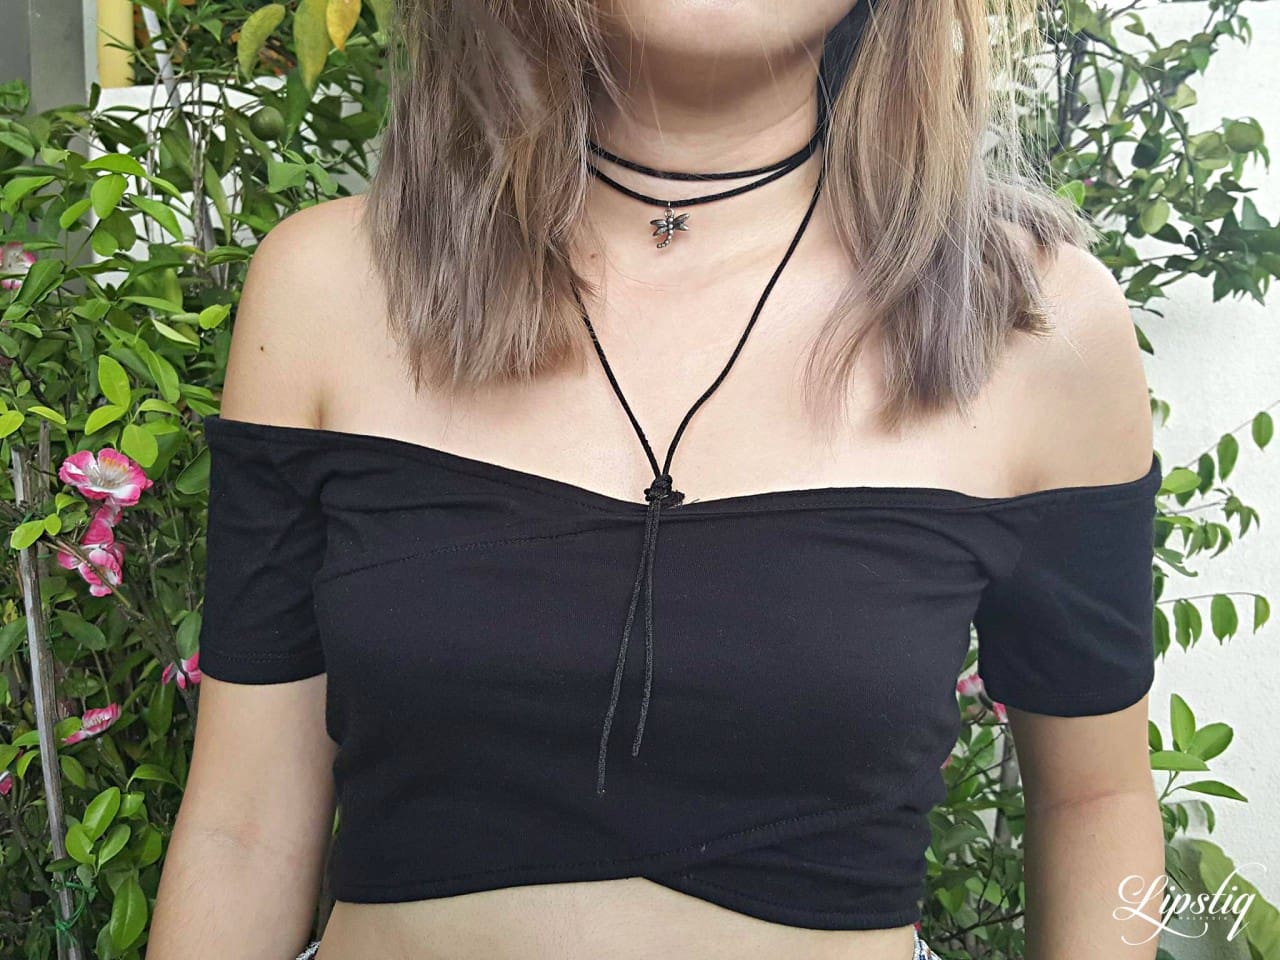
Style 4
You’ll need: Thick string or suede cord, jump ring, charm of your choice
Loop the string around your neck twice and bring the ends forward to measure out your desired length, then snip it off. Simply use your fingers, or jewellery pliers to open the jump ring and insert the charm, then close the jump ring. String the jump ring through, and it’s good to go. To wear, loop the string around your neck twice from the back to the front, making sure the charm is in place. Then, make a simple knot and let the ends fall freely.