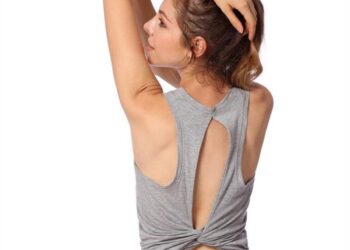
You may consider your breasts your good friends, but there’s nothing more trustworthy than a good pair of cup-holders – your bra! From the first time you blossomed, right to the moment where you bought your first provocative deep-plunge bra, this love-hate relationship you have with your bra will be the most important relationship you will ever have in life.
Unfortunately, there will be times when your bra might let you down. After all, they don’t last forever. But one of the most common issues most women have with their bosom-buddies would be the moment when the underwire pokes a hole through your bra! It’ll poke at your skin, which is mighty comfortable and dangerous too; if it’s rusted, it may give you a skin infection. And let’s not forget how it makes both your tatas look completely unbalanced!
It’s really hard to tell why the underwire always finds its way out of the bra, but many believe it may have to do with the fit and how you wash it. Whatever the reason is, you should have to use it as an excuse to ditch your bra and buy yourself a new one because you can fix it in just a matter of minutes!
Here’s a fast and easy way to put that pesky support wire back where it’s supposed to be.
1. Check the bra to see if the wire may be broken. If it is, head to your local fabric store and pick out a new one. If you can’t find out, ask a tailor nearby if they sell them, or ask for their advice on buying a wire or two.
2. If you’re replacing the underwire, remove the whole pair out of the bra, and insert the new one in. If the wire’s not broken, simple push it back through the hole.
3. Get a small safety pin or two, and secure a few millimeters between the end of the wire and the hole.

4. Use a high gauge or thick cotton thread with a matching colour; and start stitching the whole back and forth overt the hole until it develops a relatively thick lump; or one that’s thick enough that you feel secure with.
5. Use a clear fabric glue or super glue, and place drop on each side of the stitched area so that the thread binds together permanently.
6. Remove the safety pins and let the bra dry overnight. Give it a light rinse with gentle lingerie soap, and wear it again!
Or, you can liberate your globes on October 13th’s “No Bra Day”, and walk about town without a bra! If you do, here are some guidelines about going braless.